...
- The individual performing this installation has a small bit of Linux experience
- Root access is available
- Internet access is required for installing any missing but required software packages
- Operative Operating systems supported: This information can be found here: NMIS 9 Compatibility list.
NMIS Installation
...
Install Guides:
NMIS Setup
...
Once installed, we can access NMIS GUI:
| Code Block |
|---|
http://host.com/nmis9 |
and perform the first set up:
Your DHCP server will give the IP Address for your VM or device.
The default user and password to login in on the WebUI is user: nmis and password: nm1888
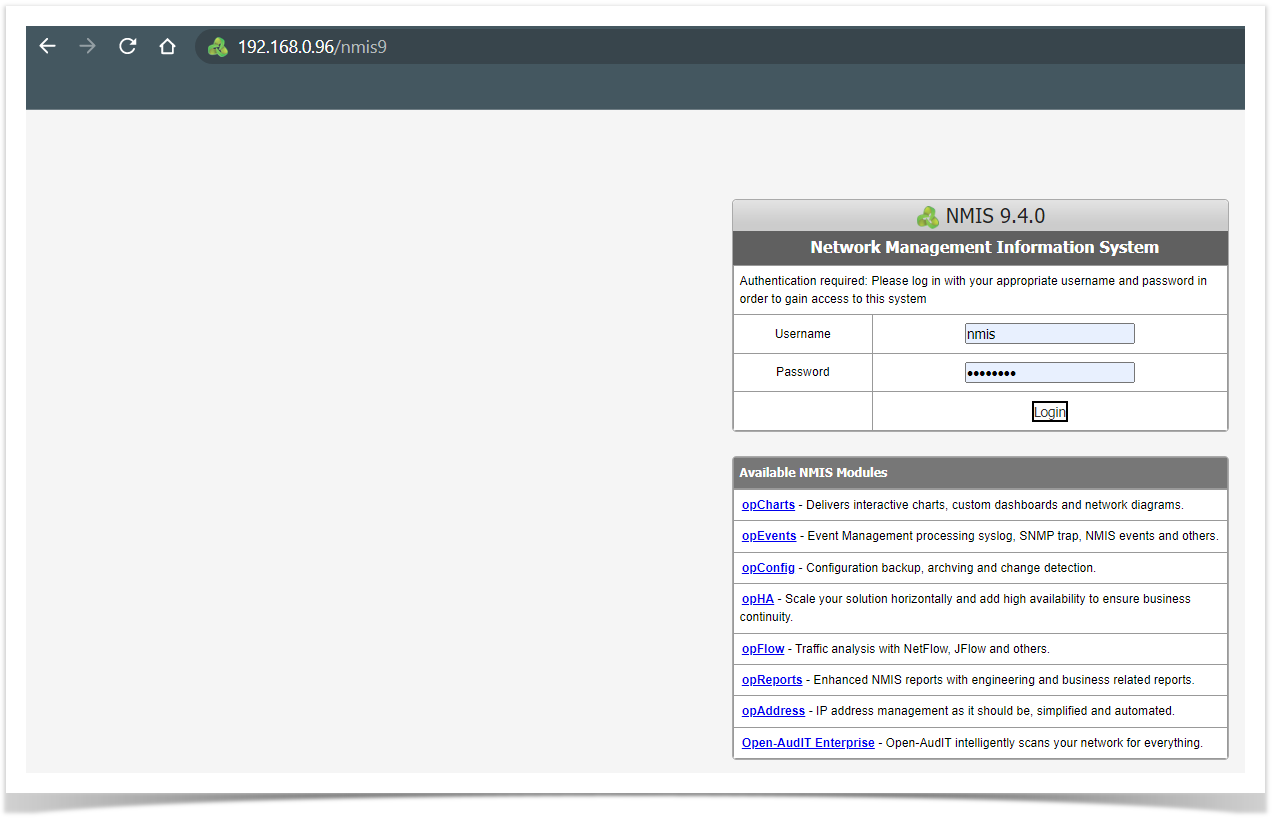
After your login in that will be the primary screen.
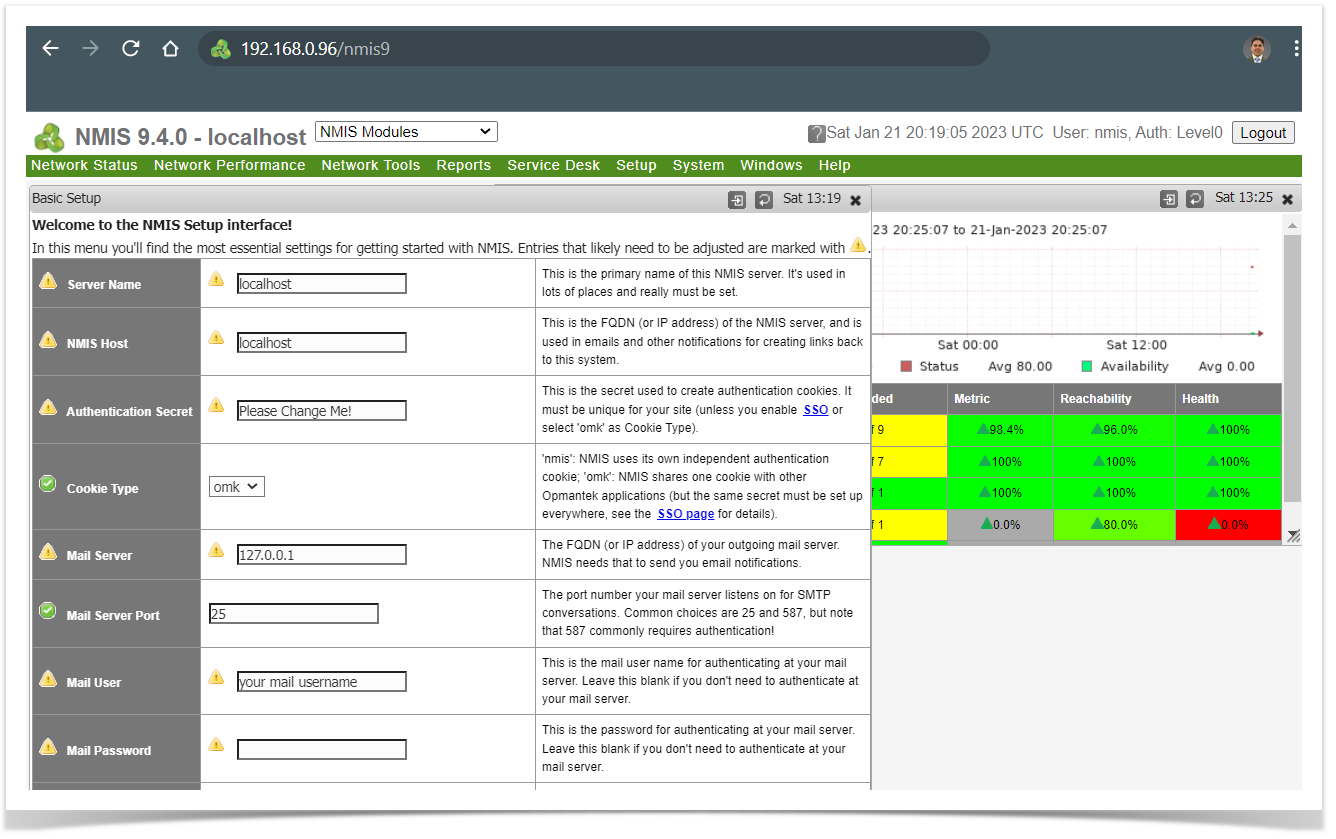

NMIS Configuration
...
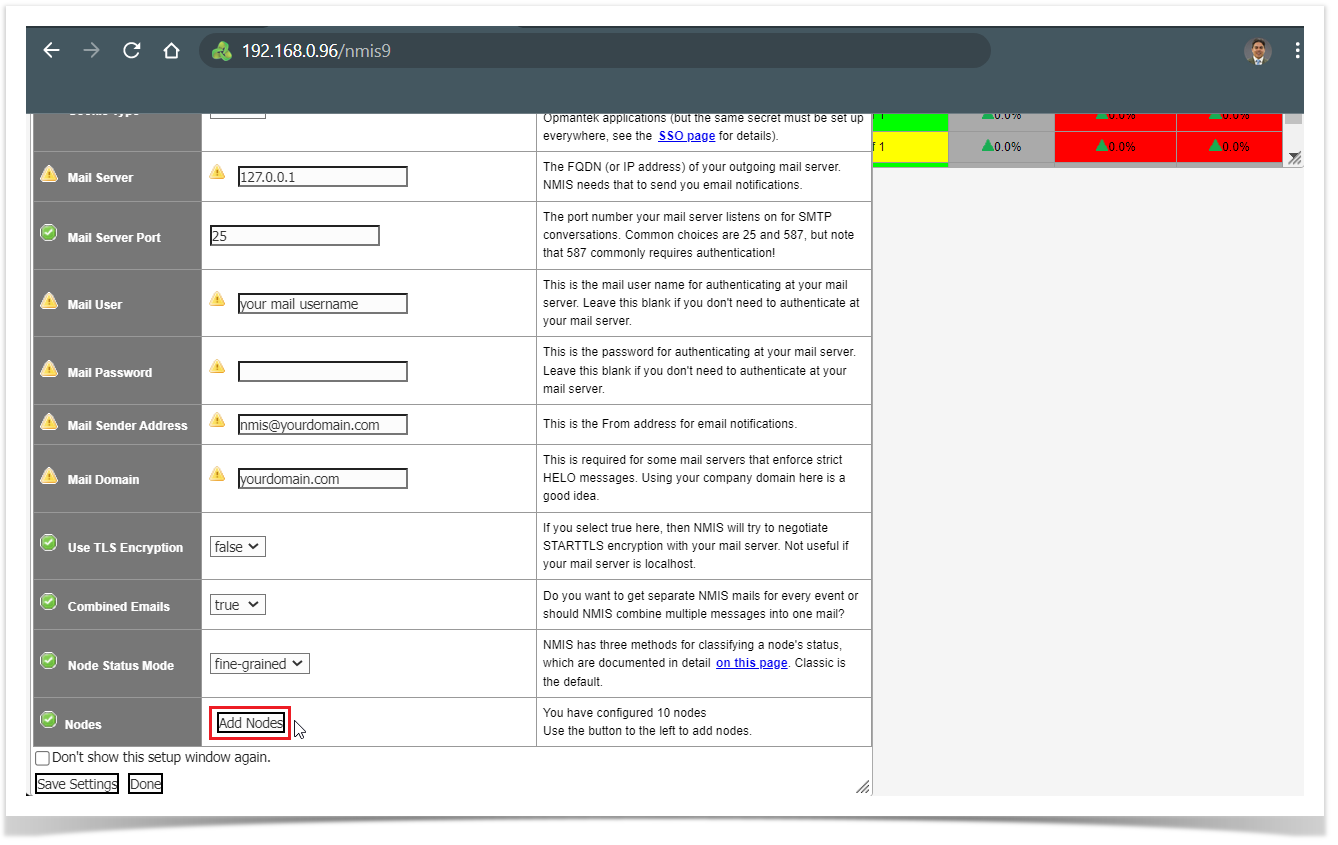
After the setup, we can create new nodes from the
...
WebUI or import them from other systems.
...
1º Option: Click on the "Add Nodes" button
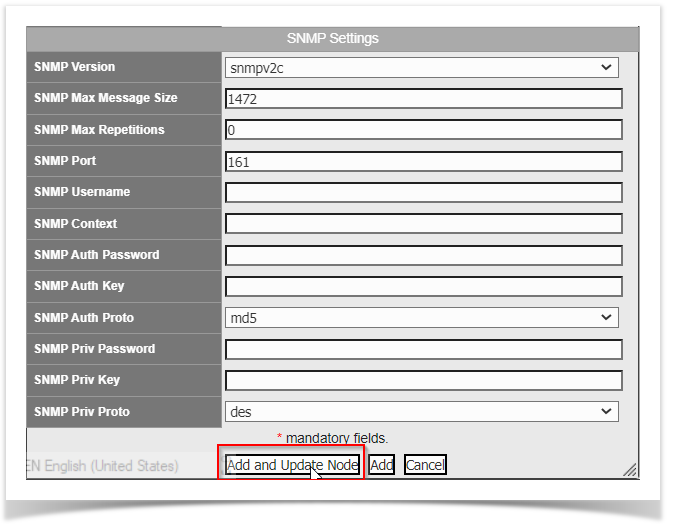
When you add a new node the required fields will be name, host name/IP Address, Group, and SNMP community if you are using SNMP for collect or WMI username and password if you are using WMI for collect.
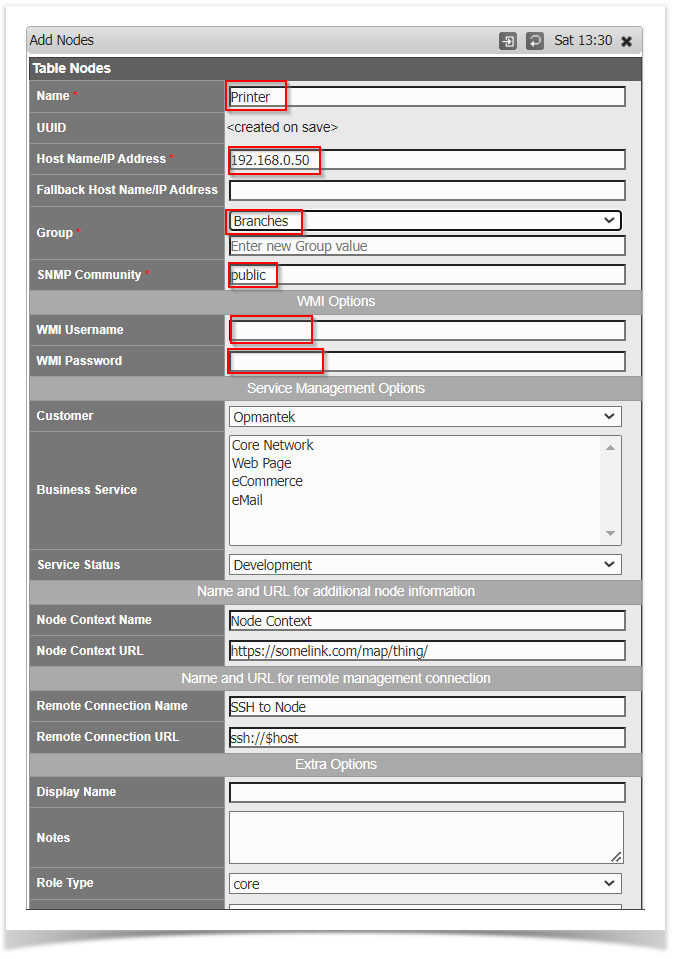
Then scroll to the bottom and click on the "Add and Update Node" button.
2º Option: We can create a node from the GUI using the menu System > System Configuration > Nodes (Devices):
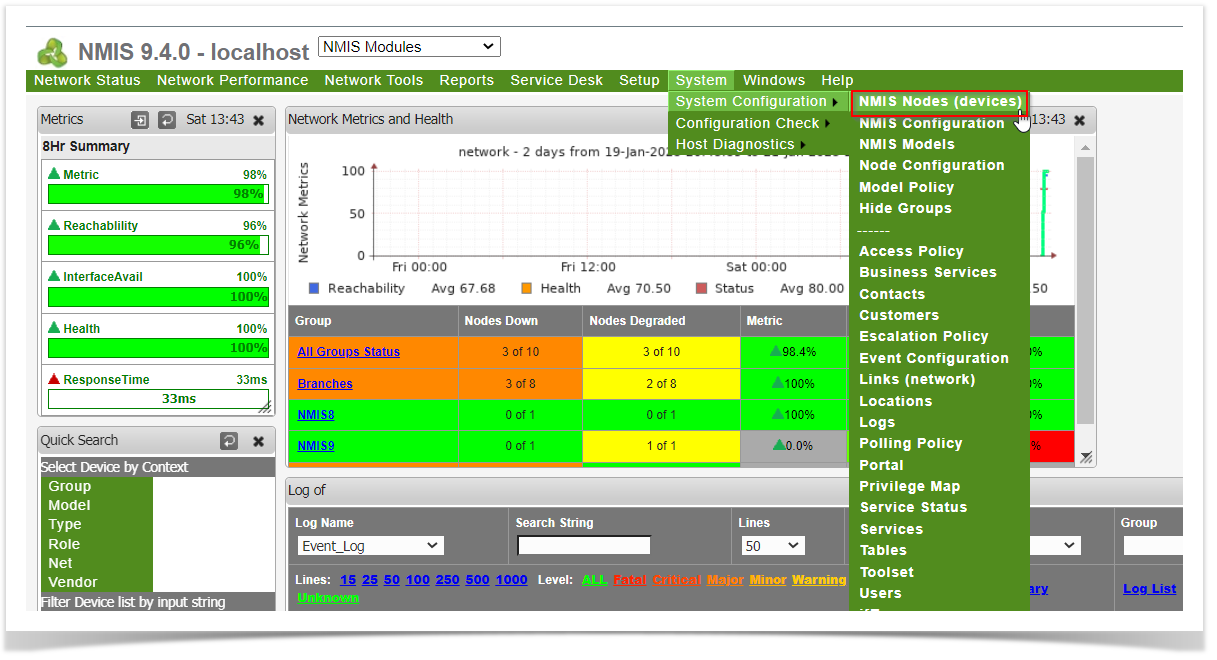
Click on the blue add button.

Follow the same instruction above to add nodes.
