View VirtualBox Screenshots for:
| Table of Contents | ||
|---|---|---|
|
Windows
Linux
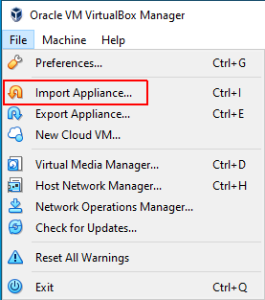
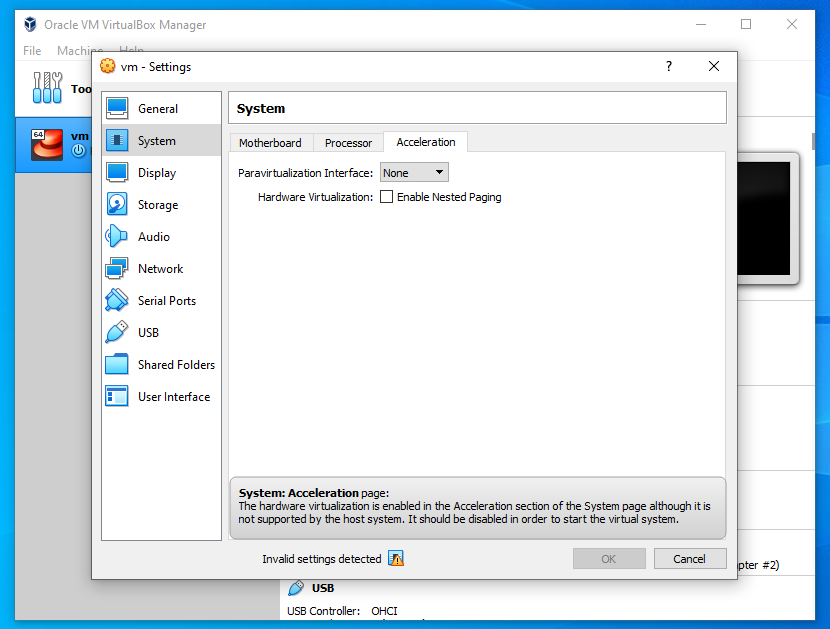
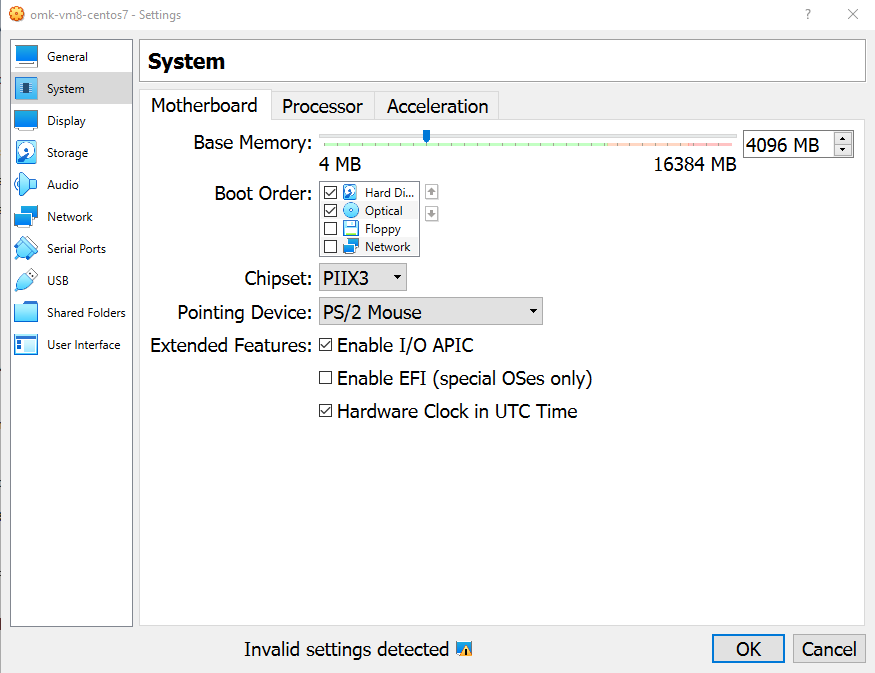
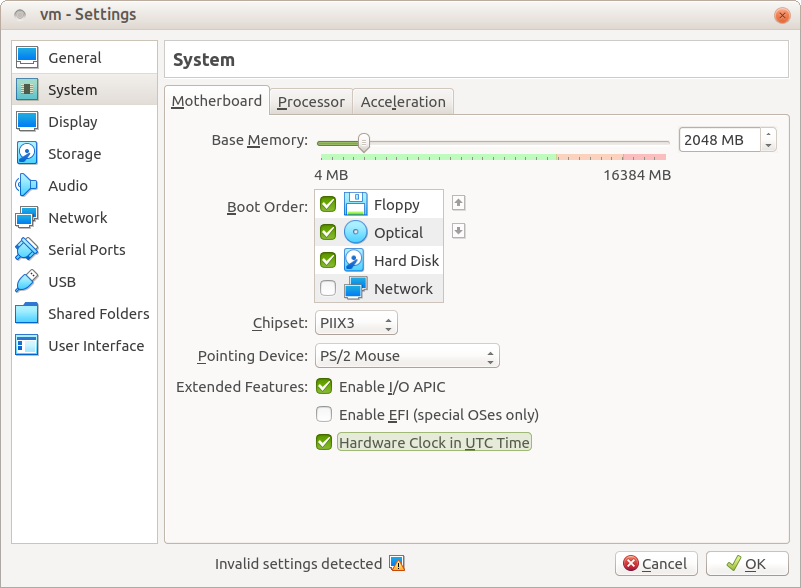
In VirtualBox, go to File>Import Appliance, and then select the Opmantek Virtual Machine .ova package you just downloaded. Select the Opmantek Virtual Machine once it’s loaded into the left sidebar of the application. Then, click on the yellow “Settings” cog. You will need to change four separate settings to allow the Opmantek Virtual Machine to run correctly. The first setting we’ll change can be found under the System tab. You need to ensure that the hardware clock is in UTC time, as below:
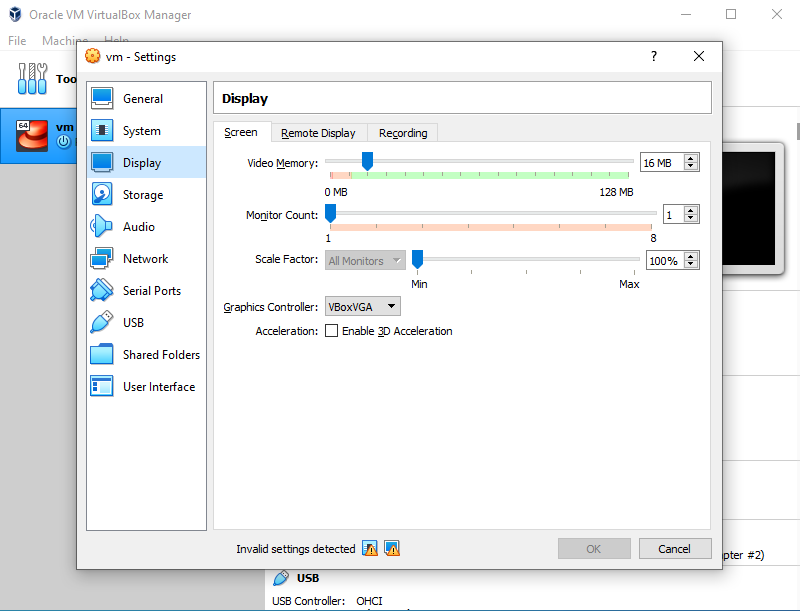
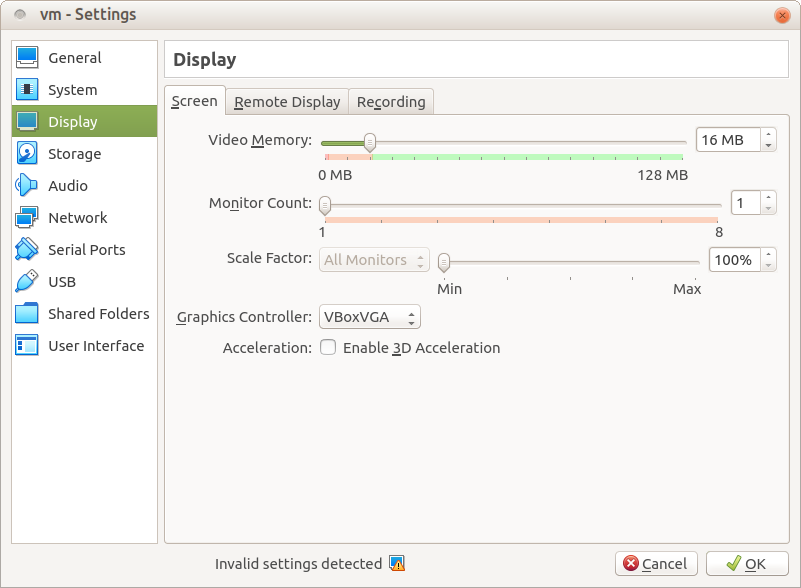
Second, select Display settings, and ensure you have allocated at least 16MB of Video Memory, and that the Graphics Controller is set to “VMSVGA”, as below:
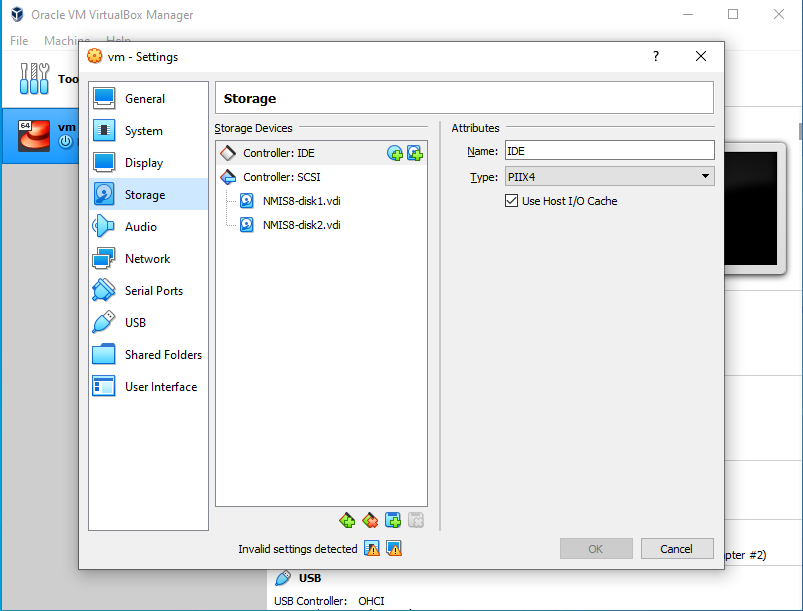
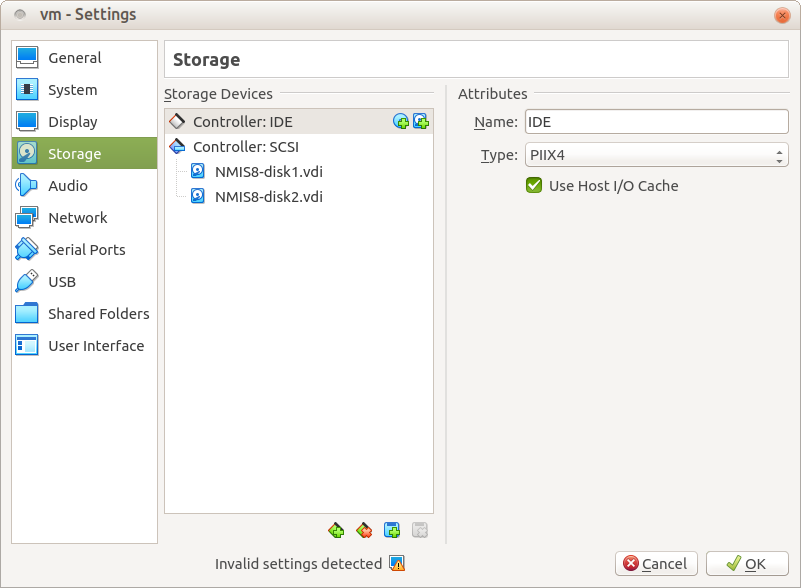
Then, select Storage settings, and ensure that “Use Host I/O Cache” is selected, as below:
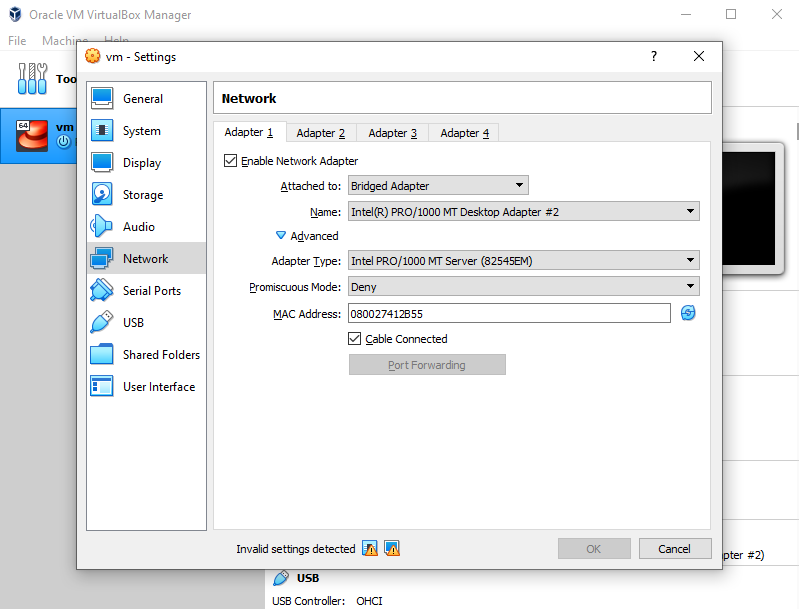
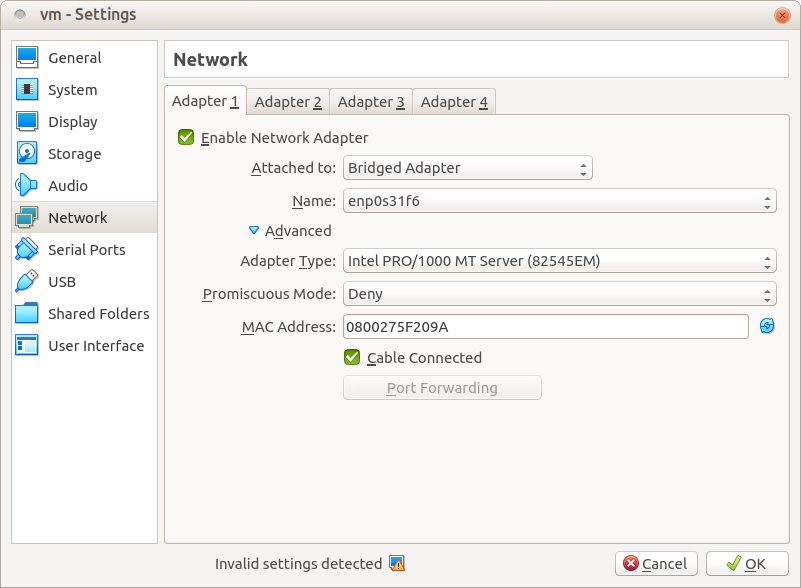
Finally, select Network settings, and ensure that Adapter 1 is attached to “Bridged Adaptor”, as below:
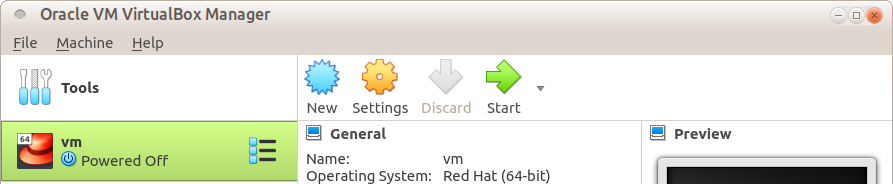
Now that you’re all set up, you’re ready to run the Virtual Machine. In VirtualBox, this can be done by clicking the green start arrow.
Linux
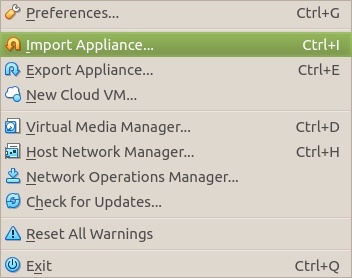
In VirtualBox, go to File>Import Appliance, and then select the Opmantek Virtual Machine .ova package you just downloaded. Select the Opmantek Virtual Machine once it’s loaded into the left sidebar of the application. Then, click on the yellow “Settings” cog. You will need to change four separate settings to allow the Opmantek Virtual Machine to run correctly. The first setting we’ll change can be found under the System tab. You need to ensure that the hardware clock is in UTC time, as below:
Second, select Display settings, and ensure you have allocated at least 16MB of Video Memory, and that the Graphics Controller is set to “VMSVGA”, as below:
Then, select Storage settings, and ensure that “Use Host I/O Cache” is selected, as below:
Finally, select Network settings, and ensure that Adapter 1 is attached to “Bridged Adaptor”, as below:
Now that you’re all set up, you’re ready to run the Virtual Machine. In VirtualBox, this can be done by clicking the green start arrow.
Ooh yeah sure. We just got k
knocked back by QASP for our zine actually so I'm happy to lend youOoh yeah sure. Wes jussst got knocked back by QASP for our zine actually so I'm happy to lend you