How to get opConfig operating for the first time once you have the Opmantek VM operating or once you have the opConfig software and mongoDB installed on your own OS.
You will have a working instance supporting the Cisco and Linux operating systems at the end.
Prerequisites
- Root access is available.
- NMIS, opConfig sofrware and MongoDB must already be installed and integrated (which they are on the Opmantek VM)
- You will need a license for opConfig (evaluation licenses are available here).
STEPS
Table of Contents maxLevel 1 exclude Prerequisites
Access the opConfig GUI and enter your license.
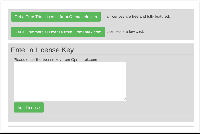
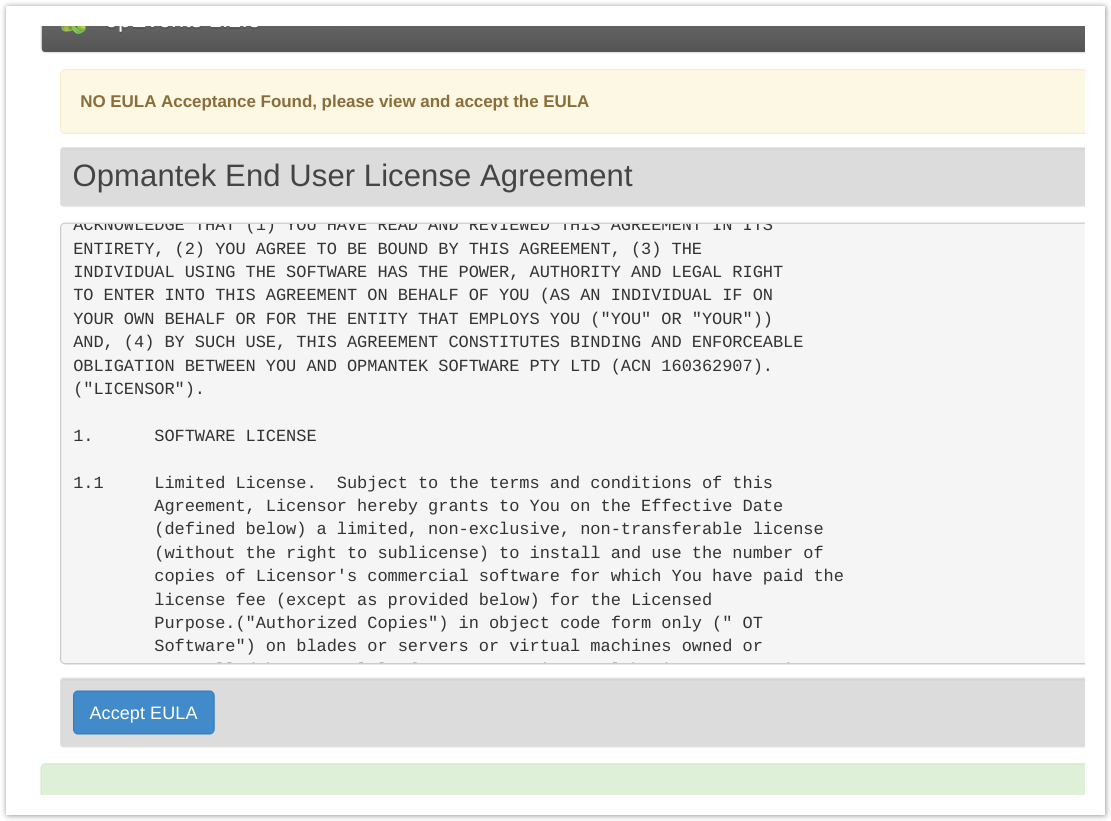
The opConfig GUI is accessible at http://<yourservername or ip address>/omk/opConfig/, or via the NMIS Modules dropdown. Paste the valid license text string into the box and then read and accept the End User Licence Agreement.
| Info |
|---|
neither the opConfig GUI nor the CLI tools will operate until the license is added and End User Licence Agreement is accepeted. |
Setup Cron to perform the desired opConfig data collection periodically.
Here is the default cron snippet we recommend using to start with, you will need this as a text file in /etc/cron.d/opConfig:
| Code Block |
|---|
...
| ||
# opConfig: hourly command set running |
...
1 * * * |
...
* root /usr/local/omk/bin/opconfig-cli.pl quiet=1 act=run_command_sets tags=HOURLY |
...
# and the daily ones |
...
7 7 * * * |
...
* root /usr/local/omk/bin/opconfig-cli.pl quiet=1 act=run_command_sets tags=DAILY |
...
# and a daily import from open-audit enterprise |
...
21 4 * * |
...
* root /usr/local/omk/bin/opconfig-cli.pl quiet=1 act=import_audit |
...
# and a daily purge of old revisions |
...
40 3 * * |
...
* root /usr/local/omk/bin/opconfig-cli.pl act=purge_revisions quiet=1 |
| Info |
|---|
If you are not familiar with how to create a text file you could do the following (their are lots of other ways to do it also): in you terminal session (as root) type "nano /etc/cron.d/opConfig" , then copy the above and paste the above text in, save the file with Ctrl+o , then exit with Ctrl + x. |
| Info | ||
|---|---|---|
| ||
There is a lot more you can do with the Cron entries to enable different types of config collection activities at different times this is covered in detail in the Advanced Configuration Guide |
Adding the first nodes
...
This is discussed in the opConfig Configuration Guide HERE
At this point opConfig should be ready for operation, but won't have any knowledge of which nodes to manage or how to access those nodes.
Add Credential sets
Adding devices and associating them with methods of access and credentials.
| Info | ||
|---|---|---|
| ||
We currently (as of version 8.5.8G) provide out of the box support for Cisco IOS and Linux. Please refer to Operating System Support in opConfig for further operating systems available now and planned. |
Related articles
| Content by Label | ||||||||||||||||
|---|---|---|---|---|---|---|---|---|---|---|---|---|---|---|---|---|
|

