| Table of Contents |
|---|
Introduction
Configure Configure SNMPTRAPS to scale up to 300 traps per second. The purpose of this article is to show how to configure the SNMPTRAPD to pull data from the devices to rsyslog. Then, the rsyslog collects the logs into a file to be processed by opEvents. Eventually, the opEvents will apply the filters, parsers, and actions to better monitor and analyze use the system management, analysis, and troubleshooting based on the events.
Testing SNMPTRAPS:
snmptranslate -m ALL -M /usr/local/nmis9/mibs/traps 1.3.6.1.4.1.9.9.43.1.1.6.1.5.34
***************************************************************************************************
RESULTRESULT: CISCO-CONFIG-MAN-MIB::ccmHistoryEventConfigDestination.34
***************************************************************************************************
sudo snmptrap -v 2c -c public 127.0.0.1 80000 1.3.6.1.4.1.4818 1.3.6.1.4.1.4818.1 s Event_Gladston

Step-by-Step How to Configure the SNMPTRAPS to Forward Traps to Sylog
...
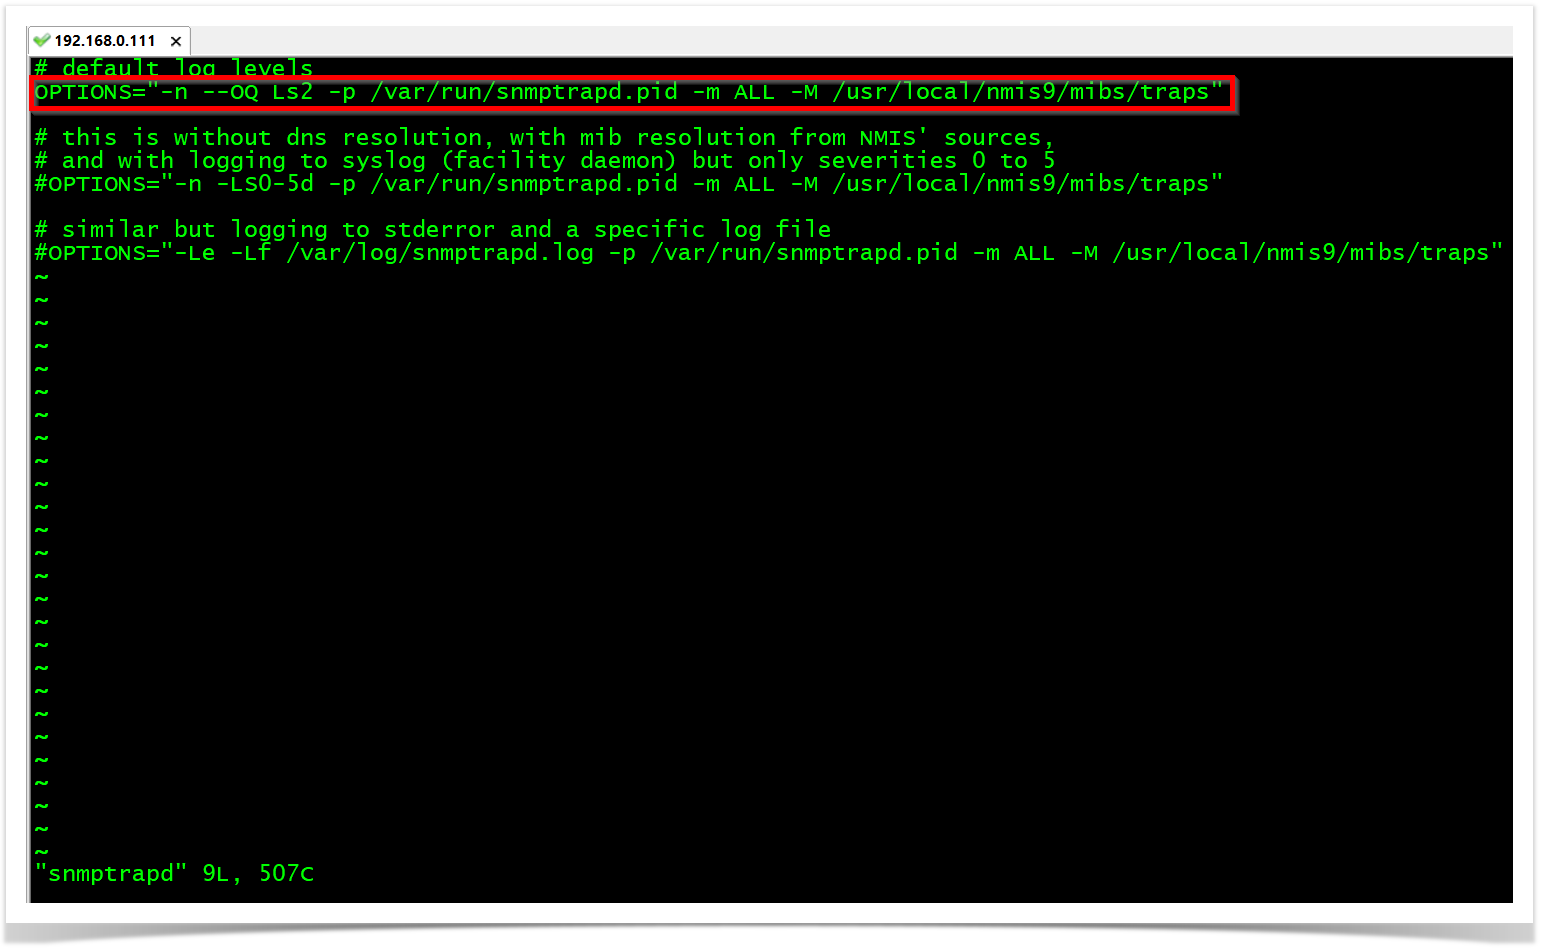
OBSERVATION: The "Ls" option will configure snmptrapd to send logs to syslog. So, "Ls2" specifically configures snmptrapd to send logs from the local2 facility. The facility is a value that indicates which process on the device generated the message.
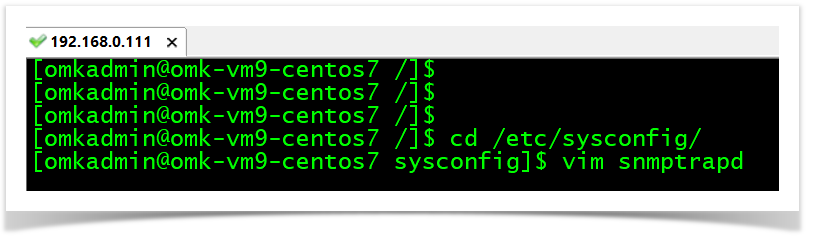
STEP 1
RHEL/CENTOS Linux
cd /etc/sysconfig/
vim snmptrapd
OPTIONS="-n --OQ Ls2 -p /var/run/snmptrapd.pid -m ALL -M /usr/local/nmis9/mibs/traps"
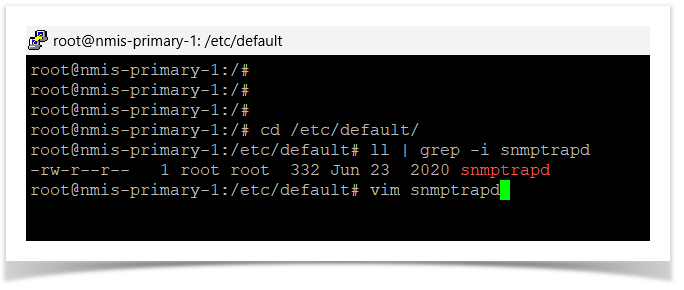
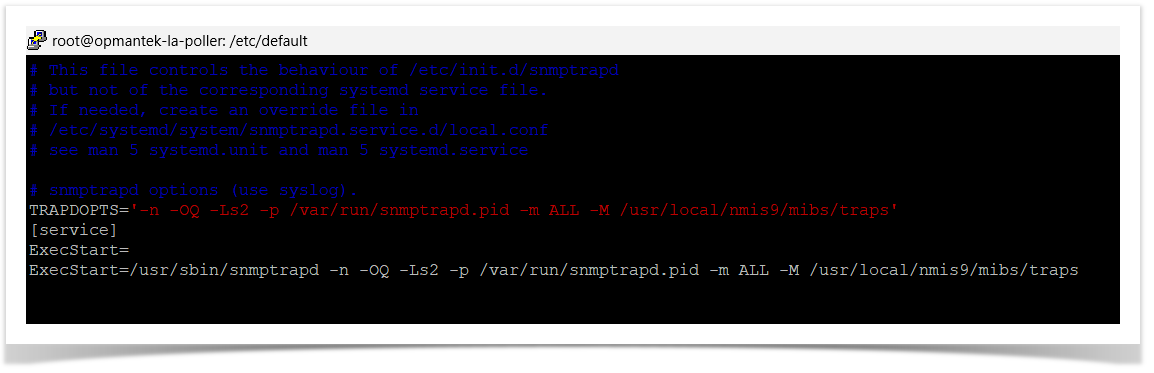
Debian/Ubuntu Linux
cd /etc/default/
vim snmptrapd
TRAPDOPTS='-n -OQ -Ls2 -p /var/run/snmptrapd.pid -m ALL -M /usr/local/nmis9/mibs/traps'
[Service]
ExecStart=
ExecStart=/usr/sbin/snmptrapd -n -OQ -Ls2 -p /var/run/snmptrapd.pid -m ALL -M /usr/local/nmis9/mibs/traps
STEP 2
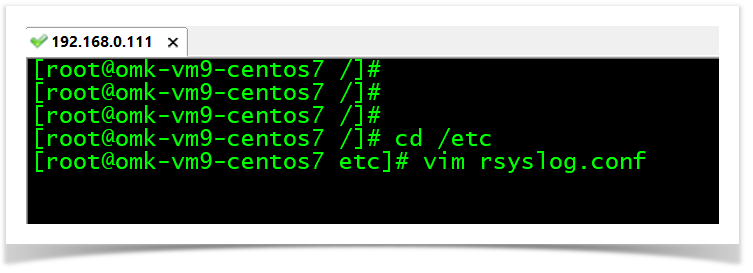
We need to configure the traps to go to a specific log file for opEvents to process them. In this case, all messages that come from facility local2 will be collected into /usr/local/nmis9/logs/snmptrap.log file.
cd /etc/rsyslog.d
touch nmis.conf

vim nmis.conf
local2.* /usr/local/nmis9/logs/snmptrap.log
cd /etc
vim rsyslog.conf
*.info;mail.none;authpriv.none;cron.none;local2.none /var/log/messages

STEP 3
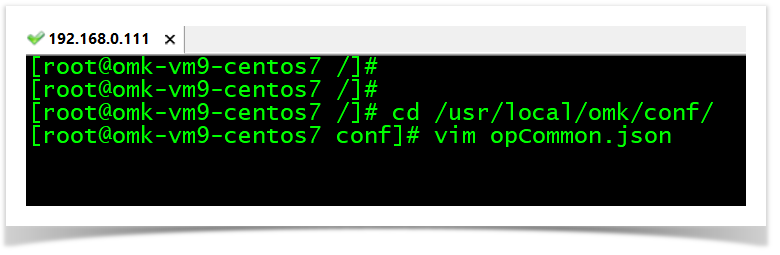
Now, we need to inform OpEvents where the snmptrap comes from. So, we do so, informing the path where the snmptrap.log is on the /usr/local/omk/conf/opCommon.json.
***************************************************************************************************************************************************
Be careful with this opCommon.json file. It is a Perl hash, so any syntax error will render the OMK Server to stop working properly.
We recommend always creating a backup of this file before any changes.
***************************************************************************************************************************************************
cd /usr/local/omk/conf/
vim opCommon.json
STEP 4
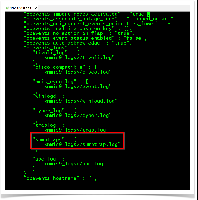
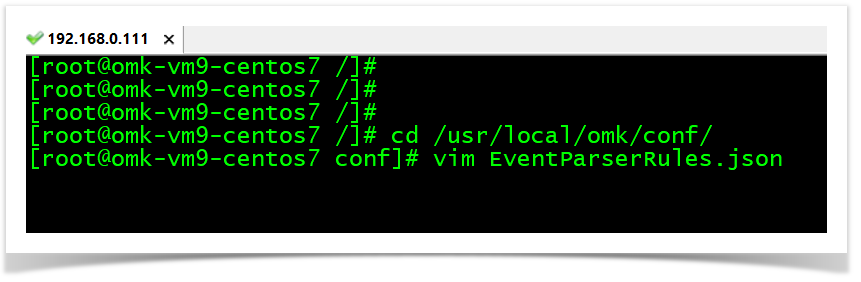
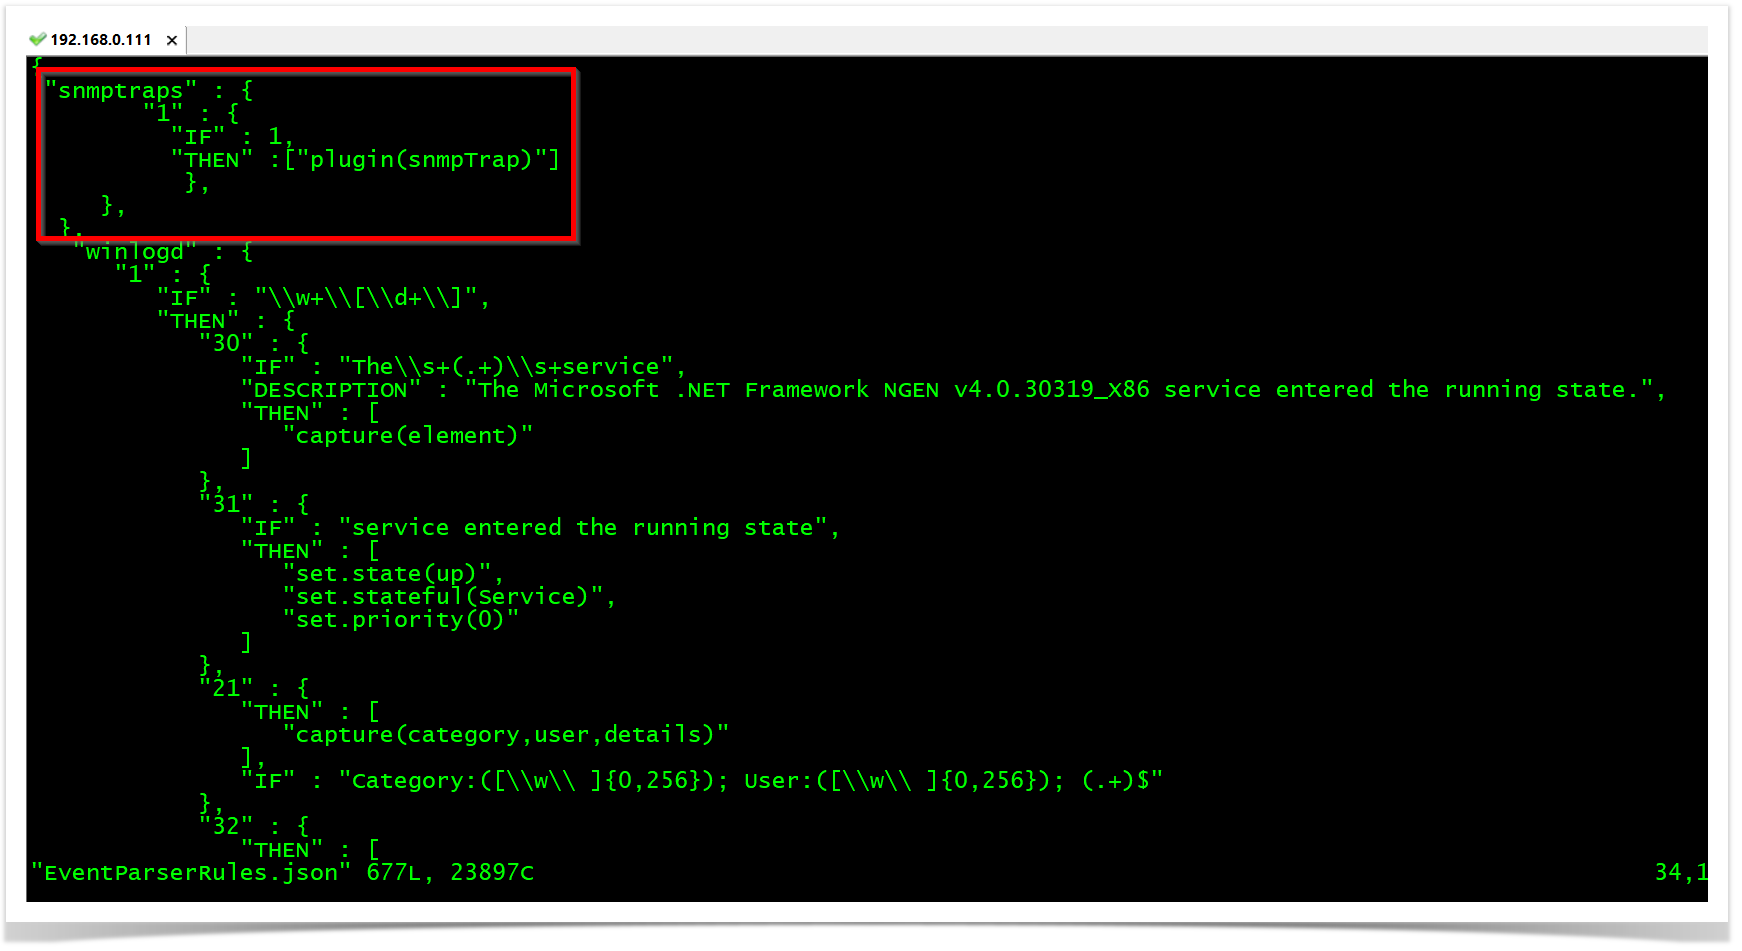
The parser is made on the EventPaserRules.json file. In this case, we are sending to an opEvents plugin to do the syntax translation.
cd /usr/local/omk/conf/
vim EventParserRules.json
STEP 5
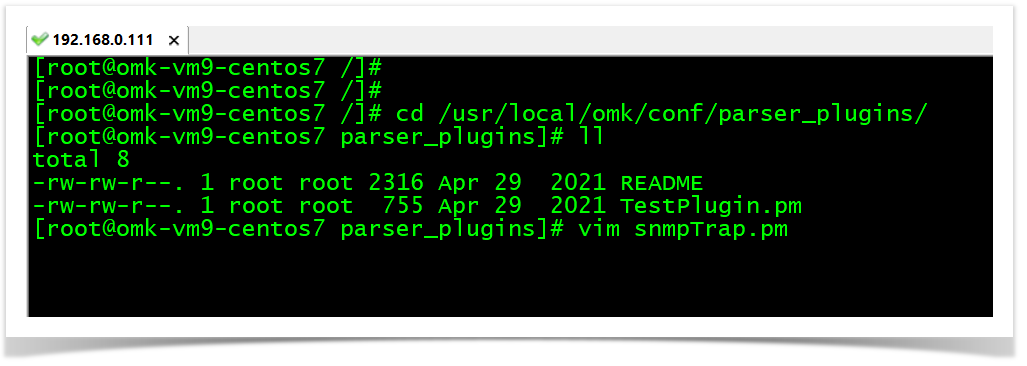
In step 4, you added the snmptraps plugin parser rules in the EventParserRules.json file. Now, we need to copy the snmpTrap.pm file on the /usr/local/omk/conf/parser_plugins/ directory. This file is the OpEvents parser plugin. The plugin is not always needed. The traps can be collected using the event handler nmis traplog. However, the plugin can parser more complex SNMP traps.
cd /usr/local/omk/conf/parser_plugins/
vim snmpTrap.pm
***************************************************************************************************************************************************
snmpTrap.pm file Download here: snmpTrap.pm
***************************************************************************************************************************************************
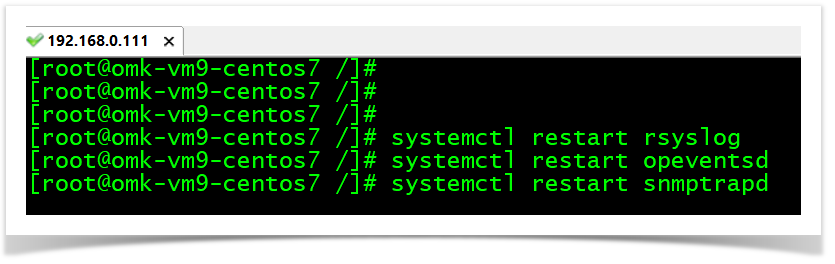
STEP 6
Restart the daemons associated.
systemctl restart rsyslog
systemctl restart opeventsd
systemctl restart snmptrapd