...
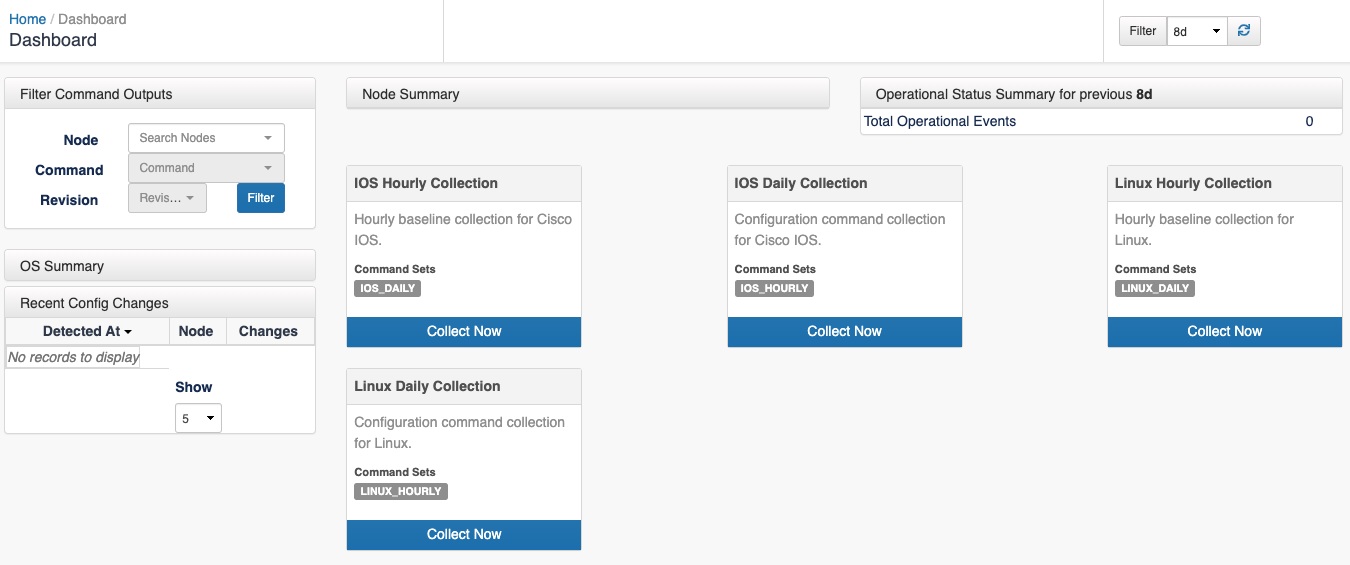
Once we introduce the license we will see the first screen of opConfig, the dashboard, that will be empty for the moment:
Set Up Nodes
...
Once opConfig has been installed, we need to set up the nodes. For this, we go to System > Edit Nodes.
All the local nodes are listed here:
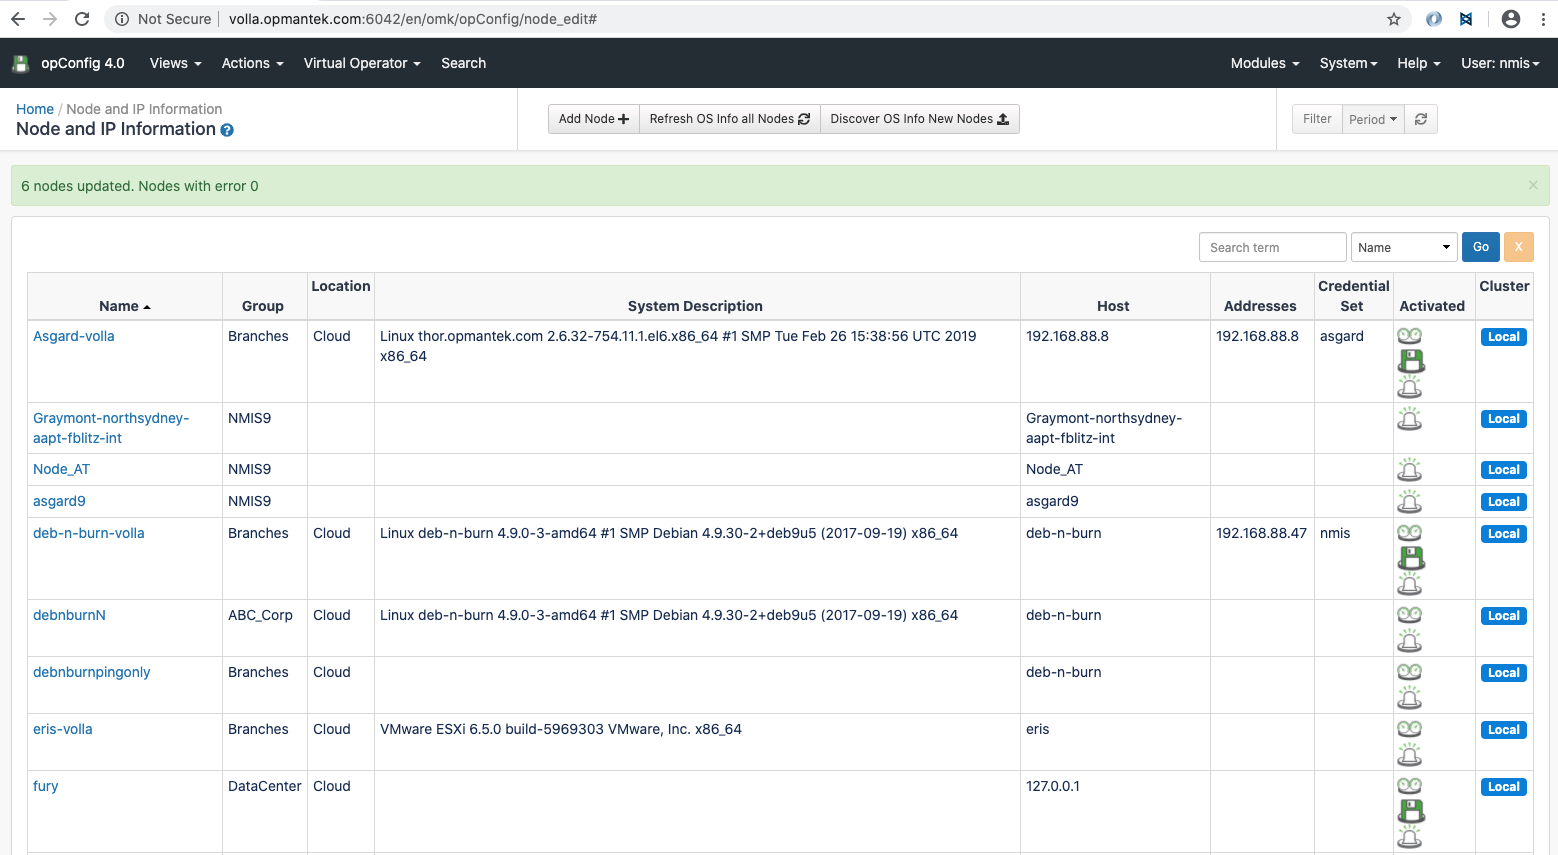
Click in the button "Refresh OS Info all Nodes" for update the OS Info for all the local nodes. In this case, it would not take into account if the node is active for opConfig or not for a node to be selected.
This button will update the OS information for a node based on the file OS_Rules.nmis, located in the installation directory by default. This rules are based, mostly, in the sysDescr configuration attribute. For this to be set, the community string must be correct and the device should had been successfull polled from NMIS at least, once. We can check this attribute - among others - in the node information, by clicking in the node name.
In case we only want to set the OS Information for only the new nodes - The ones that don't have OS Info set, we can click in "Discover OS Info New Nodes".
Editing a Node
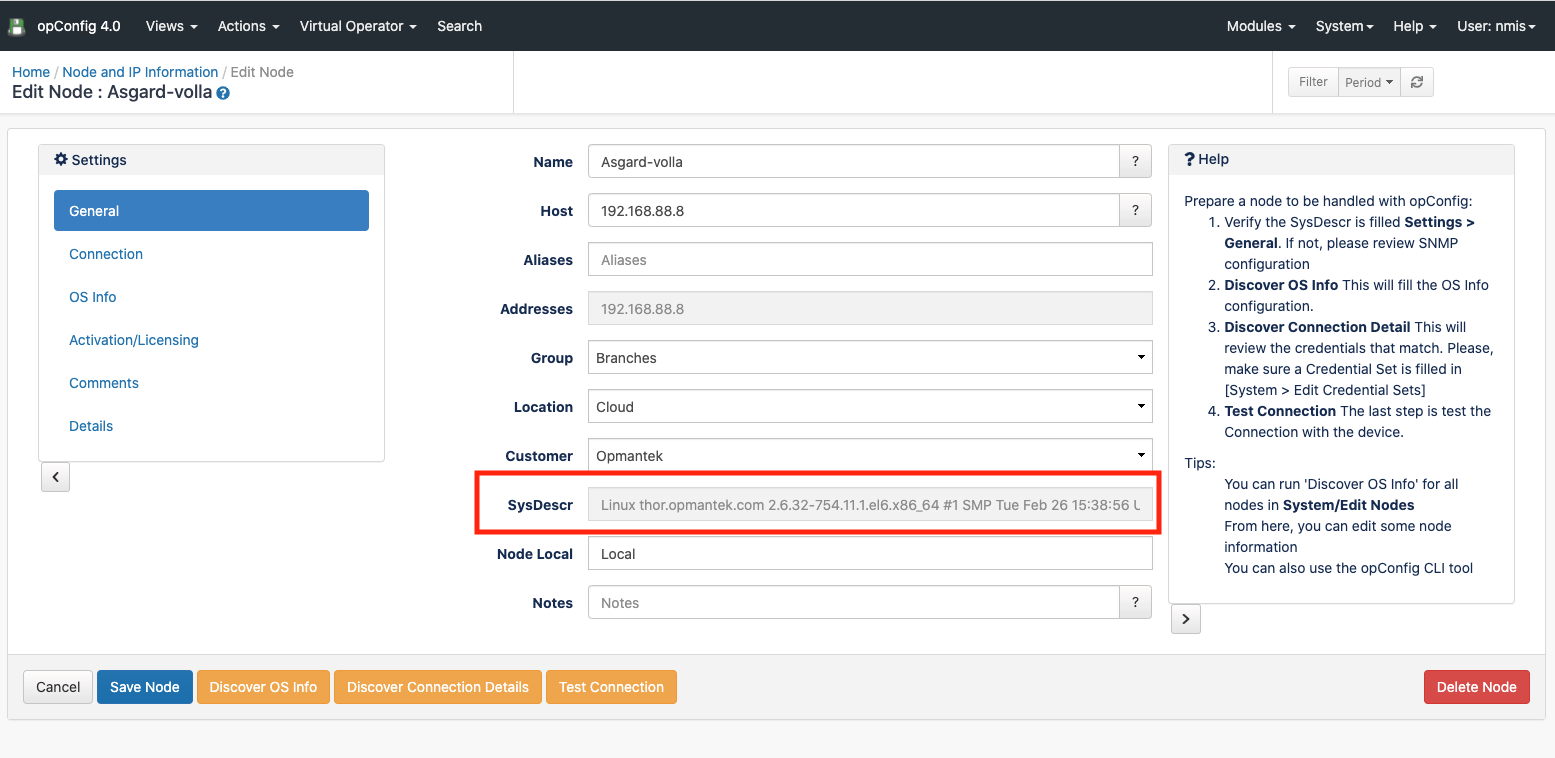
We can review all the Node information if we click on a node. The information shown for a node is the following:
- General: Some configuration information for a node.
- Connection: Connection information like credential set or personality. This information can be set by clicking in the "Discover Connection Details". But first, the OS Info must be set.
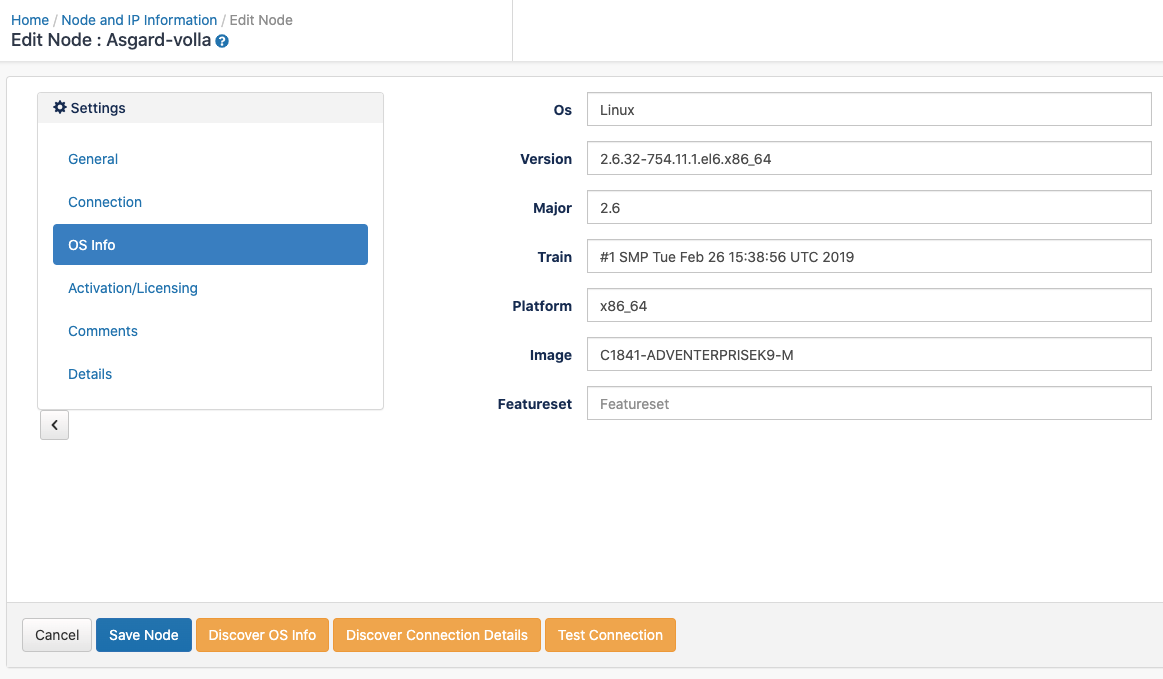
- OS Info: All the OS Info discovered using the OS Rules. Can be set by clicking in the "Discover OS Info" button. But first, make sure the sysDescr is filled in the "General" tab. What to do if not? Please review the NMIS Node configuration. The community string must be correctly set up, the node has to be polled successfully using the correct model.
- Activation/Licensing: We can see/edit the node activation for different products.
- Comments: We can add some comments for the node.
- Details: All the node configuration settings.
Once these details are set up, we can test the connection using the button "Test Connection".
We can also set up this configuration using the cli tool.
opConfig GUI Features
...
Views
...