...
Step 1. Create your Command Set
Before creating the quick action you will need to have your Command Set file created. opConfig lets you organize whatever commands you'd like it to run into an arbitrary number of groups which we call command sets. Let's create a basic command set using df to check the disc space on a Linux device for the purposes of this How-To however, these command sets can be as simple or as complicated as needed to complete the required desired tasks.Step 1. Create your
Command Set:Command sets are stored in the single file conf/command_sets.nmis in opConfig before 2.2.4, and since 2.2.4 opConfig supports this and individual command set files in conf/command_sets.d/. It is recommended that you use individual files (as that makes things easier to maintain and more robust, e.g. should one file have syntactical problems). For backwards compatibility the old single file is consulted first, then any individual ones. opConfig loads a command set when it's seen for the first time, and any subsequent occurrences of a clashing config set (i.e. same name) will be ignored but logged.
...
You can create your own Quick Actions by copying the /usr/local/omk/lib/json/opConfig/table_schemas/opConfig_action-elements.json file to /usr/local/omk/conf/table_schemas/ (you may need to create the table_schemas folder if it does not exist) and then editing it. Available field options are described in the table below.
| Code Block |
|---|
cp /usr/local/omk/lib/json/opConfig/table_schemas/opConfig_action-elements.json /usr/local/omk/conf/table_schemas/
cd /usr/local/omk/conf/table_schemas
vi opConfig_action-elements.json |
Once inside the opConfig_action-elements.json file, create a new section for the command set we created. Below is an example of the entry I added to the file:
| Code Block |
|---|
{ { "name": "DF_Linux Disc Space Test", "description": "Check Disc Space for Linux Devices", "nodes": ["odem"], "command_sets": ["DF_Test"], "buttonLabel": "Check Disc Space", "buttonClass": "btn-primary" } |
| name | string | Name which is shown at the top of the quick action element |
| description | string | Text shown under the quick action name, useful to describe what the action does |
| command_sets | array of strings | Command set keys which you wish to be run |
| nodes | array of strings | Names of nodes which you wish the command sets to be run against |
| buttonLabel | string | Text of the run button |
| buttonClass | string | Css class applied to the button to colour it.
|
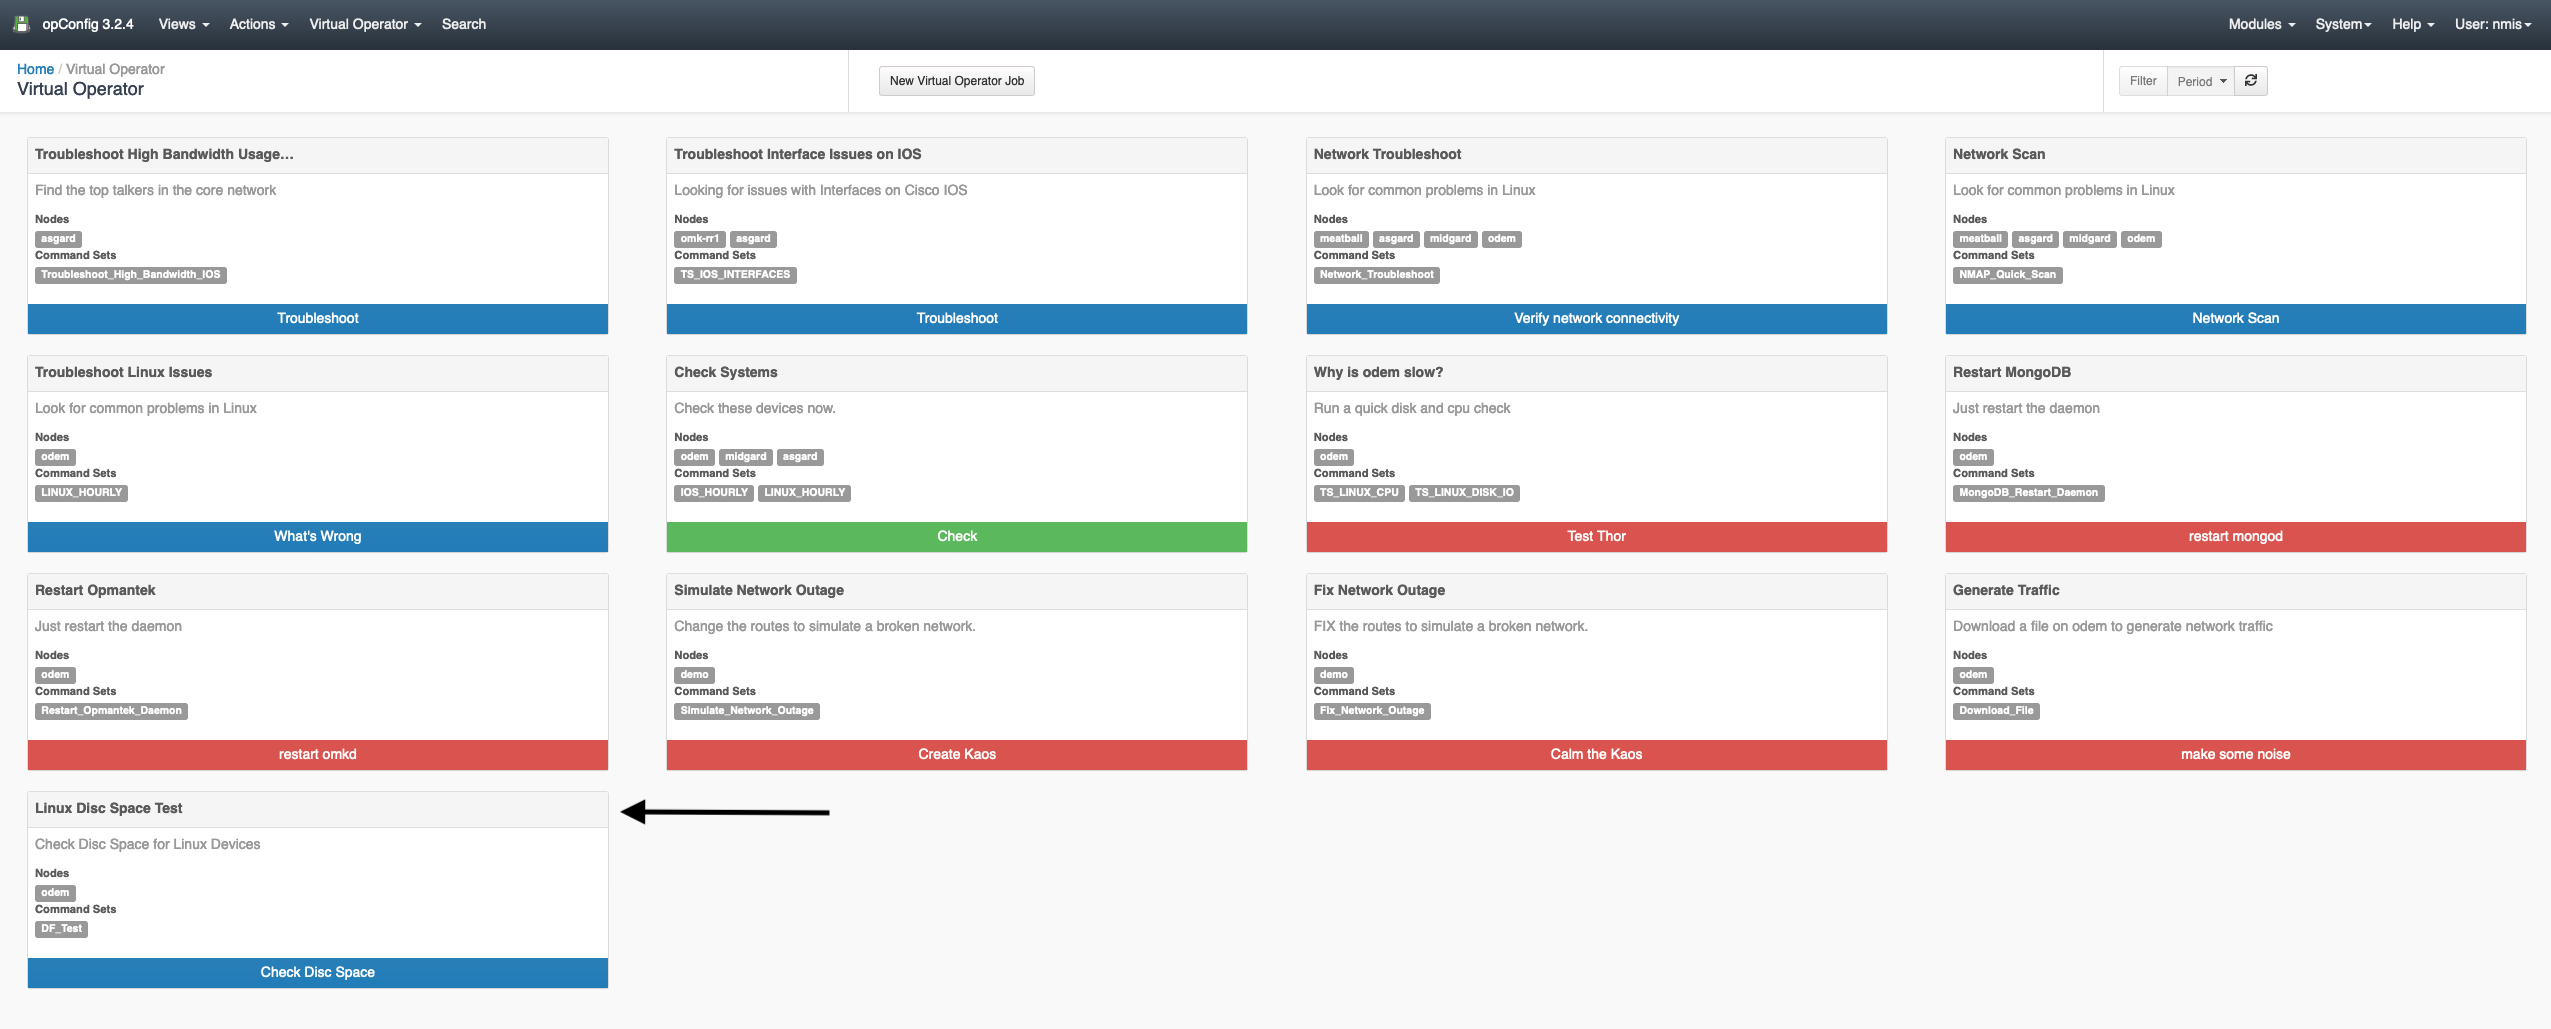
Step 3: Confirm your Quick Action is working
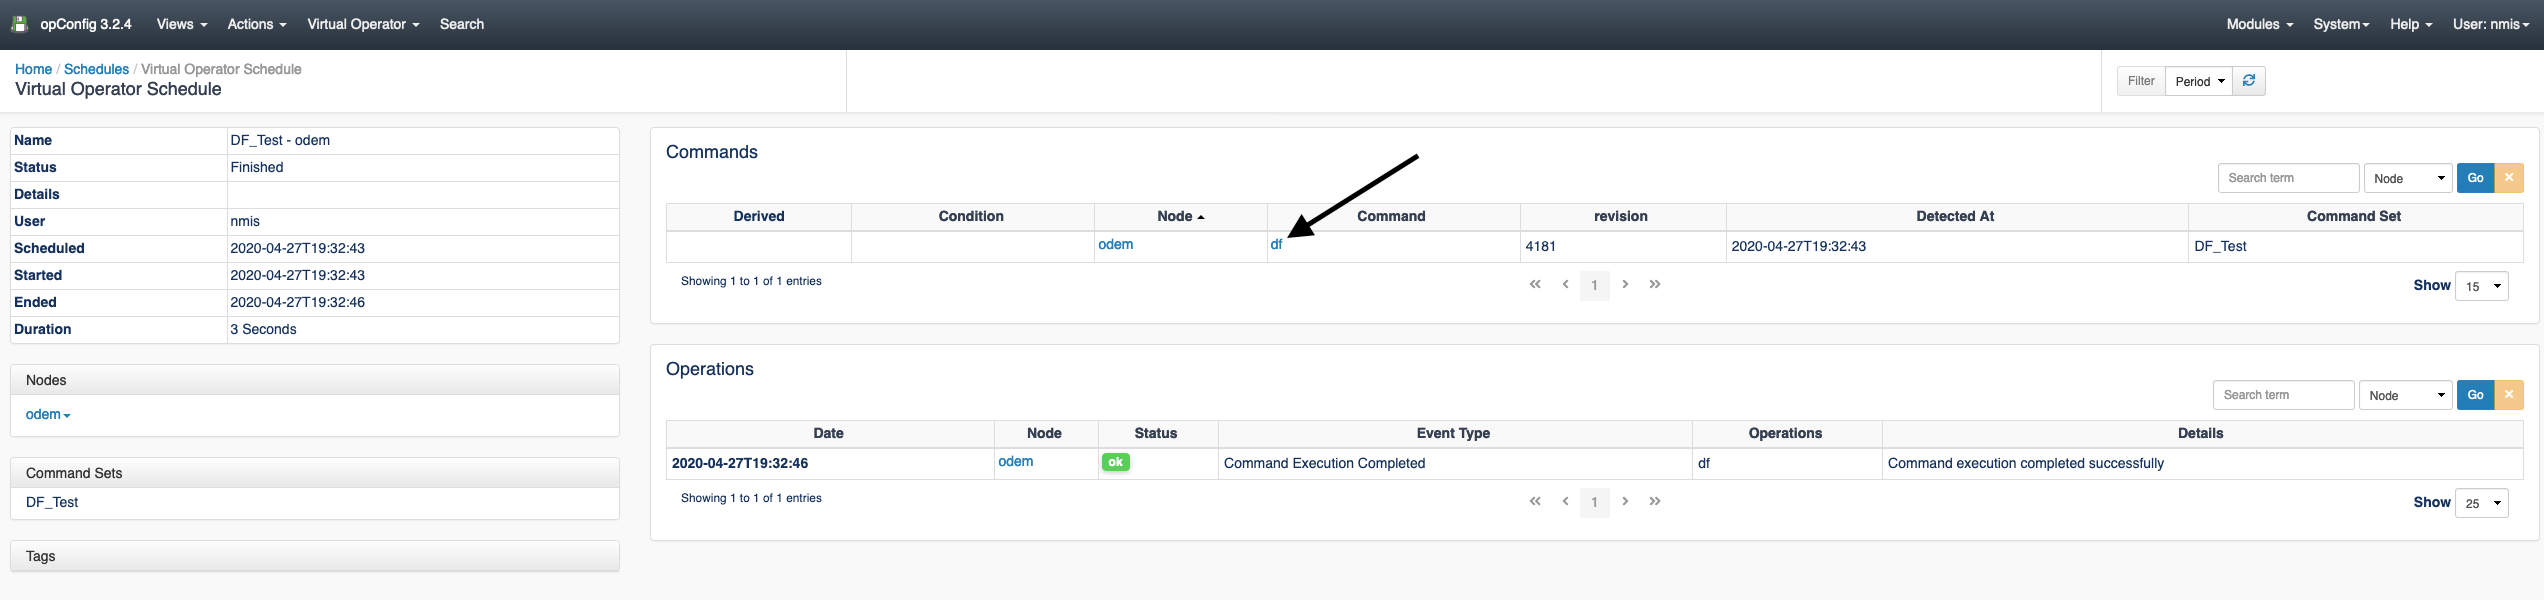
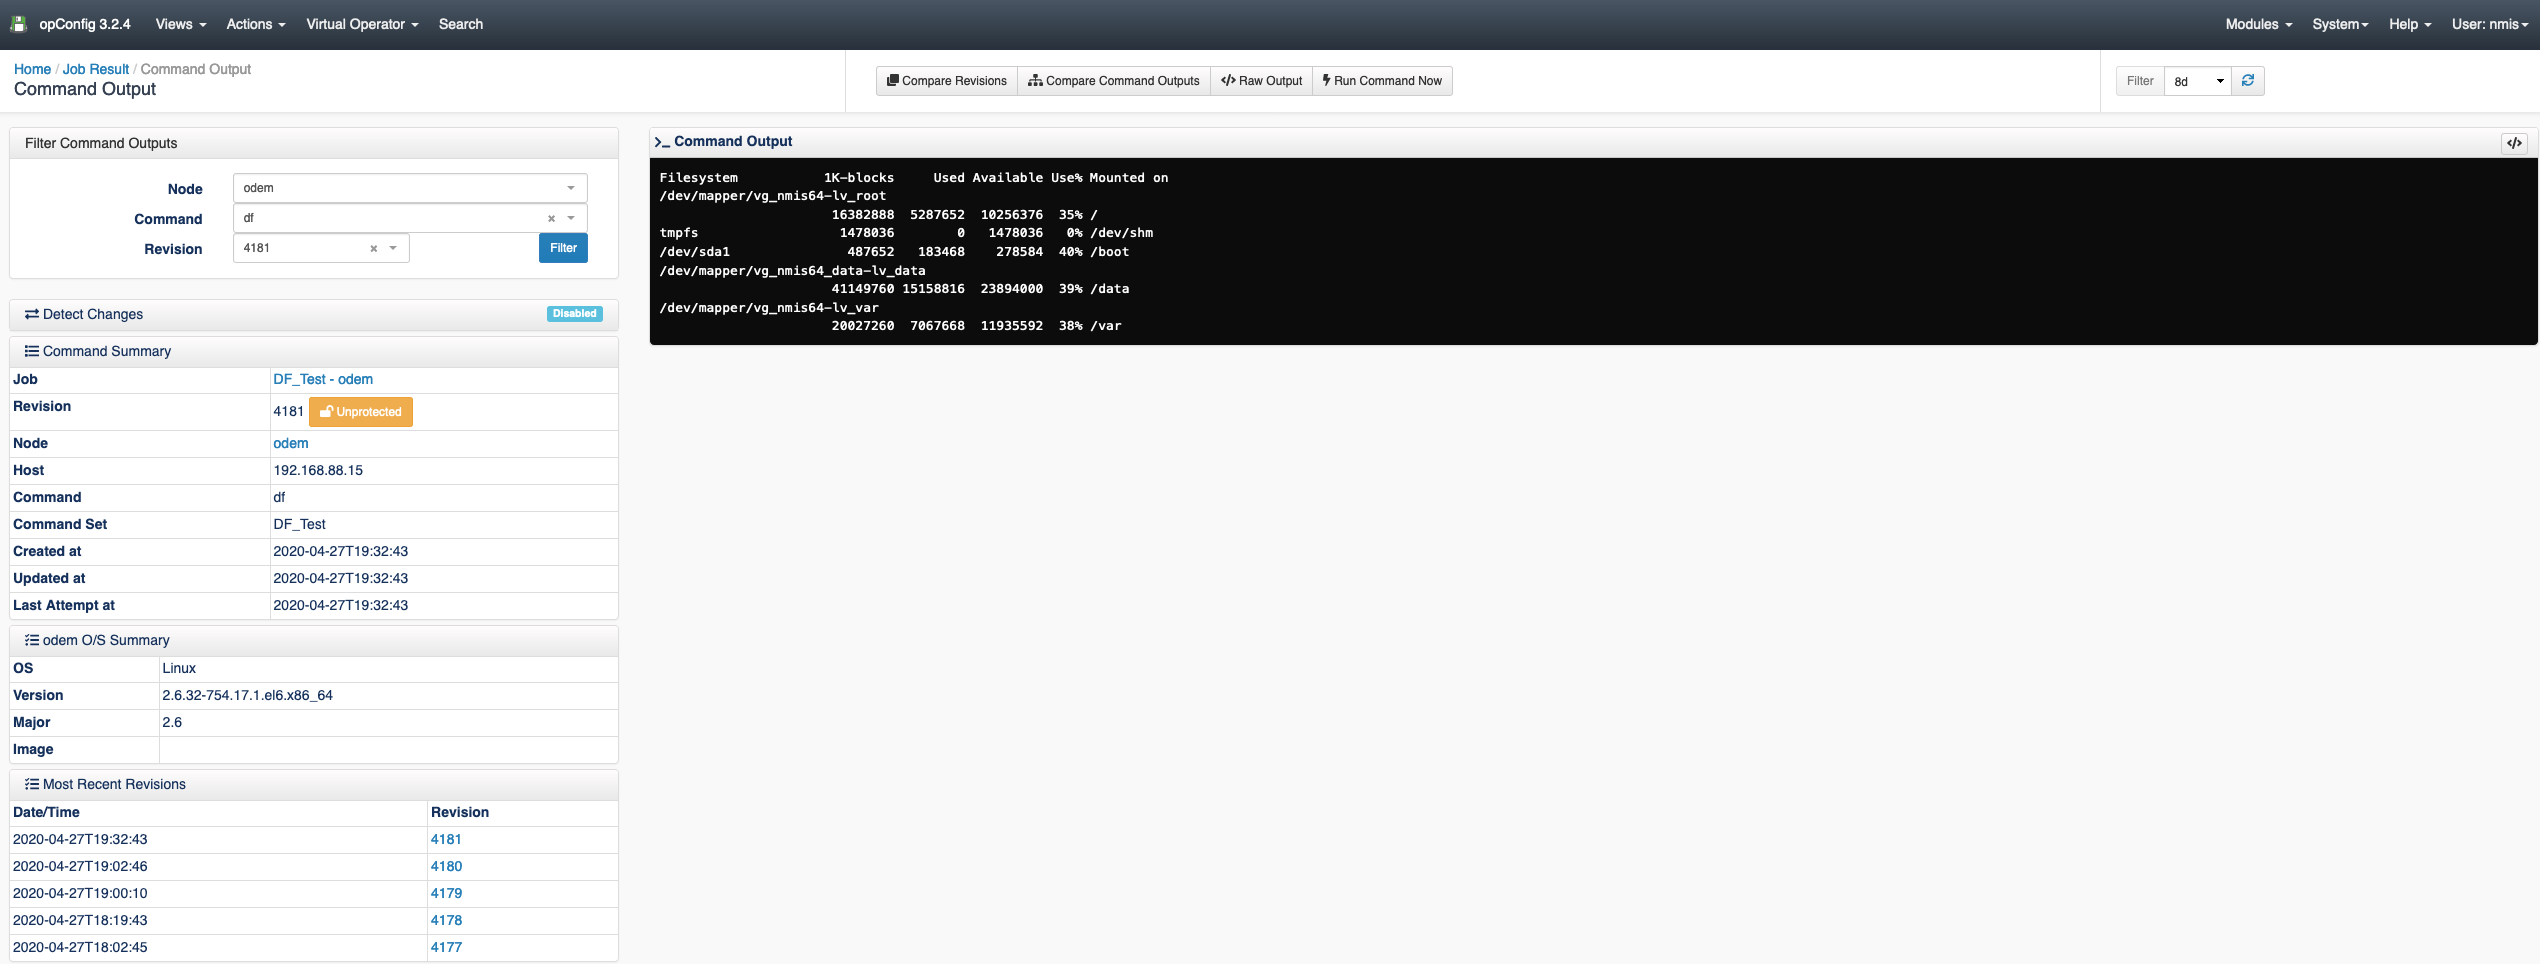
After adding your Quick Action entry to the opConfig_action-elements.json file, navigate to opConfig and select 'Virtual Operator'. As shown in the screenshot below the newly created Quick Action 'Linux Disc Space Test' is now displaying. Click on the button to start the Quick Action.


...