Introduction
Configure SNMPTRAPS to scale up to 300 traps per second. The purpose of this article is to show how to configure the SNMPTRAPD to pull data from the devices to rsyslog. Then, the rsyslog collects the logs into a file to be processed by opEvents. Eventually, the opEvents will apply the filters, parsers, and actions to better use the system management, analysis, and troubleshooting based on the events.
Testing SNMPTRAPS:
snmptranslate -m ALL -M /usr/local/nmis9/mibs/traps 1.3.6.1.4.1.9.9.43.1.1.6.1.5.34
RESULT: CISCO-CONFIG-MAN-MIB::ccmHistoryEventConfigDestination.34
sudo snmptrap -v 2c -c public 127.0.0.1 80000 1.3.6.1.4.1.4818 1.3.6.1.4.1.4818.1 s Event_Gladston

Step-by-Step How to Configure the SNMPTRAPS to Forward Traps to Sylog
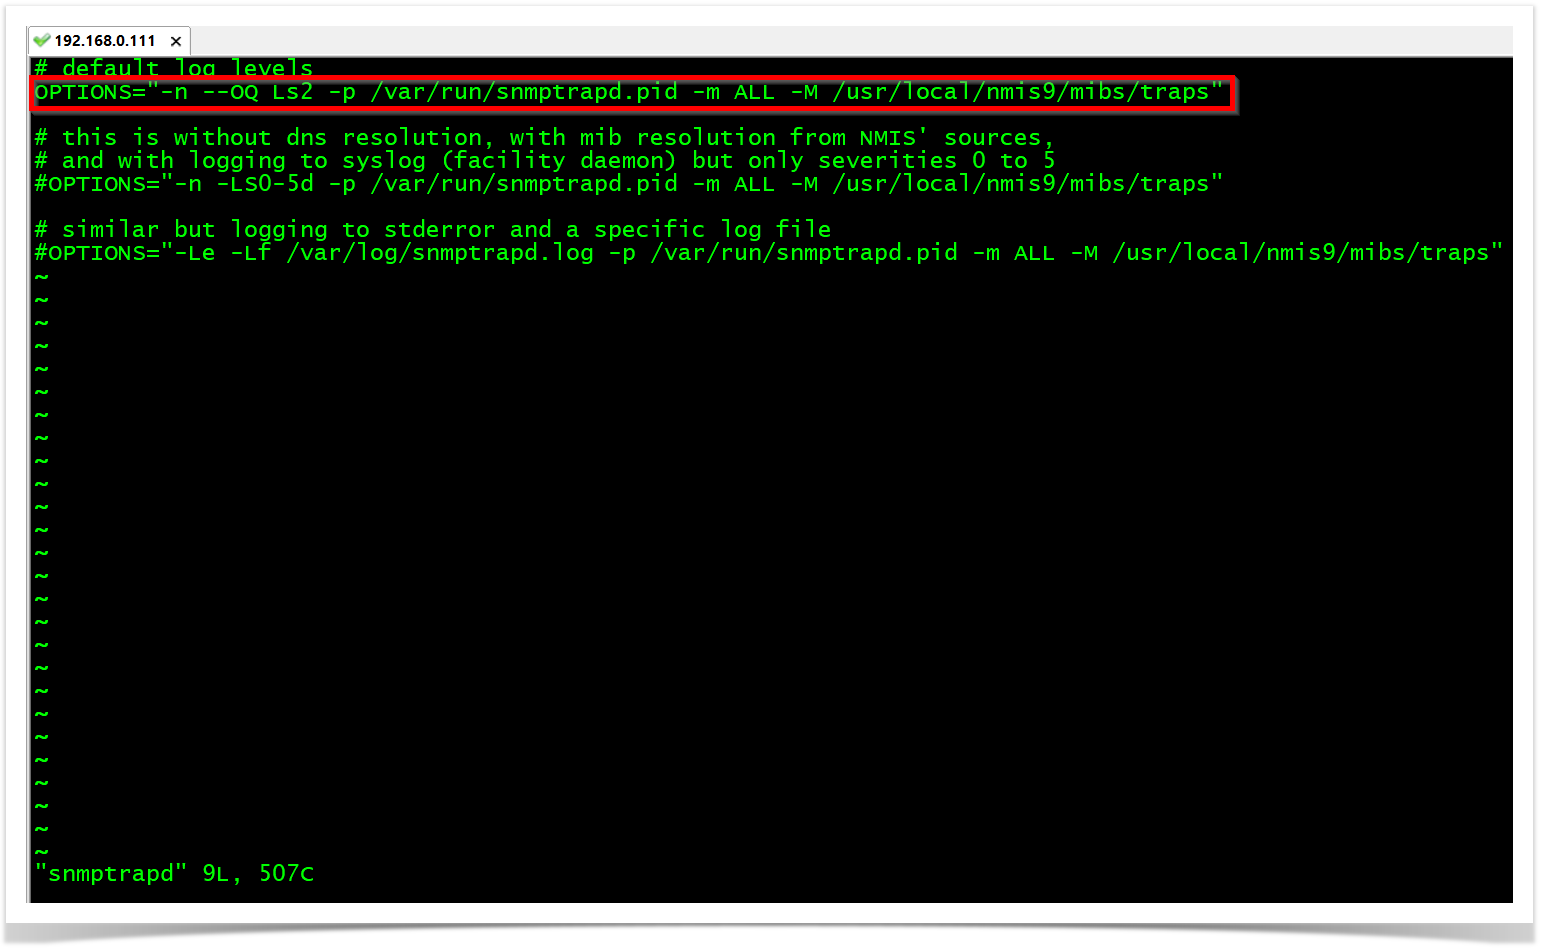
OBSERVATION: The "Ls" option will configure snmptrapd to send logs to syslog. So, "Ls2" specifically configures snmptrapd to send logs from the local2 facility. The facility is a value that indicates which process on the device generated the message.
STEP 1
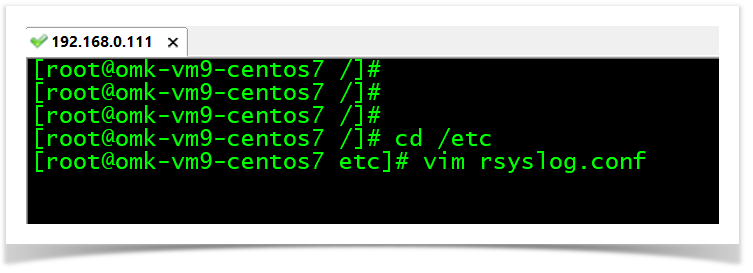
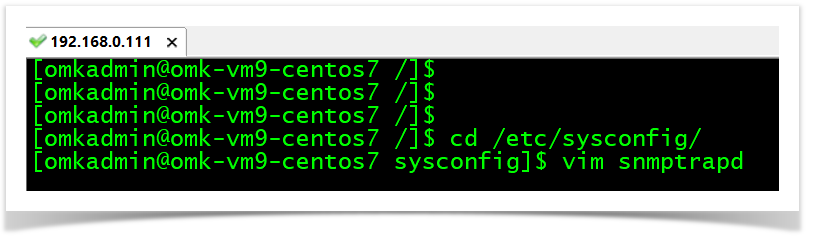
RHEL/CENTOS Linux
cd /etc/sysconfig/
vim snmptrapd
OPTIONS="-n --OQ Ls2 -p /var/run/snmptrapd.pid -m ALL -M /usr/local/nmis9/mibs/traps"
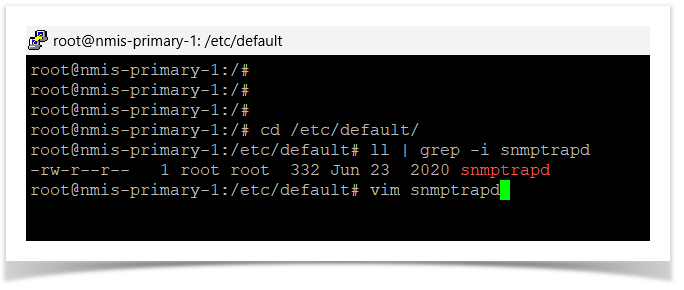
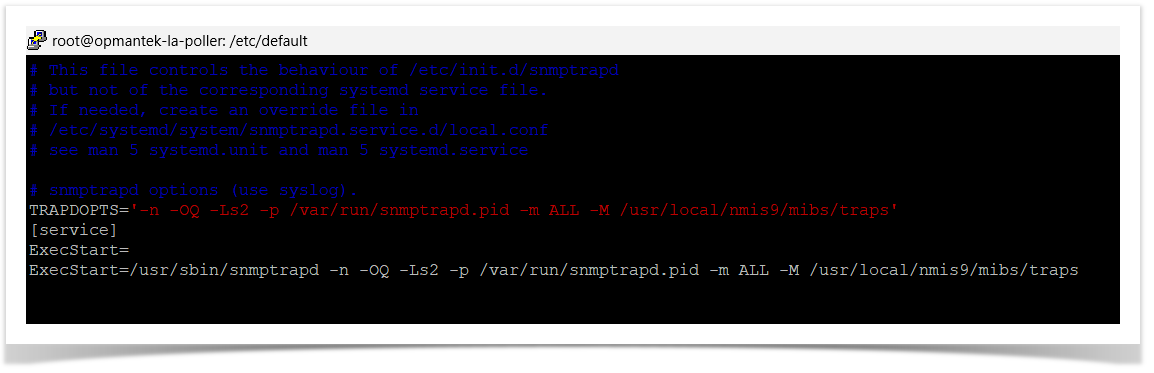
Debian/Ubuntu Linux
cd /etc/default/
vim snmptrapd
TRAPDOPTS='-n -OQ -Ls2 -p /var/run/snmptrapd.pid -m ALL -M /usr/local/nmis9/mibs/traps'
[Service]
ExecStart=
ExecStart=/usr/sbin/snmptrapd -n -OQ -Ls2 -p /var/run/snmptrapd.pid -m ALL -M /usr/local/nmis9/mibs/traps
STEP 2