The purpose of the guide is install and set up from scratch opHA 3.0, the Opmantek High Availability solution.
This guide provides instructions on how to manually install opHA on a server.
Download the latest product version from opmantek.com
Download or transfer the .run using wget, scp or sftp or any transfer tool. Repeat this process for each server involved.
/tmp# chmod 755 opHA-Linux-x86_64-3.0.6.run /tmp# ./opHA-Linux-x86_64-3.0.6.run Verifying archive integrity... All good. Uncompressing opHA 3.0.6 100% ++++++++++++++++++++++++++++++++++++++++++++++++++++++ opHA (3.0.6) Installation script ++++++++++++++++++++++++++++++++++++++++++++++++++++++ This installer will install opHA into /usr/local/omk. To select a different installation location please rerun the installer with the -t option. |
/usr/local/omk, and the default configuration files are in /usr/local/omk/conf, ready for your initial config adjustments./usr/local/omk/install.log, and subsequent upgrades or installations of other Opmantek products will add to that logfile.If the installation was successful we will be able to see this message:
If your browser is running on the same machine as opHA was installed onto, this would be http://localhost/omk/opHA/ |
This URL should present you with a webpage that allows you to enter a license key and accept a EULA. This step will need to be completed on each opHA instance.
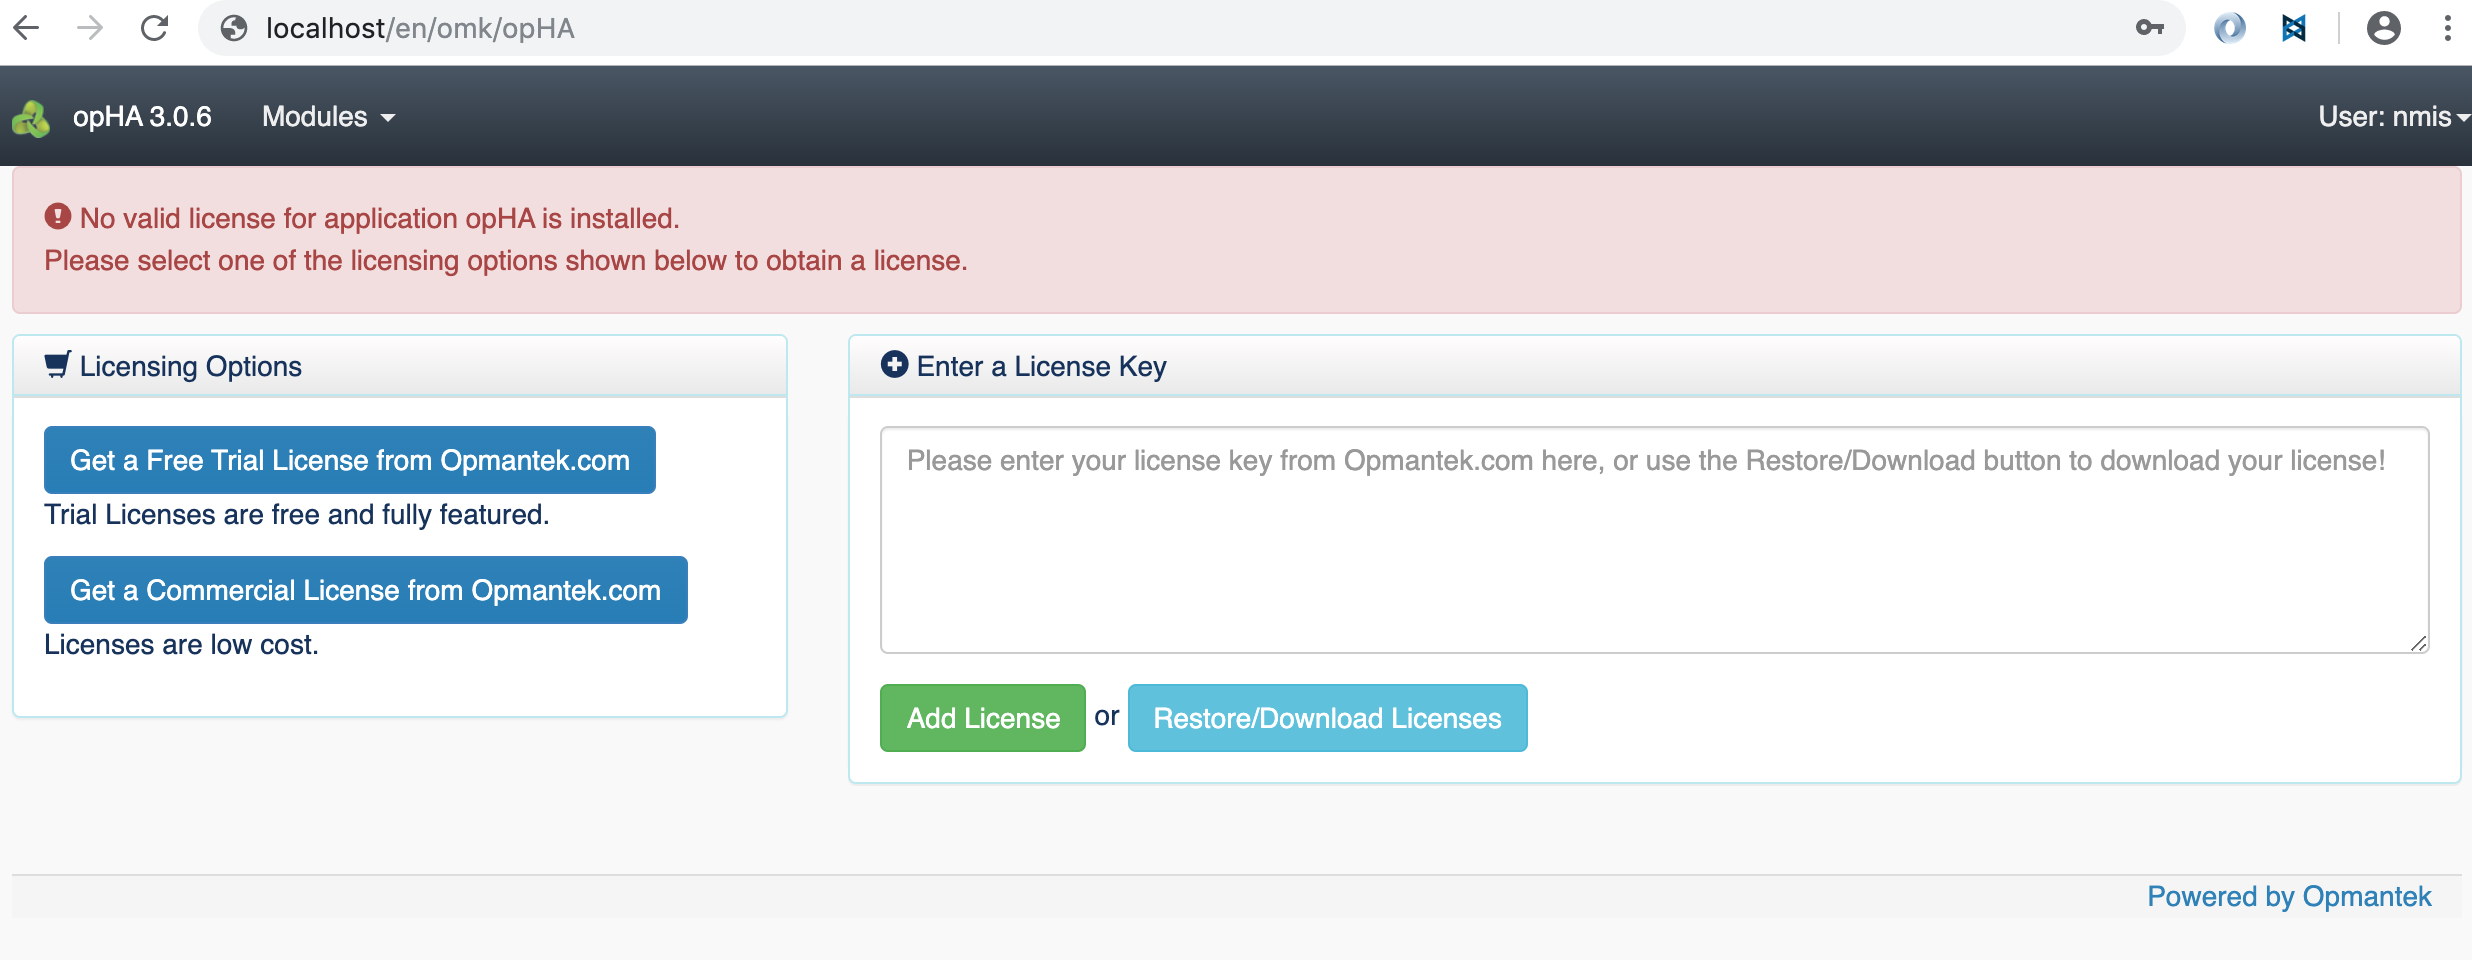
After successful license key and EULA acceptance you will be presented with a dashboard that looks like this:

opHA needs to be installed in all the servers - Masters and pollers - but we will be using the GUI only from the master server.
Here you can find how to perform the basis to start running opHA.
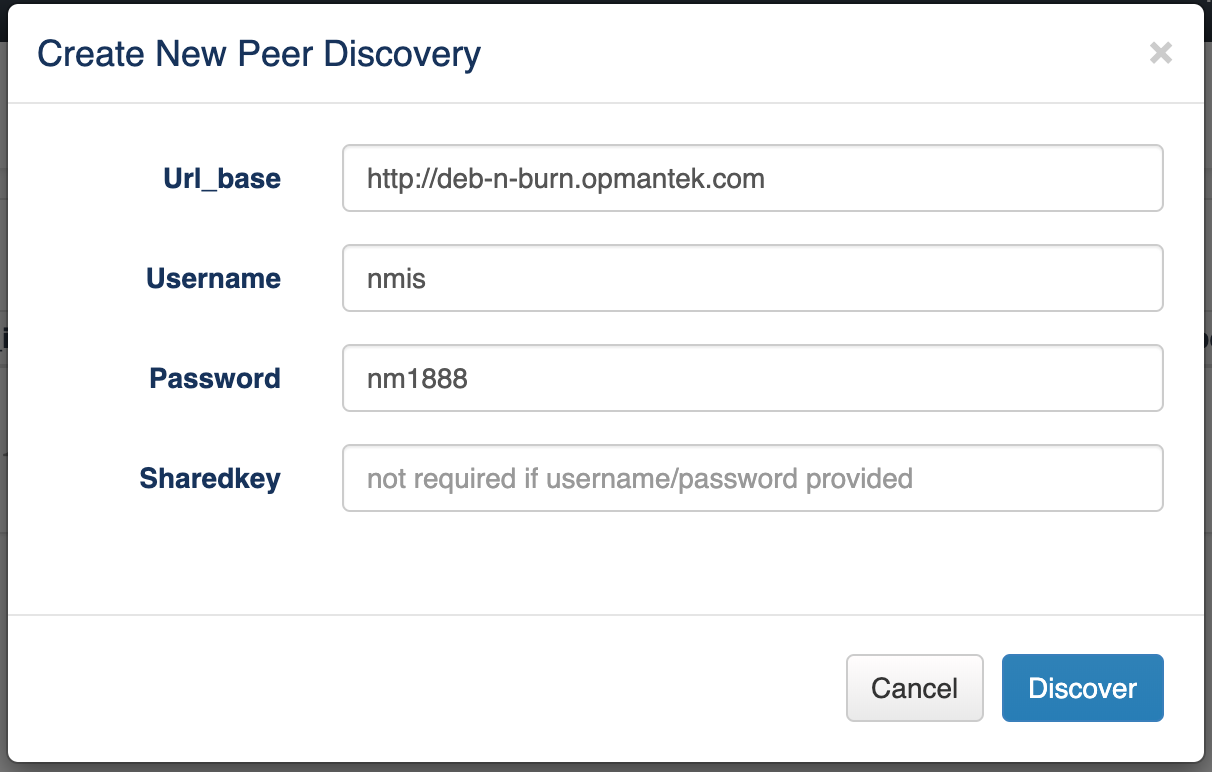
We can add pollers using the Peers screen, in Discover New Peer button:

We need to introduce the follow information for the Discovery:
Once the peer was successfully discovered, we can edit the peer configuration - but it is not needed by default:
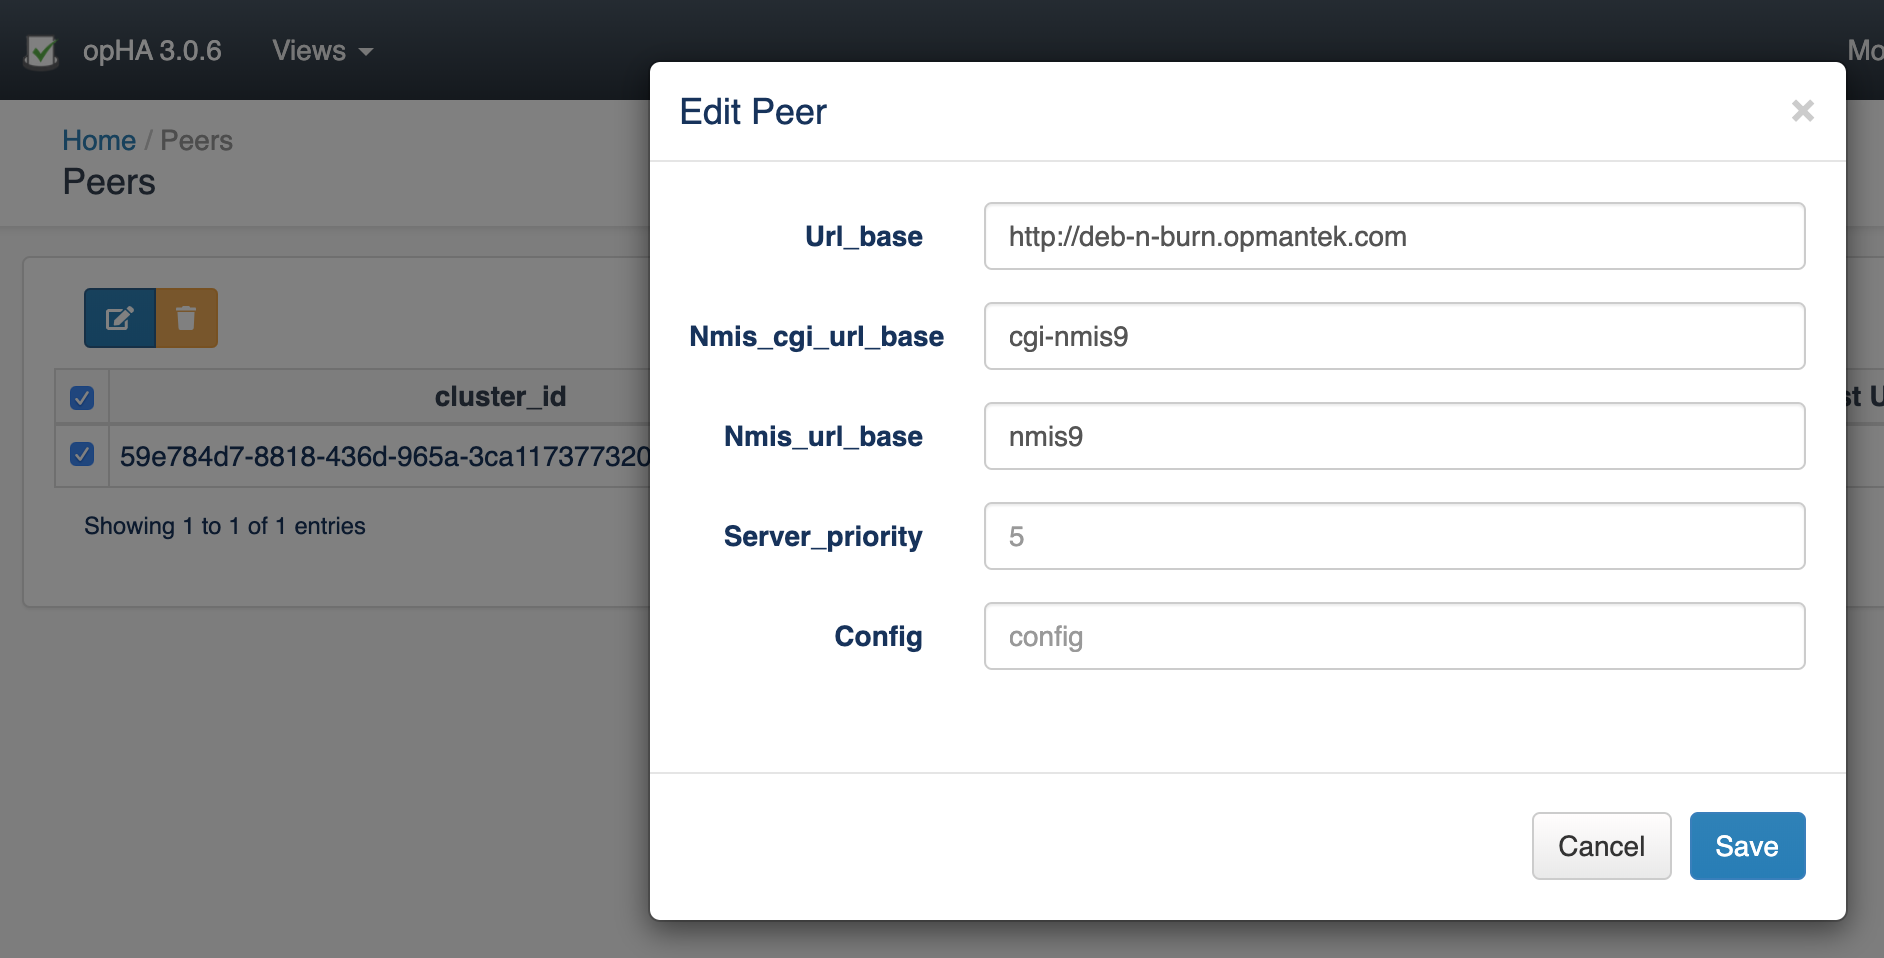
You MUST set the "opha_url_base" on the POLLER to the https:// url for the poller before doing discovery. In setting opha_url_base you must also set the opha_hostname to match the fqdn. If the opha_url_base is blank the master will connect to the poller but on receipt of the pollers information it will swap the https:// URL for http:// and the discovery will then fail. |
Once a peer is added, we can pull the peer to synchronise all the data:
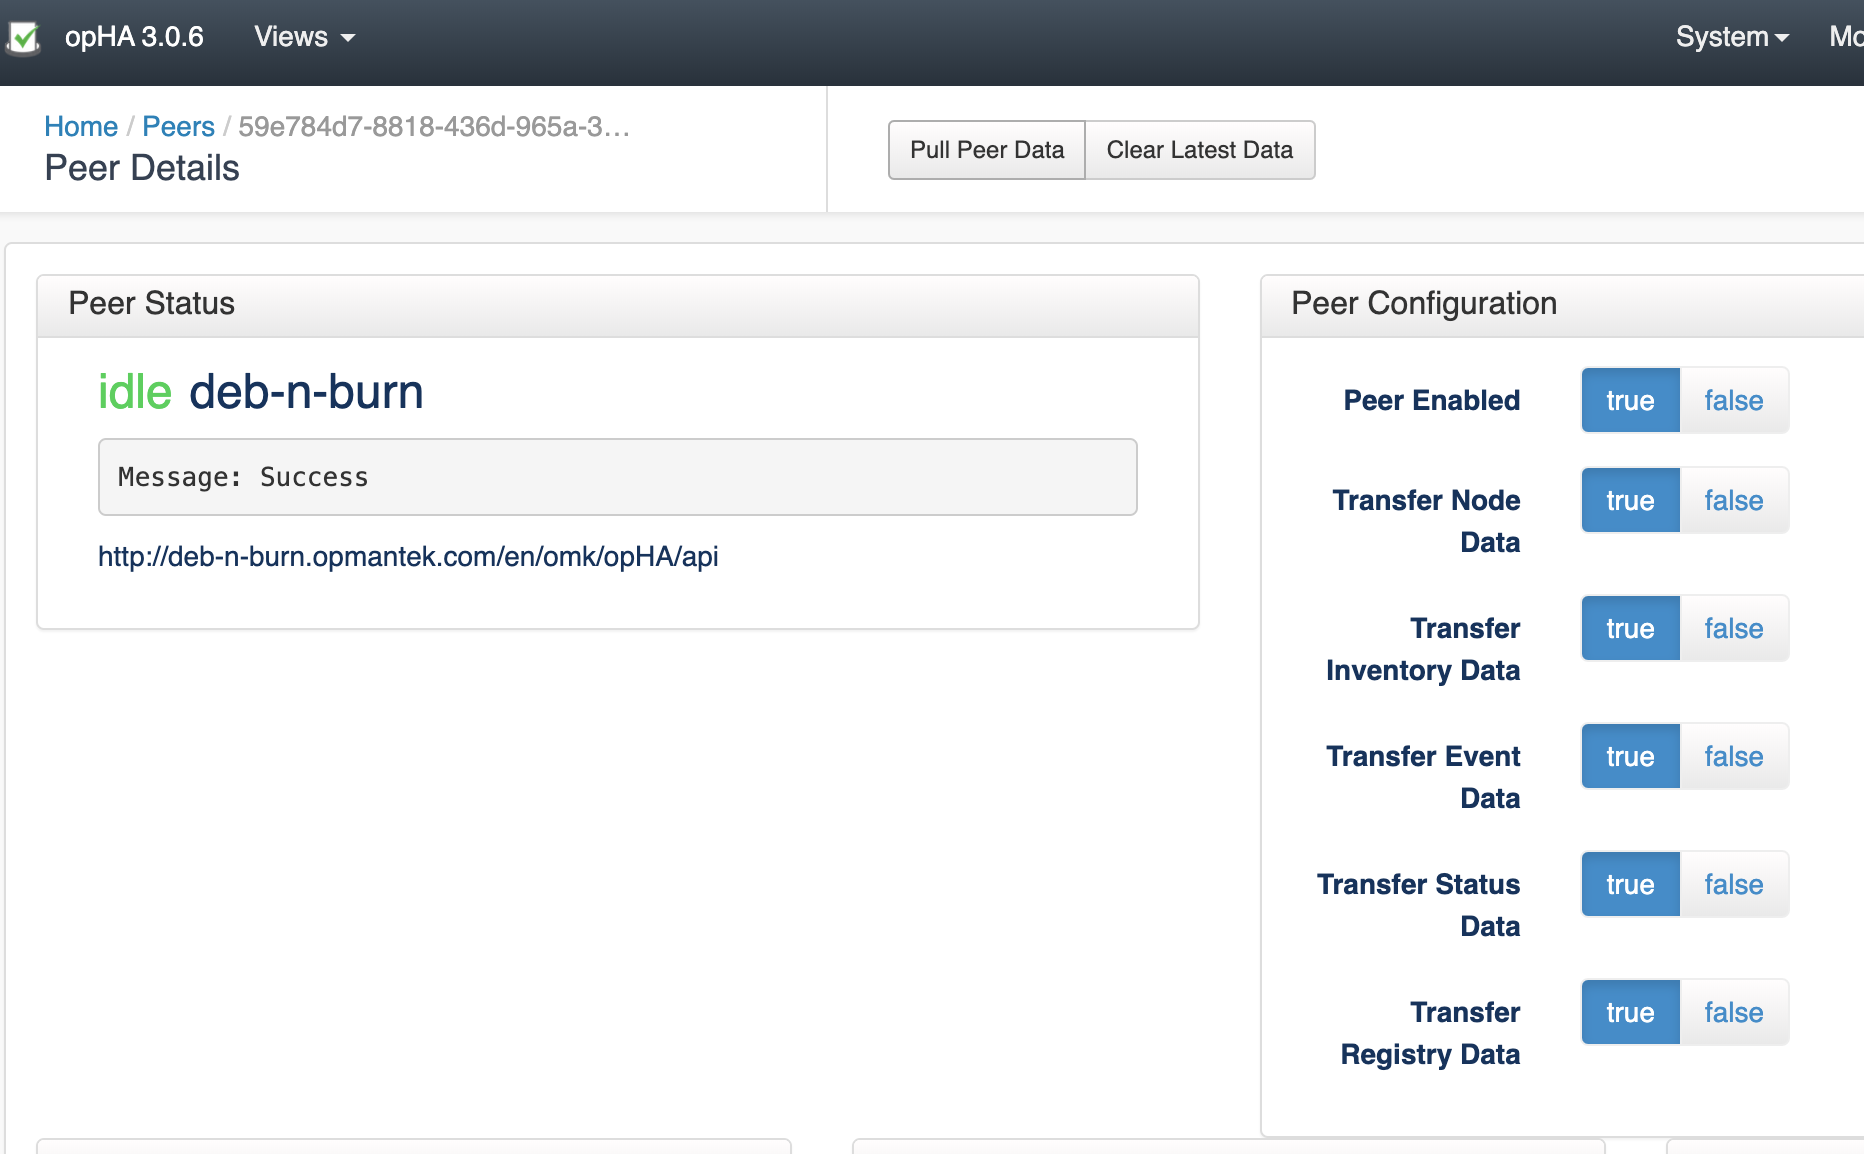
We can also use the opHA cli tool to synchronise the data - and use it for another actions:
/omk/bin# ./opha-cli.pl
Usage: opha-cli.pl act=[action to take] [options...]
opha-cli.pl act=discover url_base=... username=... password=....
opha-cli.pl act=pull [data_types=X...]
opha-cli.pl act=<import_peers|export_peers|list_peers>
opha-cli.pl act=delete_peer {cluster_id=...|server_name=...}
opha-cli.pl act=import_config_data |
With this tool we can automate the synchronisation process with a cron job to keep all the data up to date.
Once we have synchronise a peer we will be able to see its data from NMIS or opCharts from the master.

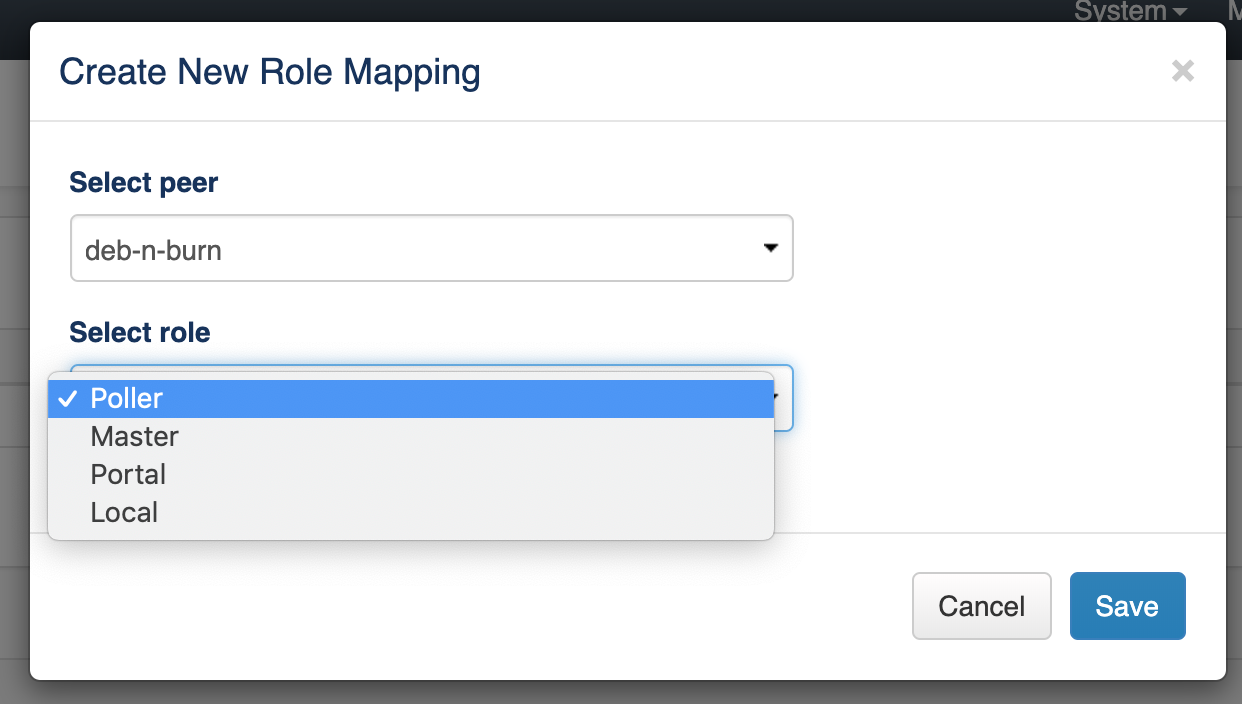
We can assign roles to peers using the configuration menu > Role Mapping:

By default, the system creates the next roles:
But it is possible to update them though the configuration file.
Once we add a new peer, we can assign a role through this menu:
opHA version 3.0.5 brings a new feature to modify the NMIS and omk configuration from the master server. The centralised configuration feature allows to manage easy and quick a large network of multi-servers network.
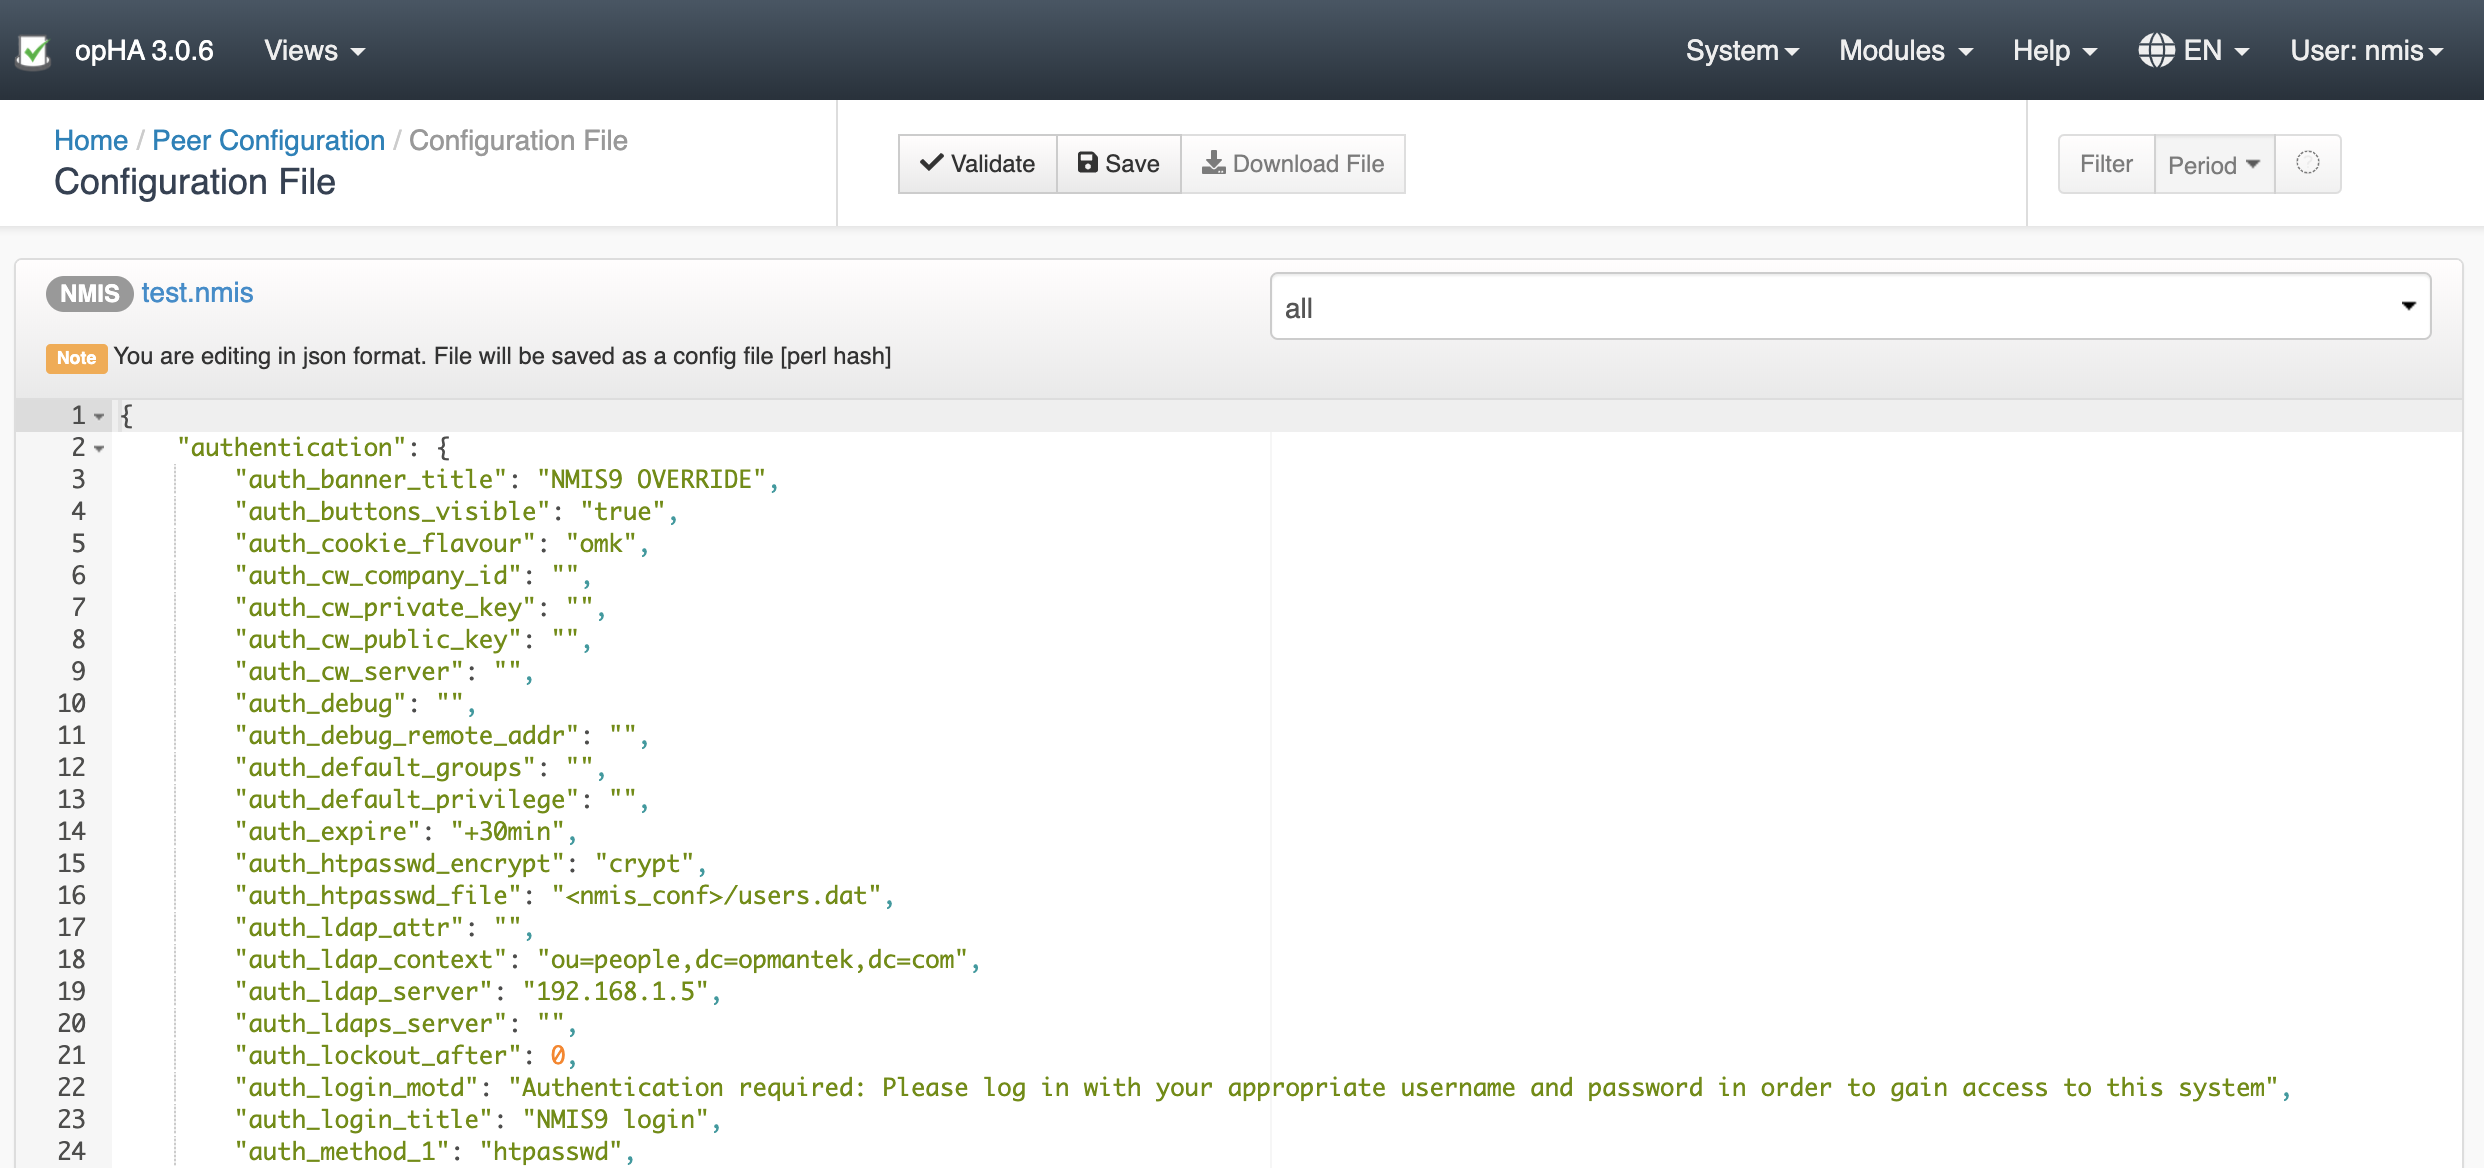
It is important to note that once NMIS is updated from a master, cannot be edited from the poller.
We can check the opHA activity from the activity menu:

We can check the peer status in the opHA Home index:
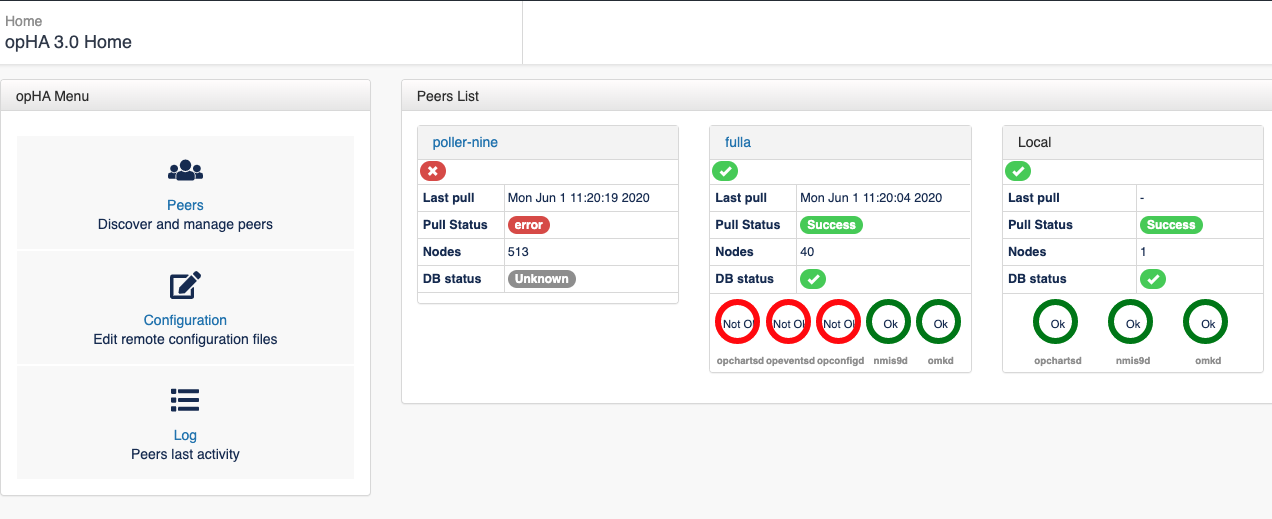
opHA will check in every pull the status of the peer using the endpoint:
http://host/en/omk/opHA/api/v1/selftest |
When we discover a peer, we use the URL_base setting to access to the remote server:
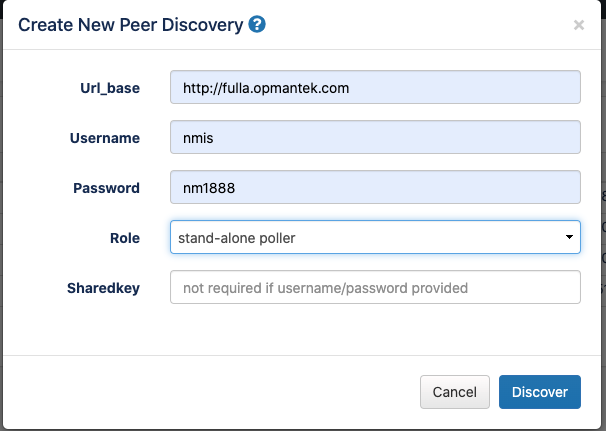
These are the details that opHA is going to use to negotiate the data to be saved from the poller for the data synchronisation.
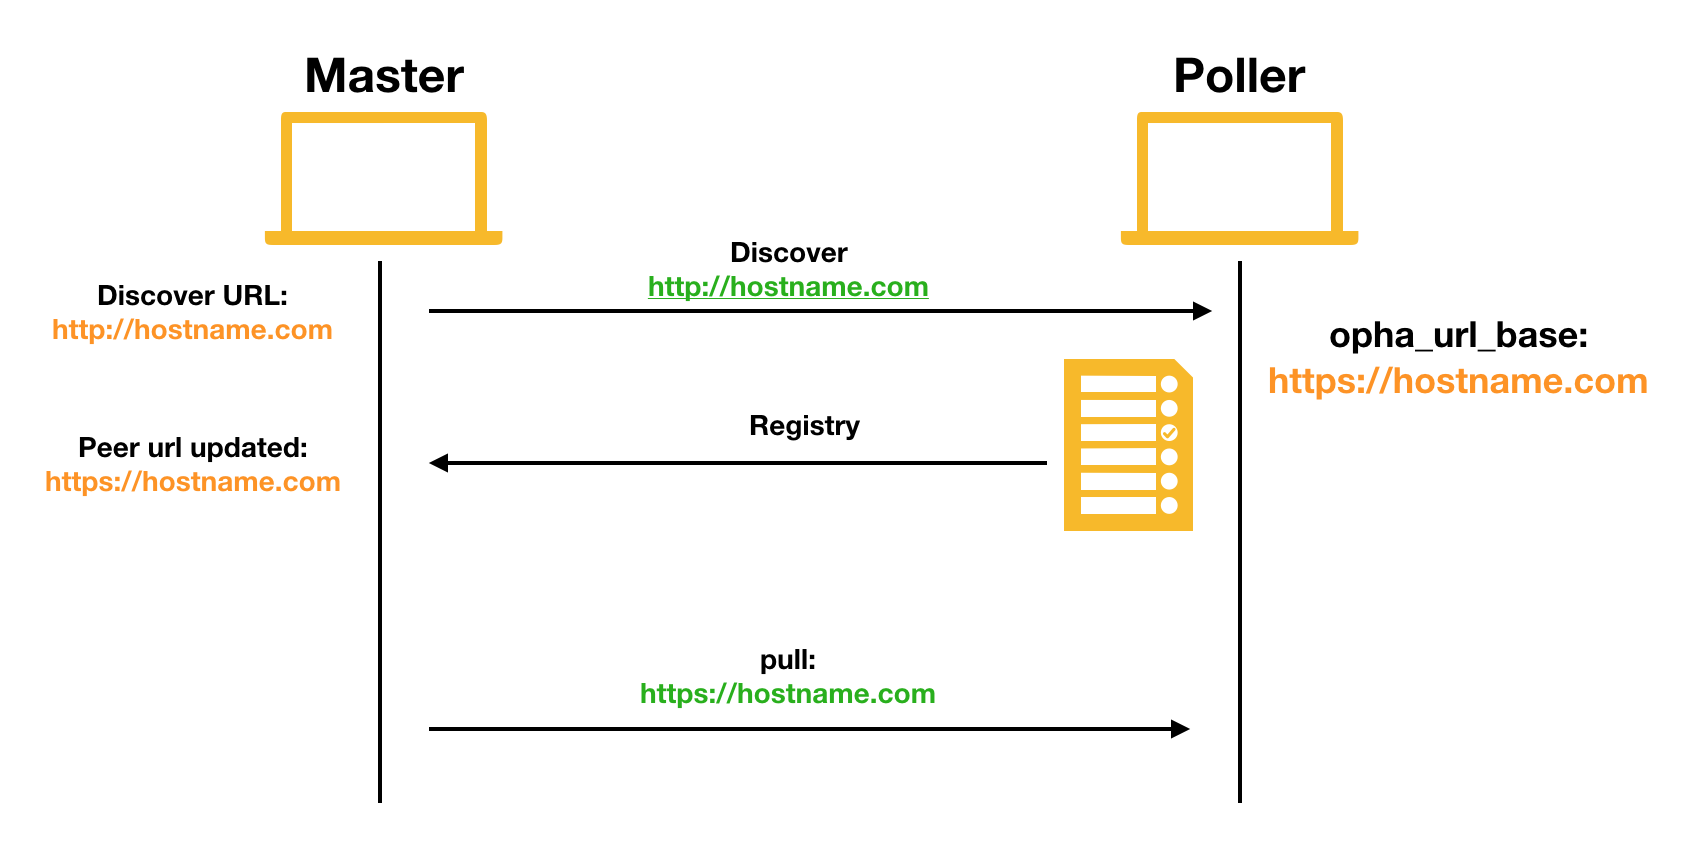
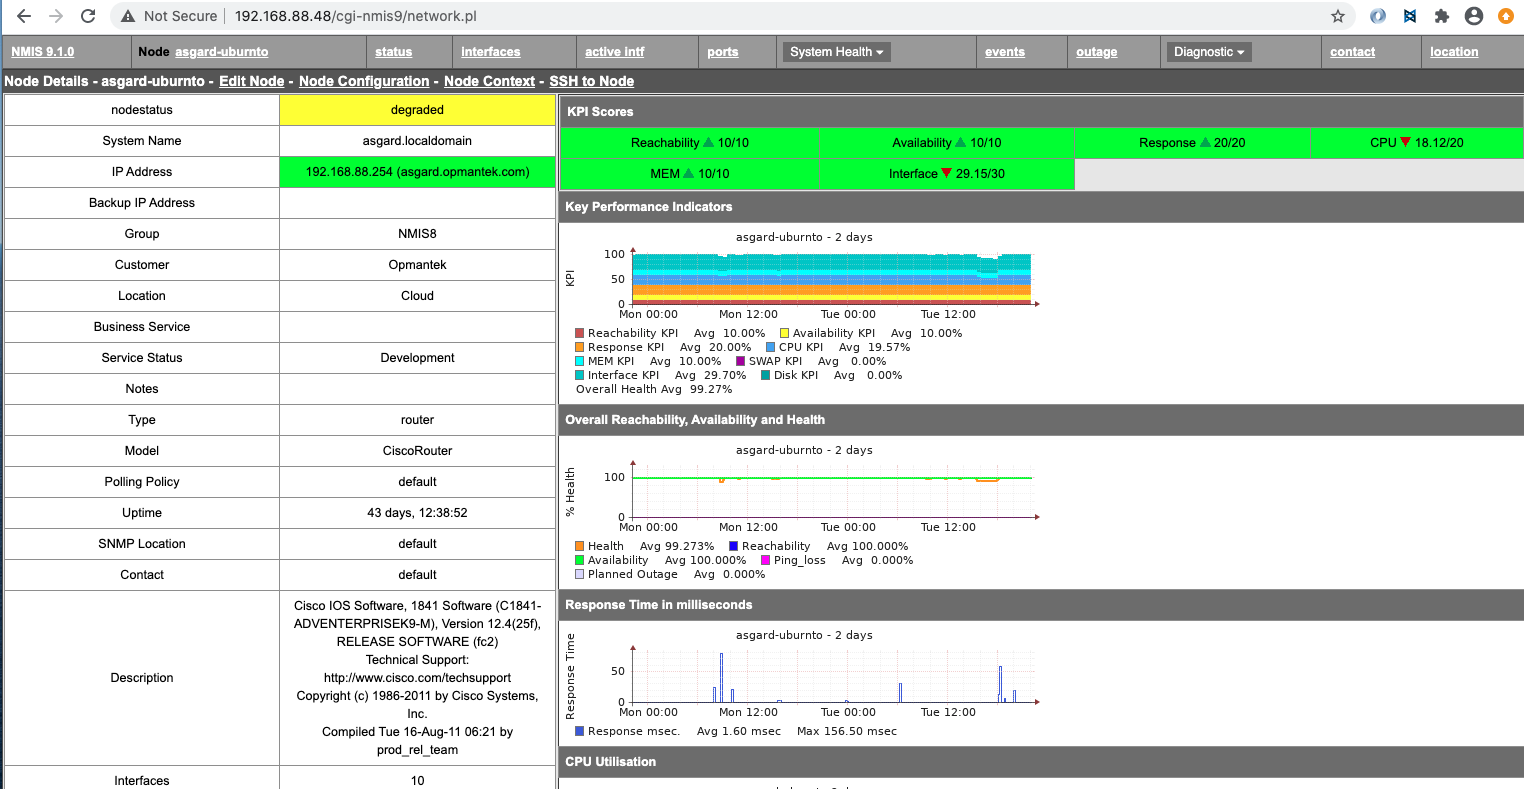
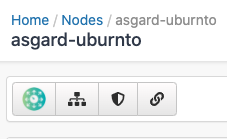
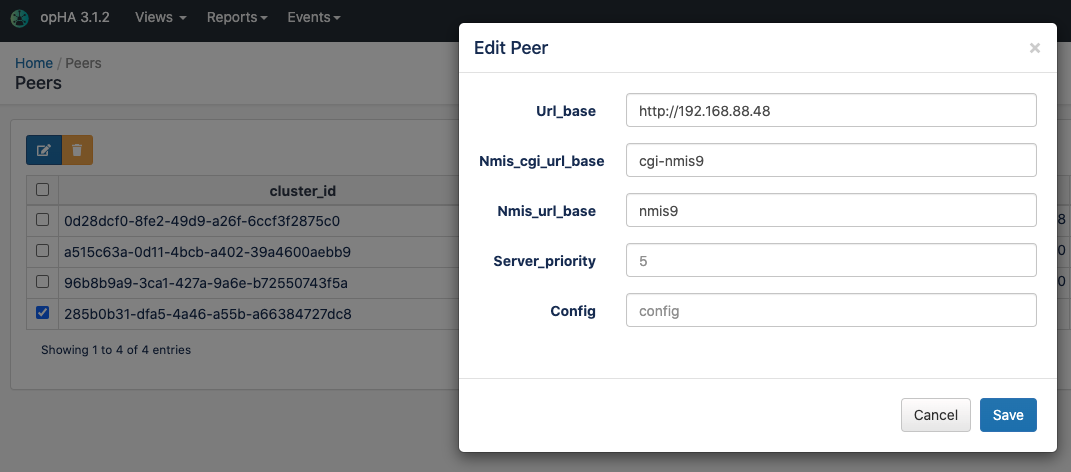
In the opHA synchronisation, the registry data for each product configured in the server will be send to the master.
Each registry has a url property. In the opCharts case, it will be used to see the graphs from the poller.
If the registry of the poller is not being generated or the registry pull fails or is not performed, the graphs will not be loaded. So, to make sure everything works:
http://host/en/omk/opHA/api/v1/registry

In the following url, http://server/en/omk/opHA/peers/CLUSTERID you can perform several actions about the following peer capabilities:
opha_api_user: From opCommon.json config file
opha_url_base: From opCommon.json config file
Starting from version 3.2.0, we have made significant changes on our internal shared code for all our applications to work on Opmantek's latest and fastest platform, however, previously installed product are not compatible with this version.
To find out more about this upgrade please read: