...
- Unzip the virtual appliance file
- Use the OVF (Open Virtualization Format) file (VMware and VirtualBox examples provided)
- Fire up the new VM and , optionally set the a static IP address
- Load Access NMIS and the other Opmantek applications in your browser
Let's assume you've got step 1 under control (unzipping) and move to step 2.
...
Remember to set the name you like, the datastore you want and point it at the server you want to deploy to.
4. Upgrade the Virtual machine hardware version (optional)
The Opmantek Virtual Appliance ships with the virtual machine hardware version set very low for maximum compatibility, but you may want to upgrade the hardware version to a higher level (to leverage performance benefits, remove memory limitations etc.) as described on the VMware website.
VirtualBox
VirtualBox will import directly from an OVF file so you can just fire up VirtualBox and select "Import Appliance..."
...
The Windows Hyper-V technology does not fully support the OVF industry standard. Microsoft documents a complex and somewhat limited procedure on their page about converting OVF files to Hyper-V. There are third-party conversion tools available that simplify this deployment scenario, for example StarWind's free V2V Converter which worked well in our tests.
Fire up the VM and set
...
a custom IP Address, DNS... (optional)
At this point the VM has DHCP enabled, and therefore it will receive a dynamic IP address suitable for your environment. The easiest way to access the VM at that point is from the virtualization software terminal. So go ahead and boot the VM, after . After the VM is finished booting you will be welcomed by a login prompt. First, log in using the default credentials.
...
Please note that by default the Opmantek VM Appliance does NOT have a firewall enabledactive. If you would like local firewalling on your VM, you can easily enable that:
...
| Code Block |
|---|
rm -f /etc/udev/rules.d/70-persistent-net.rules reboot |
Accessing the
...
Application Modules on the VM
The VM will boot By default the VM boots with DHCP enabled, and once you determine the hostname or IP address of the VM you can access it a web browser using a URL like:
http://nmis.domain.com/ or http://192.168.1.8/
You will be presented with a menu of the installed tools, NMIS and Open-AudIT.similar to the following screenshot:
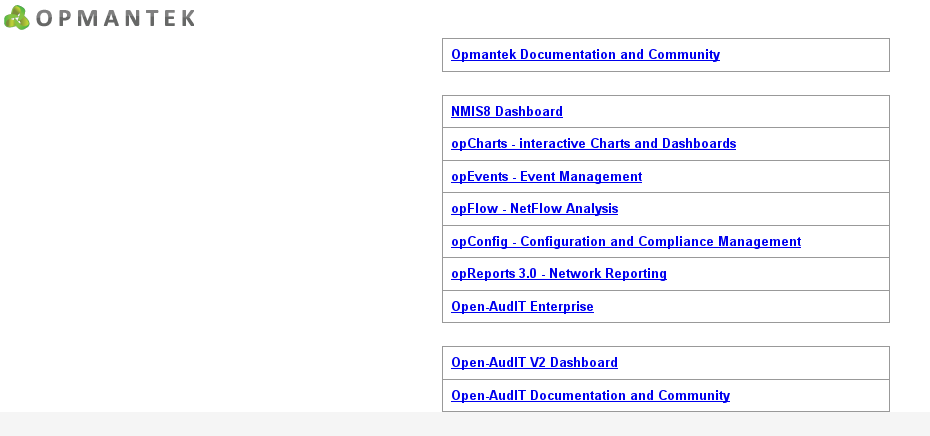

You can either use this menu, or navigate directly to NMIS, Open-AudIT or any of the Opmantek applications.
Simply : open your favourite web browser and navigate to:
...
http://<vm
...
ip
...
address>/nmis8for NMIS,http:/
...
/<vm ip address>/open-auditfor Open-AudIT Community,- or
http://<vm ip address>/omkfor the list of all Opmantek applications.
The default access credentials are username "nmis8", password "nm1888" (more info regarding credentials can be found on this page).
Once you've got either the NMIS dashboard or one of the Opmantek application dashboards open, you can also navigate between modules using the "Modules" and "NMIS Modules" menus, respectively.
Application Module Licensing
User: nmis
Password: nm1888
Configuring Modules
The first step to using a module is knowing how to open it, the next is to get a license for it. This process is simple and painless: all products on the appliance (except opFlow) now support free licenses (which are not time-limited but limited to 20 nodes). For these applications the initial dialog offers the generation of such a free license; For opFlow please use the Trial License system as described below.
Opening a module
There are two ways to open the modules, by using the drop-down in the NMIS page (make sure you do not have pop-up's blocked for this page):

or by manually entering the url into your browser:
...
.
You can also use the "opLicensing" module (reachable at http://<vm
...
ip
...
address>/omk/
...
The latter url will present you with a clickable list of installed Opmantek application modules and their versions.
Getting a trial license (opFlow only)
opFlow shows a page similar to the following when no license is installed:

You will now need to get a license key and enter it into the licensing system, the easiest way to do this is by clicking "View and Enter Licenses" button. This will open a new tab/page containing the opLicensing module. On this page you will again need to click a button, it's time to choose if you want a trial license or if you would like to buy a license.

This will bring you to https://opmantek.com/trial, select the products you would like to try and click "Get Trials". If you are not logged in you will need to do so now, you can join our community if you haven't already done so by clicking the "Join Now!" link in the login window.

After logging in and clicking "Get Trials" you should see a page notifying you that you have sucessfully added a trial to your account. To activate a license for a module click the "Activate" button for that module.

Enter your company name and then select "Activate"

You will now be presented with your license key for the product you selected. You will now want to select the key text (right click -> select all) and copy it to the clipboard (right click on selected text -> copy)

Now it's time to return to the opLicense tab and click "Enter a License Key"

Paste the license key into the textbox provided and click "Add License".

You should now have a sucessfully installed key!

Now return to the tab/window of the module you were activating and click "License Entered, Continue"

Accept the EULA:

And you're Done! The next step is to make sure the configuration for the module you activated is correct & complete.
opFlow Configuration
Configure your Cisco Router
I will discuss a very basic configuration.
On the interface you want to collect flow traffic from, add:
| Code Block |
|---|
ip flow ingress
ip flow egress |
Now that you have an interface setup to gather netflow information you have to tell the router to send it somewhere:
| Code Block |
|---|
ip flow-export version 9
# replace the ip address in the following line with your VM's ip address
ip flow-export destination 192.168.0.10 12345 |
If you enable that configuration netflow traffic should now be sent to your VM.
By default netflow will send information about flows after they are finished, if you would like to see information more often you can set the flow-cache timeout, in minutes, so this will send flow info every minute (see the docs for more details):
| Code Block |
|---|
ip flow-cache timeout active 1 |
opFlow will now be displaying your data! Visit http://<vm_ip_address>/cgi-omk/opFlow.pl and take a look! (also make sure you have a license)
ps. Authentication info for Opmantek modules is the same as it is for NMIS, the default is:
username: nmis
password: nm1888
...
opLicense or from the Modules menu) to manage your licenses comfortably (including the ability to download previously purchased licenses from the Opmantek website). More info about opLicensing can be found here.
Exploring and Configuring Application Modules
All modules on the Virtual Appliance come with their configuration set to very minimal but safe defaults; to explore the full functionality available you will very likely have to make config modifications to suit your environment. These configuration options are all documented on this site, the Opmantek Community Wiki, in the per-application section (or "Application Space"); certain common, shared aspects are discussed in the "opCommon" space.
For all recent Opmantek applications you'll find links to the respective sections of Wiki in the "Help" menu (usually under "Online Documentation"); there's also an online version check on the "About" page which helps with keeping your modules up to date.