Create a Map
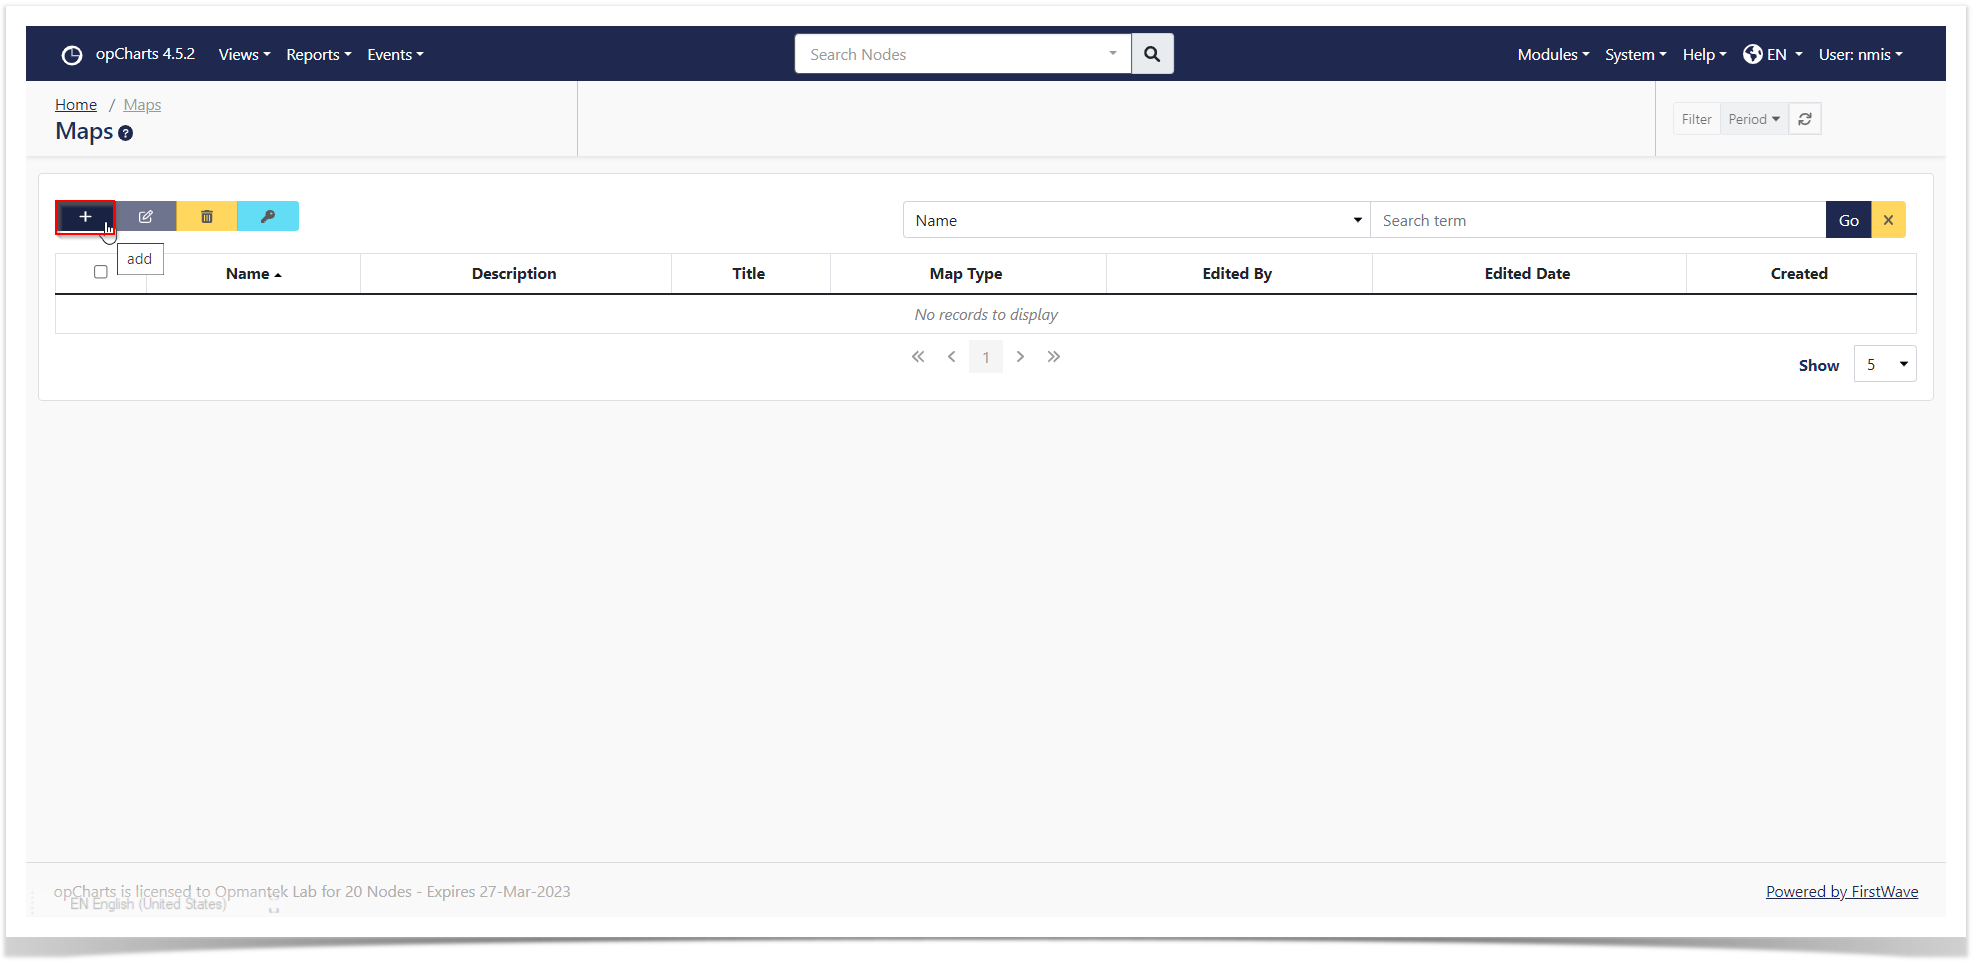
The first step is to create a Map. Navigate to Views -> Maps.

Click on the blue '+' button.
Create Custom Groups
A create map section should render. At a minimum fill in the 'Map Type' and 'Map Name' fields. Then select 'Add Custom Group'.
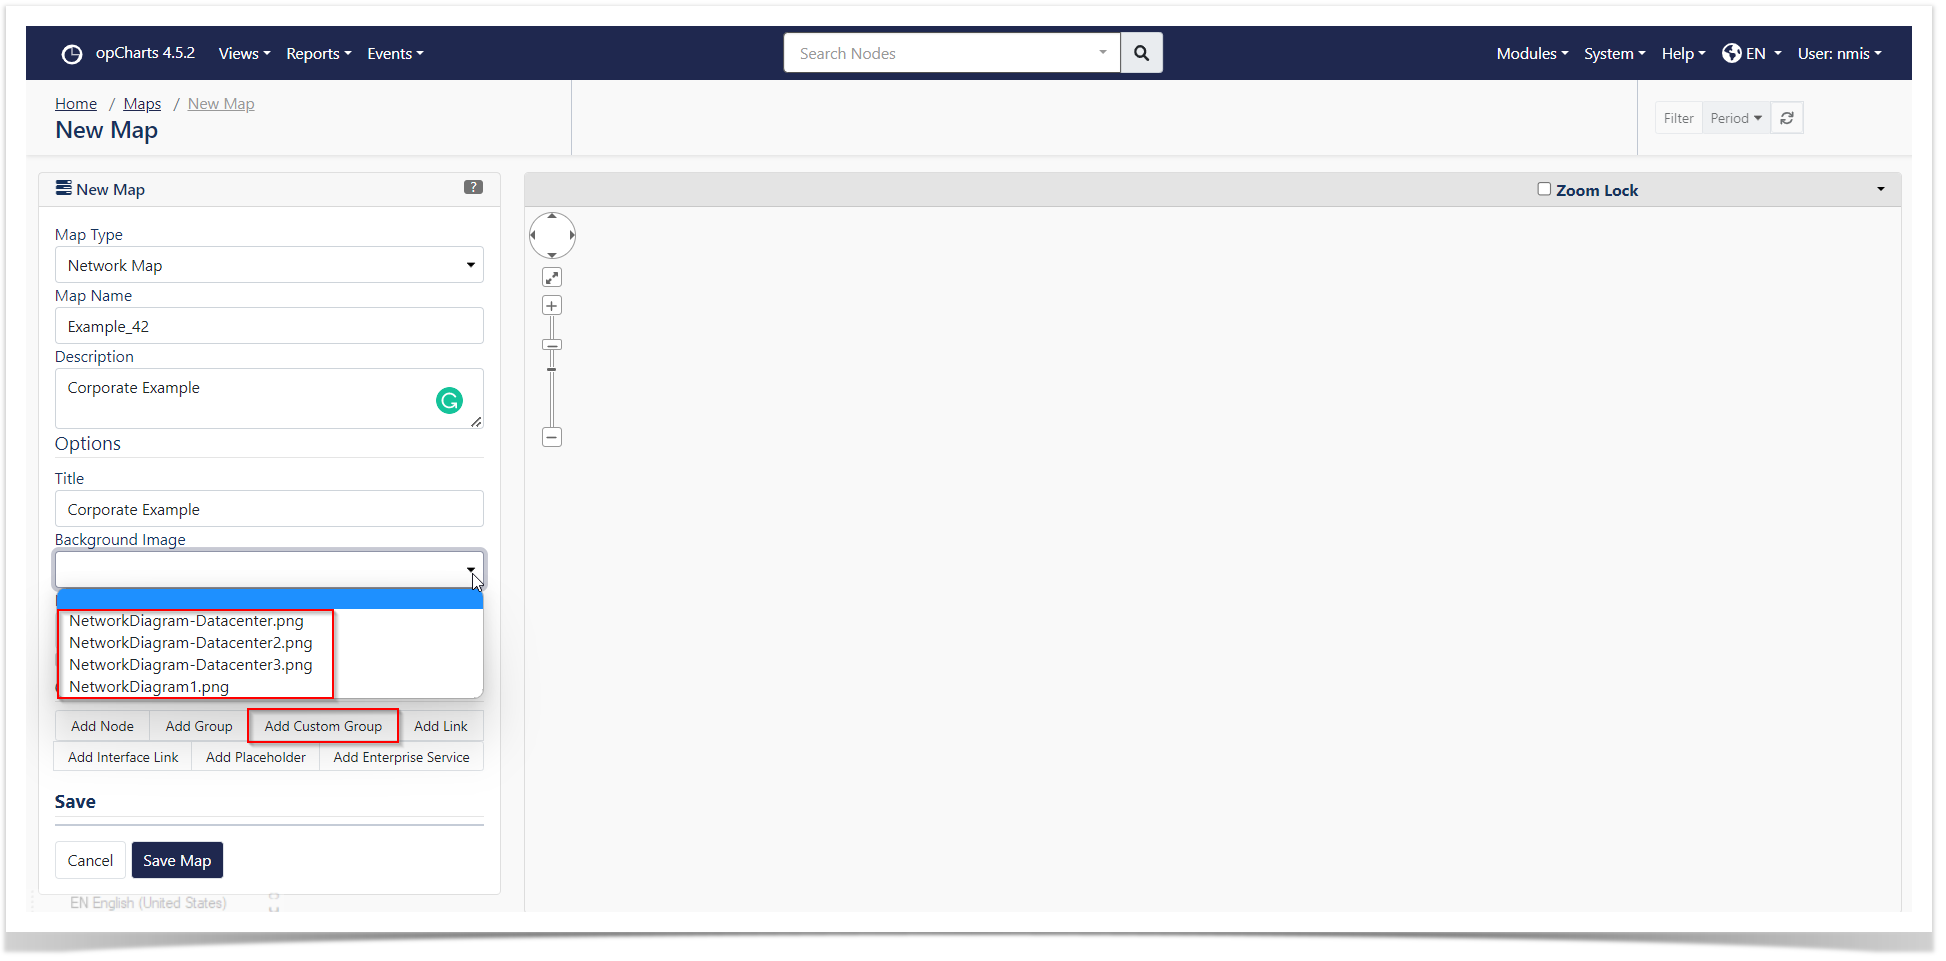
Selecting 'Add Custom Group' will render the page below.

Select the desired custom attributes. For this example Customer:Corporate & Node Role: access
...
was selected. Select 'Add' to same this custom group to the map. Repeat this process for all desired custom groups.
Save the Map
Once all the custom groups have been created, arrange them as desired and select 'Save Map'.

Review the Map
After saving the map it will render as below
