...
When faced with this obstacle reboot the vm selecting the rescue kernel.
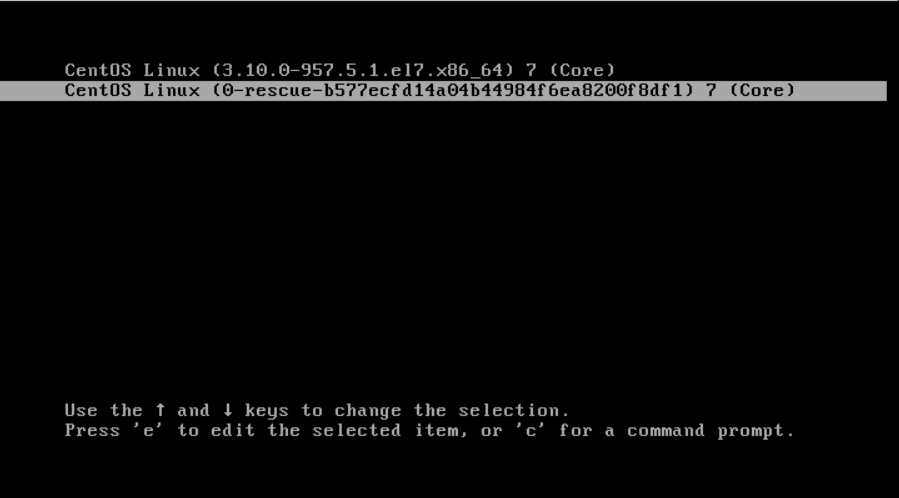
After it boots login as normal and try the try the following dacut command.
...
At this point the VM has DHCP enabled, and therefore it will receive a dynamic IP address suitable for your environment. The easiest way to access the VM at that point is from the virtualization software terminal. So go ahead and boot the VM. After the VM is finished booting you will be welcomed by a login prompt. First, log in using the default credentials.
You now have three options to configure custom networking If it's desirable to customize the network settings we offer the following options:
- Option #1 - Manual configuration
The VM appliance is a normal CentOS 6 7 system, hence all the mechanisms for network configuration in CentOS are available.
Most specifically you'll be interested in the files/etc/hosts,/etc/sysconfig/network,/etc/sysconfig/iptablesand/etc/sysconfig/network-scripts/ifcfg-eth0<interface_name>. - Option #2 - Use our example network configuration files
Root's home directory contains 2 example network configurations, one for static IP's and one for DHCP. Copy the one you require to
/etc/sysconfig/network-scripts/and edit it to suit:Code Block cp ifcfg-eth0.static /etc/sysconfig/network-scripts/ifcfg-eth0
Now set the IP, netmask, gateway, and DNS if you like ( to add DNS you can add two lines, one for each server: DNS1=ip , DNS2=ip similar to the example below); finally, run
service network restartto activate.
Option #3 - Use the menu-based toolCode Block DEVICE="eth0" NM_CONTROLLED="yes" ONBOOT=yes TYPE=Ethernet BOOTPROTO=dhcp DEFROUTE=yes PEERDNS=yes PEERROUTES=yes IPV4_FAILURE_FATAL=yes NAME=eth0 HWADDR=08:00:27:F0:24:96 IPADDR=192.168.0.112 NETMASK=255.255.255.0 GATEWAY=192.168.0.1 DNS1=74.202.226.66 DNS2=74.202.226.65
system-network-config
Simply type insystem-config-networkand follow the prompts.
NOTE: in Opmantek VM appliances before 8.5.12G the tool is not preinstalled and you have to runyum install system-config-network-tuifirst.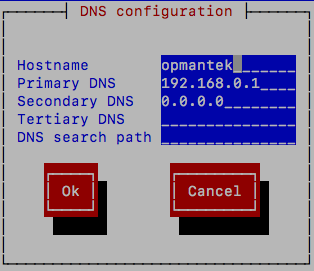
Set Up Firewall (optional)
...