NMIS use Simple Network Management Protocol (SNMP) to collect detailed information about the server.
Step 1. Open de control Panel on your Windows machine.
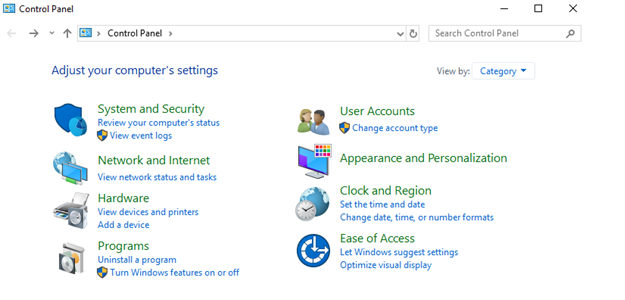
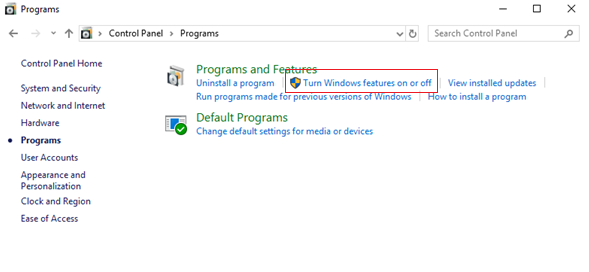
Step 2. Open de Programs and Features.

Step 3. Select Turn Windows features on or off.
Step 4. Add Roles and Features.
On Windows Server 2016 and above you will have to click Next in the Add Roles and Features Wizard until you reach the Features sections where you can install the SNMP Service.
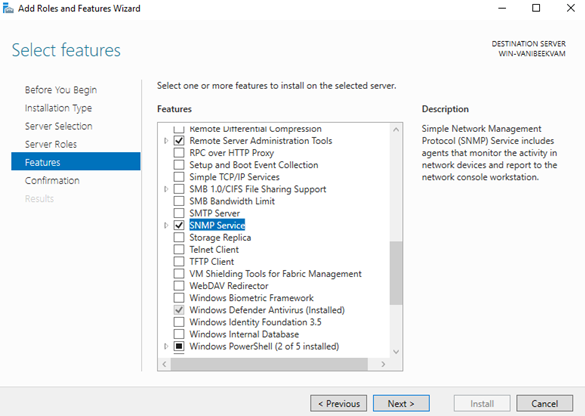
Step 5. Install SNMP Service.
System will automatically install SNMP Tools required by the service.

Click on Install

Step 6. Run services.msc as administrator.

a) Navigate to the Properties of the SNMP service.
...
c) For monitoring purpuse, select all the of the services on the Agent tab to have all SNMP properties available. Please set a Contact and Location.

d) Click on the Security tab and adjust the security parameters like the community string and the IP/host filter list to your security compliance. For Example, add the community string "nmisGig9" with READ ONLY rights and accept SNMP packets from the at least the address of your NMIS9 server.


e) Click on Apply and OK.
Step 7. Test the SNMP from the NMIS server.
We can use the snmpwalk command to test it.
...