...
To begin to create your interactive geographical map open a web browser and navigate to your servers NMIS install. If you do not have NMIS installed and configured see this guide - NMIS 8 Installation Guide
...
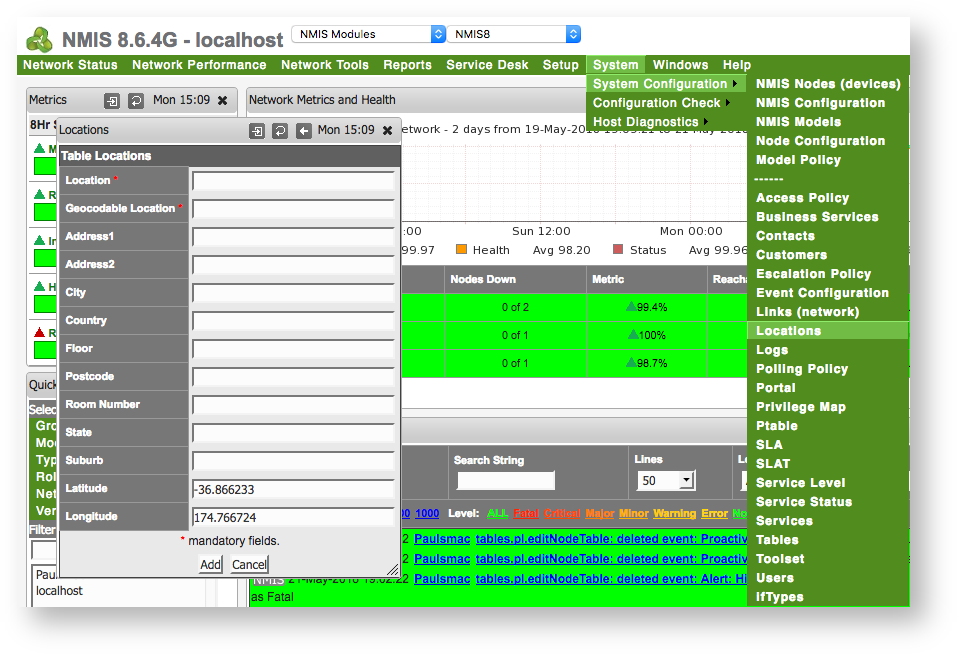
1. Navigate to Locations - menu -> System -> System Configuration -> Locations
a. When the menu pops up click add next to Action > add
b. Enter relevant information into the fields.
2. Create a group for the devices at the new Location
a. In NMIS navigate to menu -> Setup -> Add/Edit Groups
b. Enter a name for the group and click Add - More information on creating groups can be found here: NMIS8 Groups
3. Assign the desired devices to the Group and Location
a. In NMIS navigate to menu -> System -> System Configuration -> NMIS Nodes (devices)
...
d. Under Extra Options in the NMIS Nodes Table select the Location you wish to associate with this device.
4. Navigate to opCharts in your browser
If opCharts is not installed you can check out this guide to install and configure it - opCharts Installation Guide
a. In opCharts filter the devices by using the menu on the left hand side to just show the Groups or Locations with the devices you wish to display on the map.

b. Once the filter is applied, simply click on 'View in geographical map' located above the Nodes table to generate your map only displaying these filtered locations / groups.
More information on creating geographical maps can be found here: Maps - Geographical Maps
c. If you want to save this map to be viewed later click the drop-down icon in the top right of the map and select 'Create static map'. This allows you to access the map later as well as add the map to a dashboard if desired.
...