STEP 1 - Enabled these services to start automatically on services.msc (server, remote registry, and Windows Management Instrumentation).
Right-click on the Windows symbol then click on the run option.
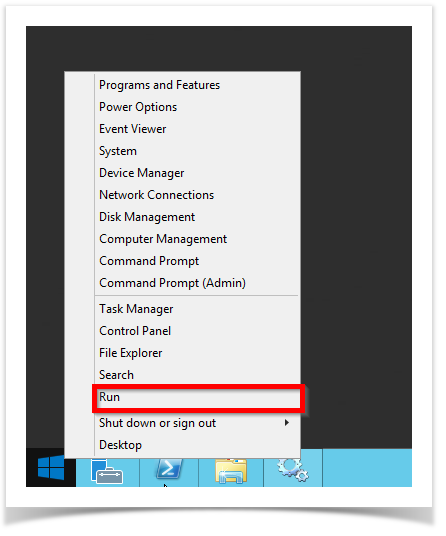
The run windows will pop-up then type service.msc.

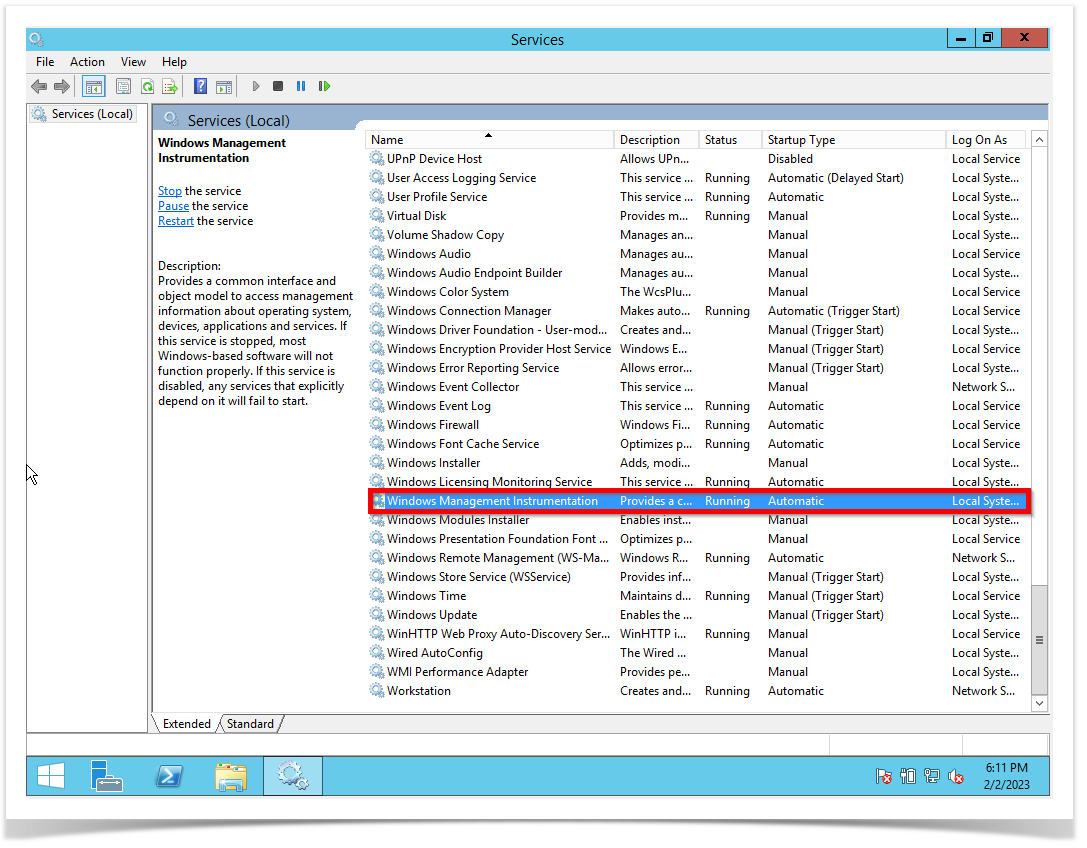
Check if the Server service is status running and the startup type is automatic.

Check if the Remote Registry service is status running and the startup type is automatic.

Check if the Windows Management Instrumentation service is status running and the startup type is automatic.
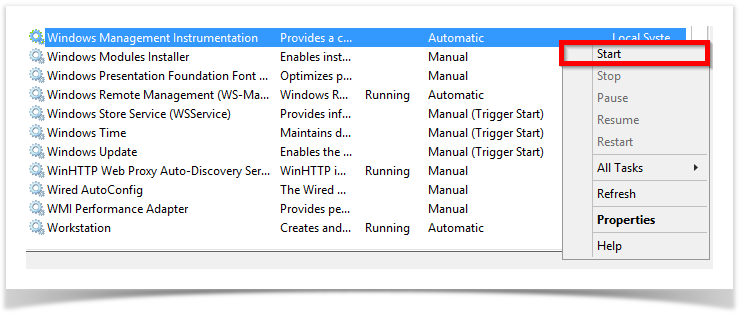
OBSERVATION: If these services are not running. You need to right-click on the service and then click on Start.
If the Startup type is not selected Automatic you can right-click and then Properties.
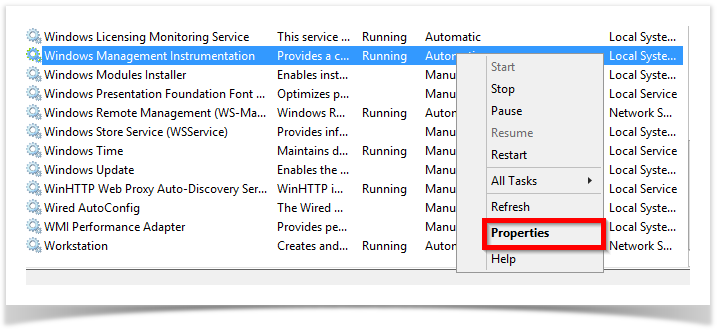
On the Startup Type, this is a drop-down. Select Automatic.

After you click Start it will Load the service.

STEP 2 - Enabled Distributed COM - DCOM for Windows Server
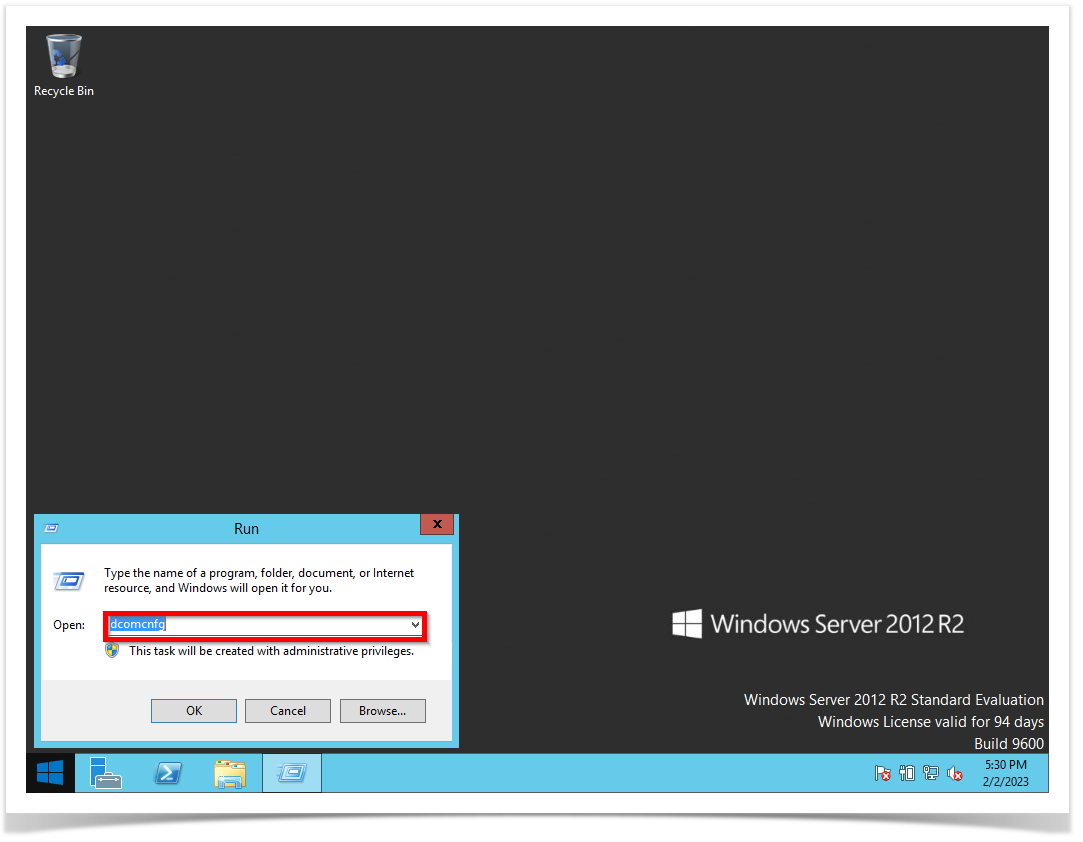
Right-click on the Windows symbol then click on the run option. The run windows will pop-up then type dcomcnfg.
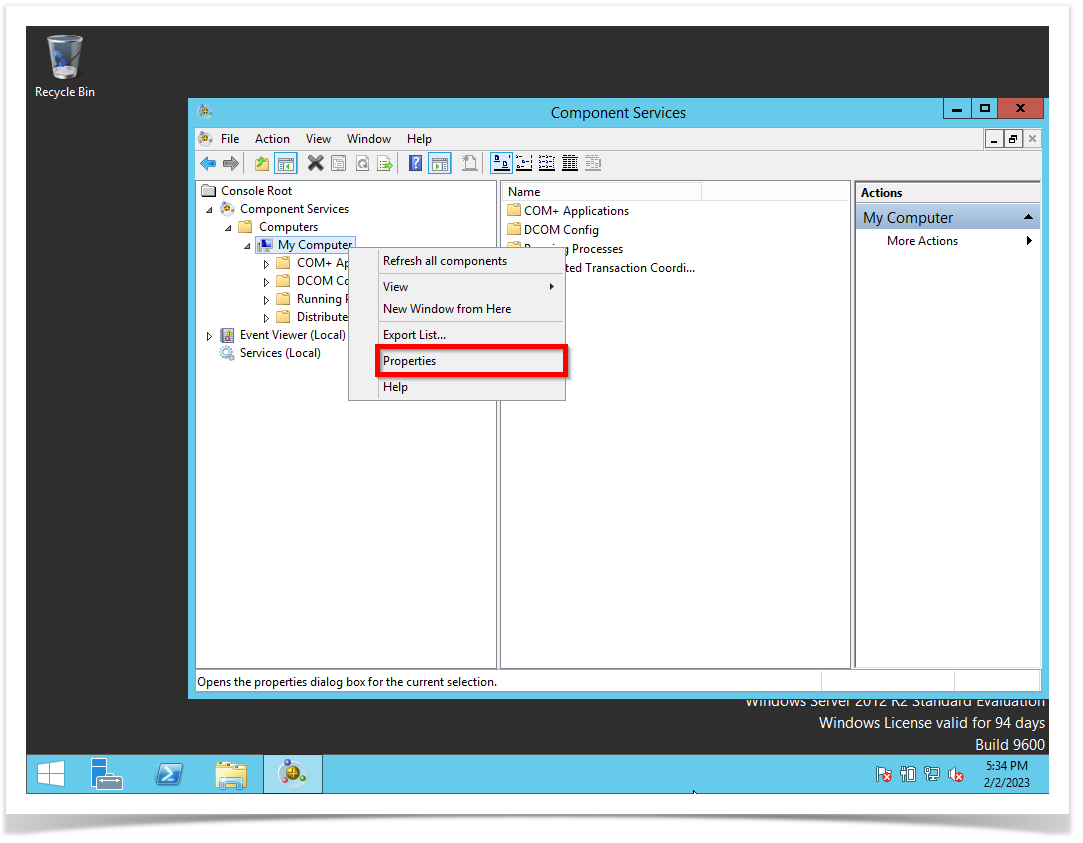
Go to My Computer then right-click select Properties.
On My Computer Properties go to the Default Properties tab, Check the box Enable Distributed COM on this computer, on the Default Authentication Level: Connect, and
on Default Impersonation Level: Identity. After your selected, all these options, click on the OK button for the changes to take effect.

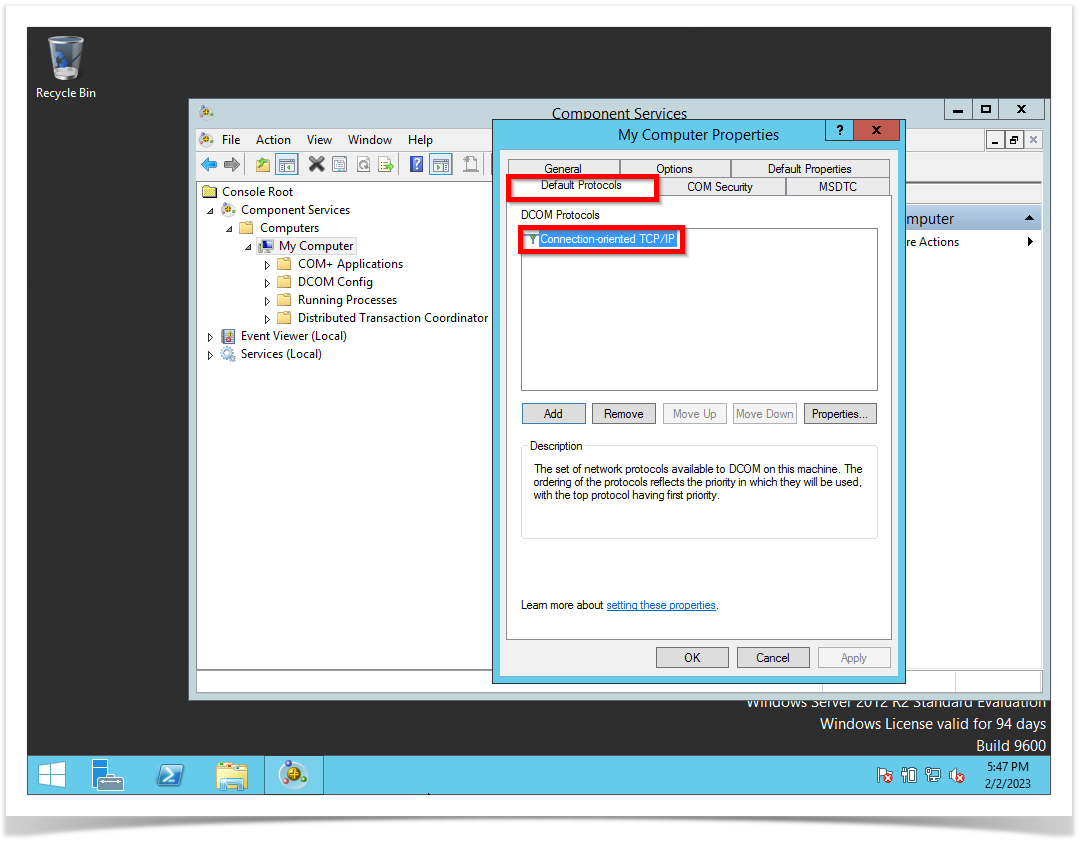
STEP 3 - Configuring DCOM communication for Windows Server
Sames steps as Step 2, But now you will select the Default Protocols tab. It needs to be listed as Connection-oriented TCP/IP. If it is not list it. Click on the Add button then
Selected the Connection-oriented TCP/IP option.

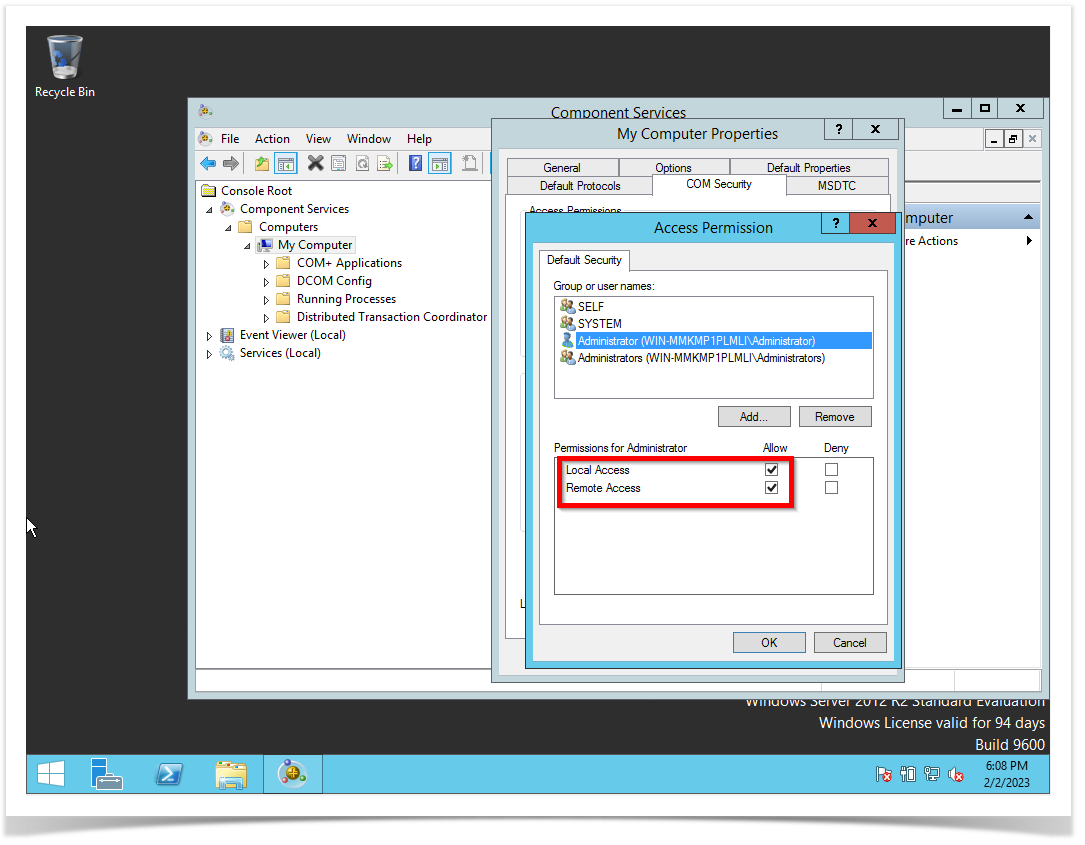
STEP 4 - Configuring User Accounts for DCOM on Windows Server
Sames steps as Step 2, But now you will select the COM tab.
On the Access Permission part, select the Edit Default button.

On the user's permission configure the Local Access and Remote Access to Allow.
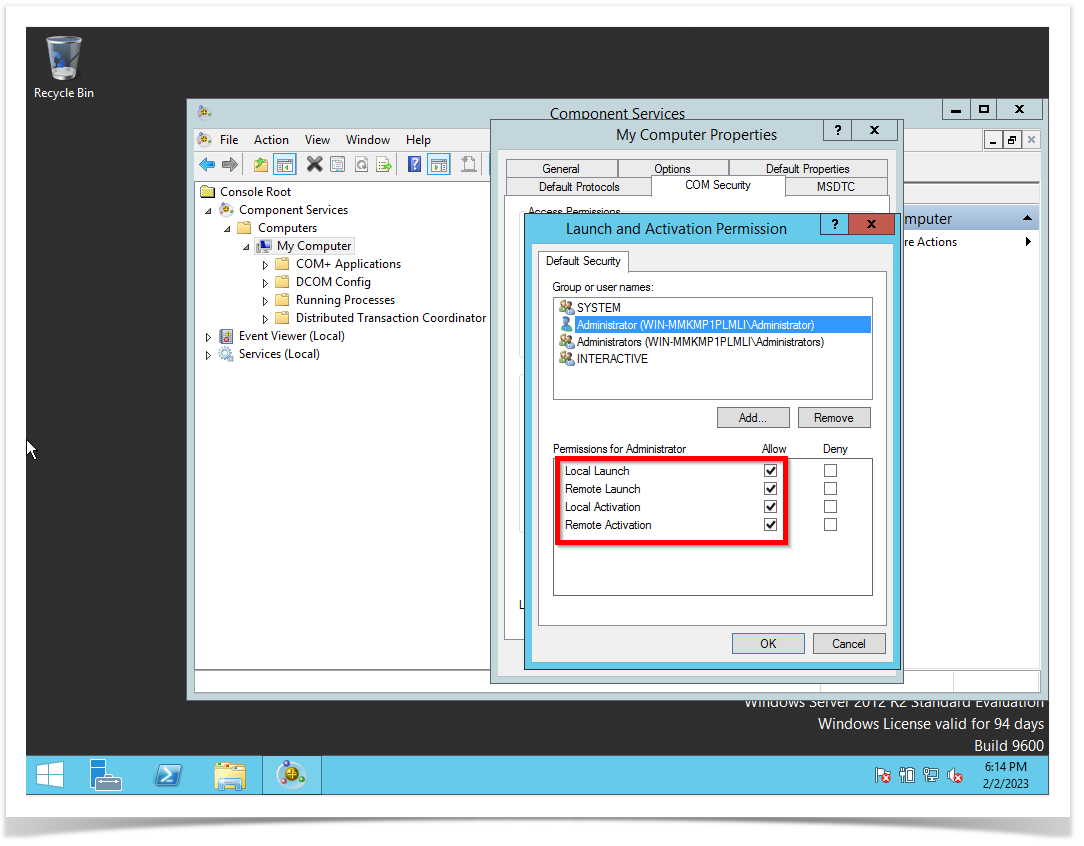
On the Launch and Activation Permissions part, select the Edit Default button.

On the user's permission configure the Local Launch, Remote Launch, Local Activation, and Remote Activation to Allow.
STEP 5 - Configuring Firewall on Windows Server
Right-click on the Windows symbol then click on the run option. The run windows will pop-up then type wf.msc.
OBSERVATION: The firewall is located between your NMIS9 application and the Windows Server. So, you need to configure the firewall as an exception to permit DCOM communications.

We need to create one Inbound Rule to allow communication between the Windows Server and the NMIS9 application. So, right-click on Inbound Rules and then the New Rule option.

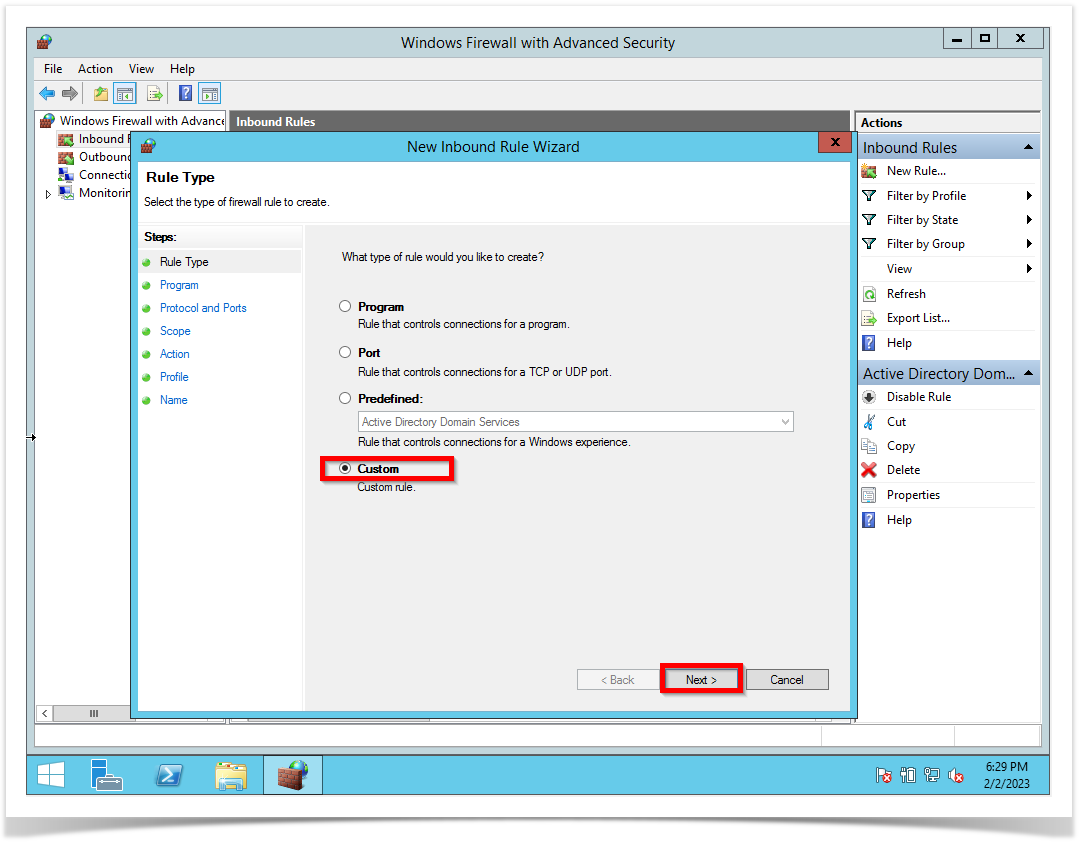
Select Custom and click the Next button.
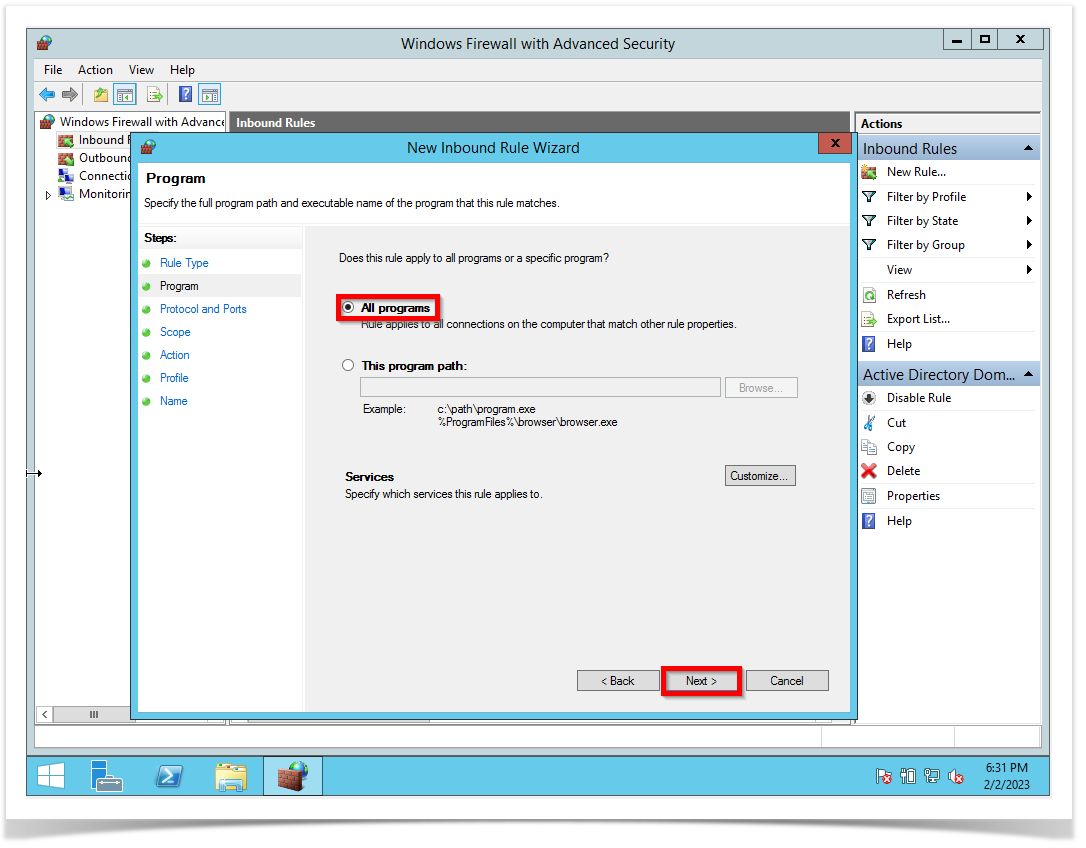
Select All programs, and click the Next button.
ON the Protocol Type drop-down list, select TCP, and the Next button.

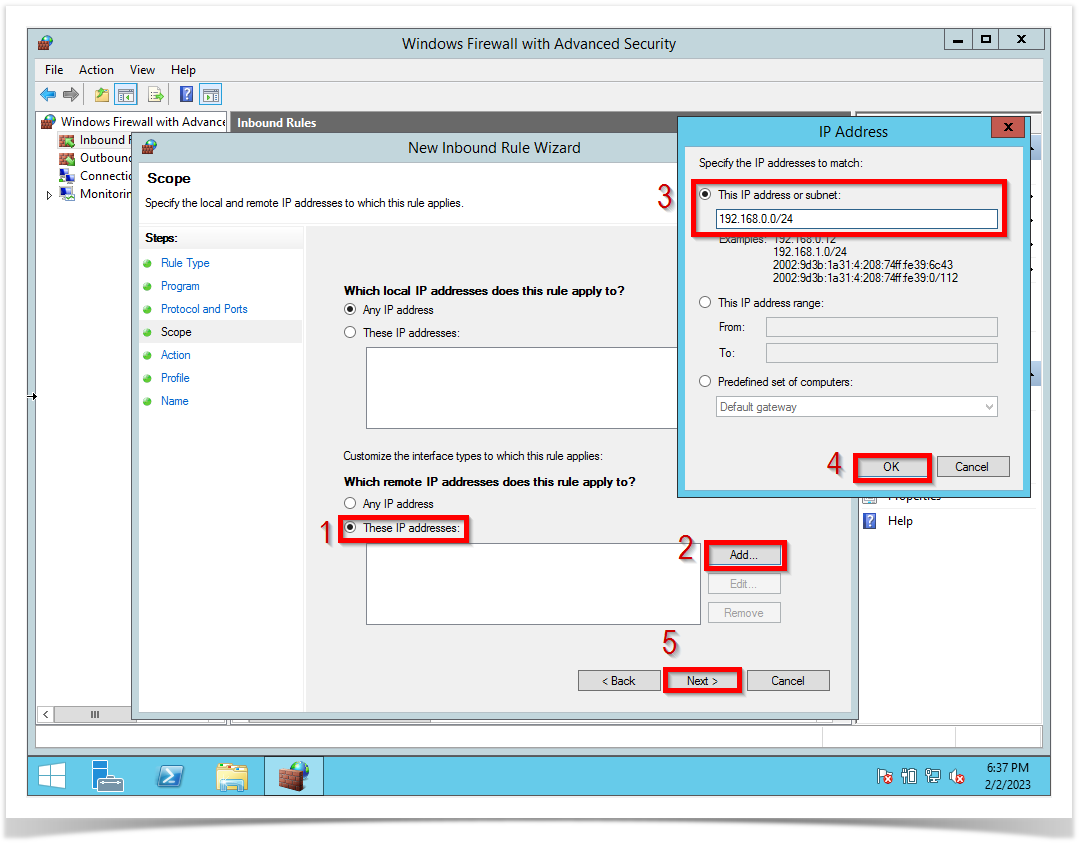
On Which remote IP Addresses does this rule apply, select these IP Addresses, and click on Add button. On the IP Address, pop-up windows select this IP address or subnet. Then, click the OK button and the Next button.
Select Allow the connection, and click the Next button.

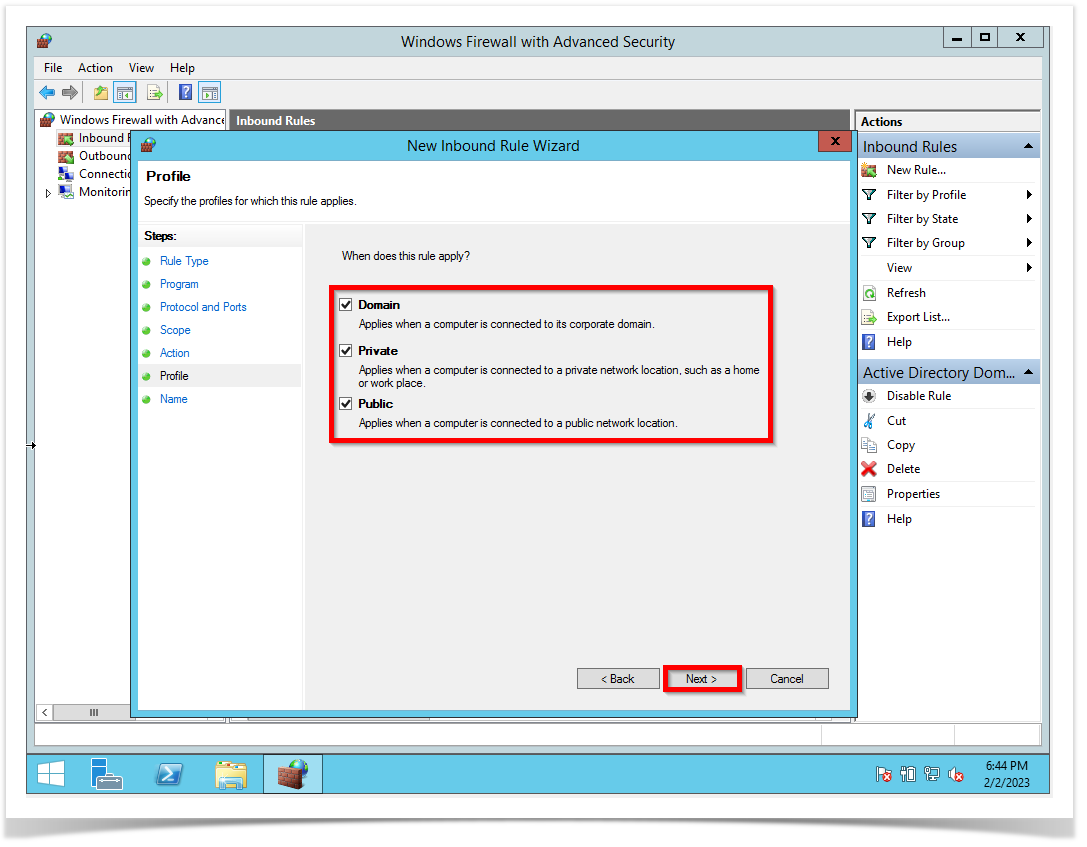
Select one or more rules that the new rule applied, and click the Next button. If no objection selects all of them.
Now give the rule a name and click on Finish button.
