In this articole we describe how to enable WMI on Windows Server.
Step 1. Create an user on Windows Server.
To configure WMI on your device so that NMIS can discover and monitor it, you must create a user who has access to WMI objects on the device.
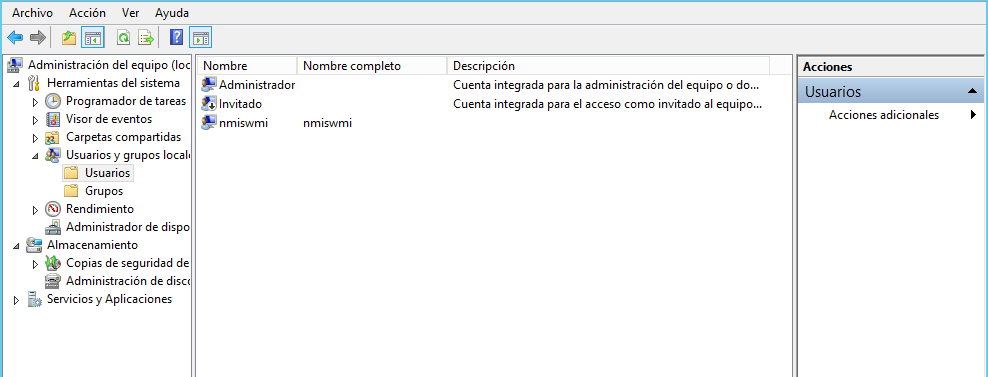
1.- Go to Start > Control Panel > Administrative Tools > Computer Management > Local Users and Groups.
2.- Right-click Users and select New User.
3.- Create a user. Example: nmiswmi
Note: Windows allows certain WMI classes to be pulled only via Administrator account.
4.- Select this user (nmiswmi) and right-click to select Properties > Member of tab.
5.- Select Distributed COM Users and click Add.
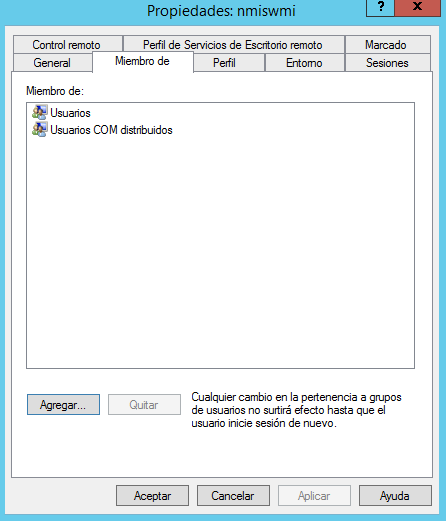
6.- Click OK to save.
Step 2. Check required DCOM and WMI services for Windows.
The following services must be started and configure for automatic startup:
- Server
- Remote Registry
- Windows Management Instrumentation
1.- Open the Run menu, press the following logo key + R.
2.- Type the following: services.msc
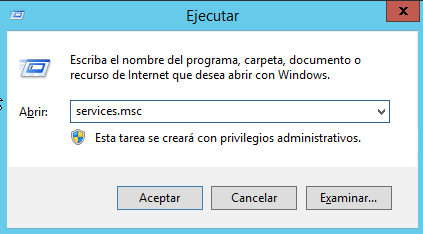
3.- Click OK.
4.- In the details pane, verify these services are started and set to automatic startup:
- Server
- Remote Registry
- Windows Management Instrumentation
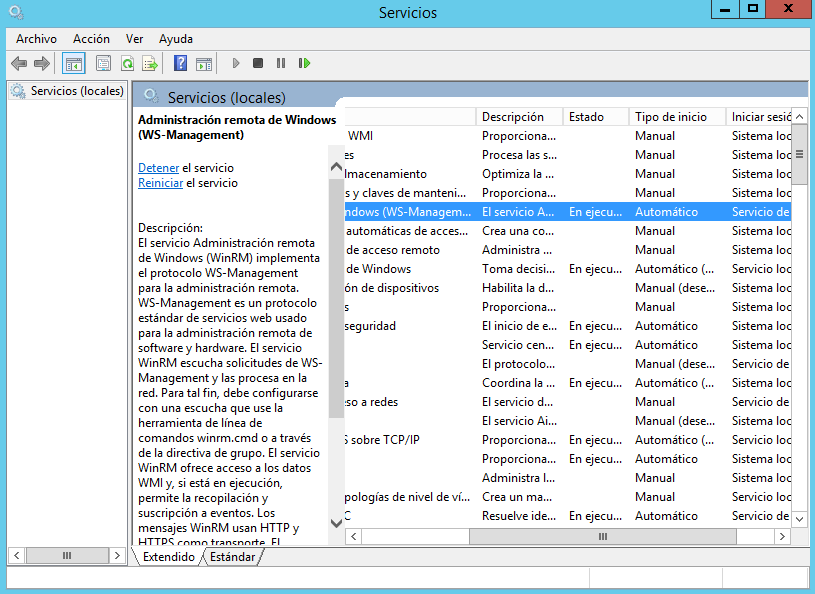
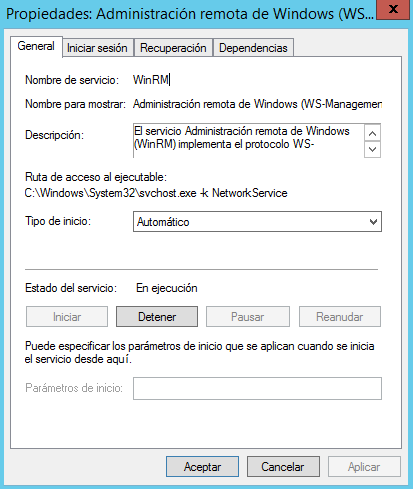
5.- To change a service property, right-click on the service name, and then click Properties.
6.- From the Startup type list box, select Automatic.
7.- If the Service status is not started, click Start.
8.- Click OK.
9.- Close the Services window.
Step 3. Enabling DCOM for Windows Server.
1.- Open the Run menu, press the Windows logo key + R.
2.-Type the following: dcomcnfg
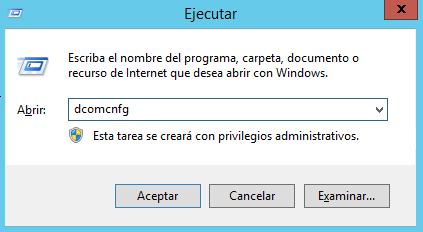
3.-Click OK.
4.- The Component Services window is displayed.
5.- Under Component Services, expand Computers, and then click My Computer.
6.- On the Action menu, click Properties.
7.- Select the Default Properties tab.
8.- Configure the following Default Properties:
Select the Enable Distributed COM on this computer check box.
Using the Default Authentication Level list box, select Connect.
Using the Default Impersonation Level list box, select Identify.
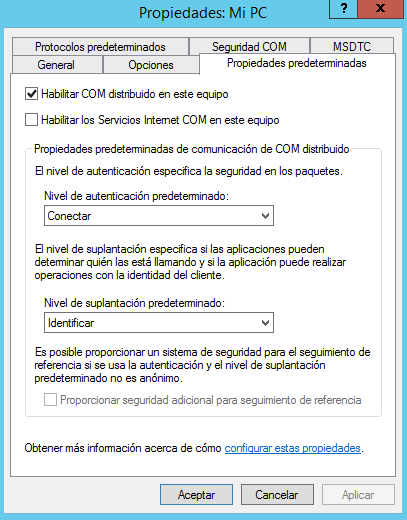
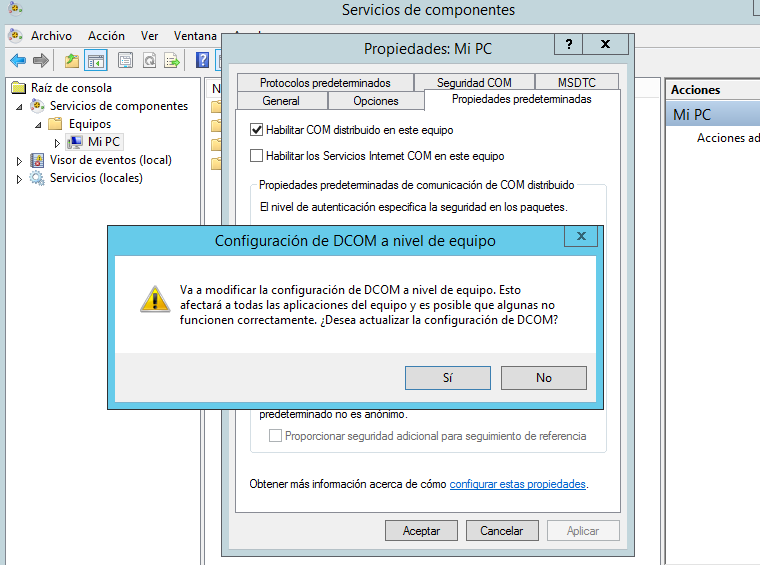
9.- Click OK.
Note: The system displays a message about changing the DCOM Machine wide settings. Click Yes to continue.
Step 4. Configuring DCOM communication for Windows Server.
1.- From the DCOM Configuration (dcomcnfg) window, expand Component Services, expand Computers, and select My Computer.
2.- On the Action menu, click Properties.
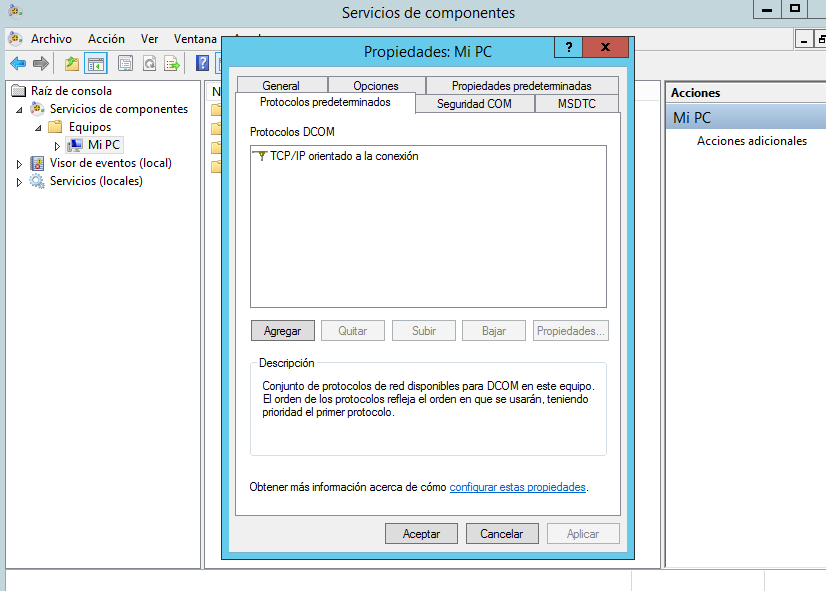
3.- Select the Default Protocols tab.
4.- Configure the following options:
- If Connection-oriented TCP/IP is listed in the DCOM Protocols window, go to Step 5.
- If Connection-oriented TCP/IP is not listed in the DCOM Protocol window, select Add.
- From the Protocol Sequence list box, select Connection-oriented TCP/IP.
5.- Click OK.
Step 5. Configuring Windows Server user accounts for DCOM.
You must select an existing account with administrative access or create a normal user account that is a member of an administrative group to access the host.
1.- From the DCOM Configuration (dcomcnfg) window, expand Component Services, expand Computers, and select My Computer.
2.- On the Action menu, click Properties.
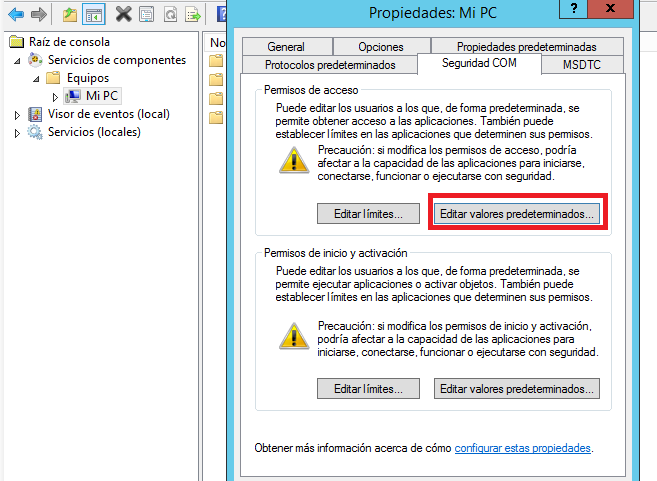
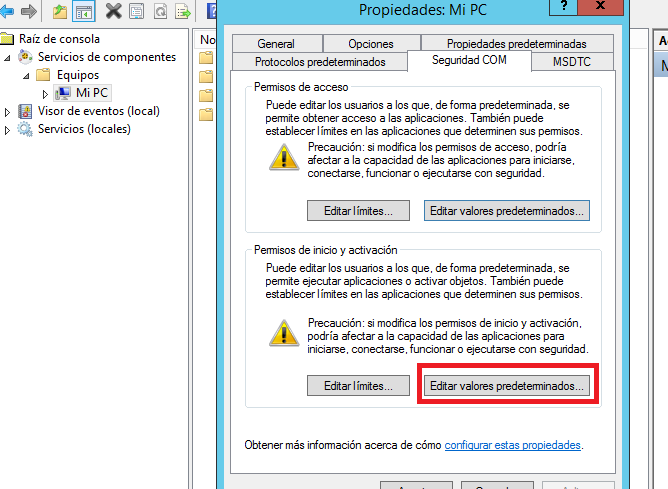
3.- Select the COM Security tab.
4.- In Access Permissions, click Edit Default.
5.- Select the user (nmiswmi) or group requiring DCOM access.
Note: If the user or group requiring DCOM access is not listed in the permissions list, you must add the user to the configuration.
6.- Configure the following user permissions:
- Local Access - Select the Allow check box.
- Remote Access - Select the Allow check box.

7.- Click OK.
8.- In Launch and Activation Permissions, click Edit Default.
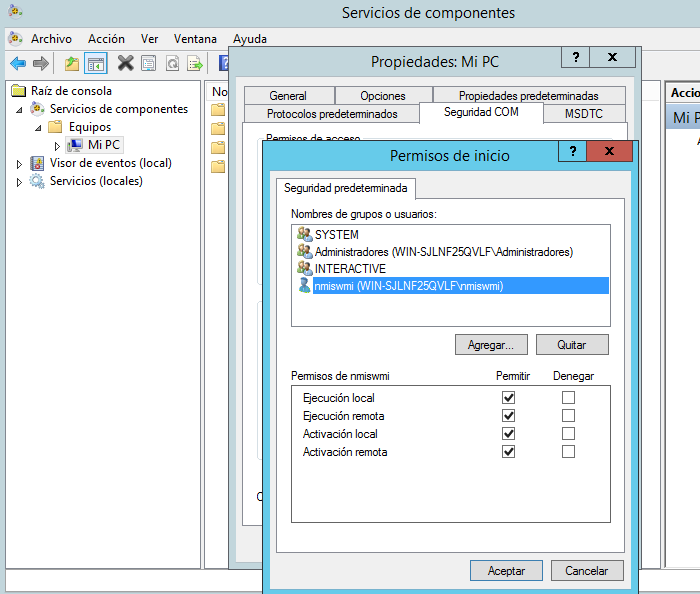
9.- Select the user or group requiring DCOM access.
Note: If the user or group requiring DCOM access is not in the permissions list, you must add the user to the configuration.
10.- Configure the following user permissions:
- Local Launch - Select the Allow check box.
- Remote Launch - Select the Allow check box.
- Local Activation - Select the Allow check box.
- Remote Activation - Select the Allow check box.
11.- Click OK.
12.- Click OK to close the Component Services window.
Step 6. Configuring Windows Server Firewall.
1.- Open the Run menu, press the Windows logo key + R.
2.- Type the following: wf.msc.
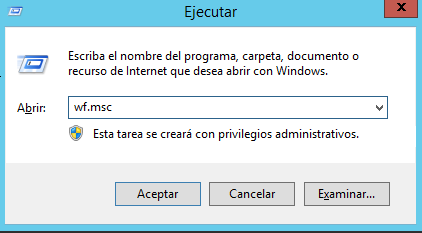
3.- Click OK.
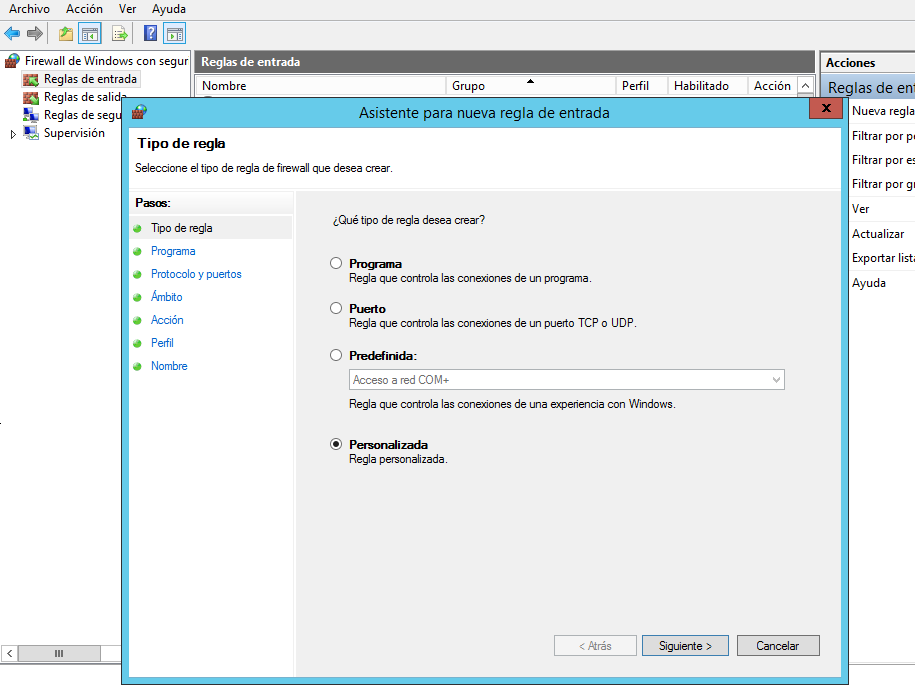
4.- Select Inbound Rules.
5.- On the Action menu, click New Rule.
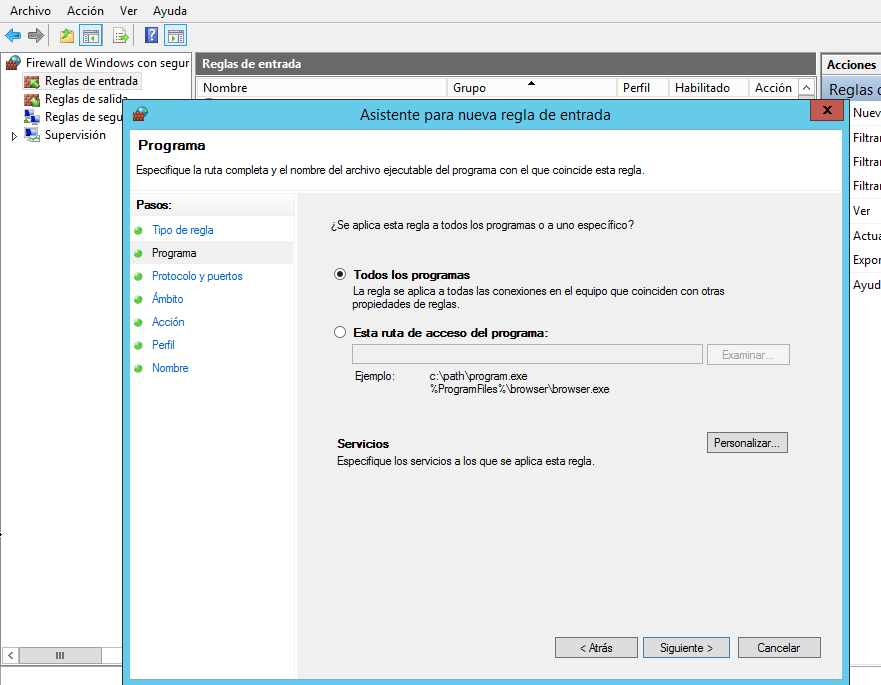
6.- Select Custom and click Next. The Program window is displayed.
7.- Select All programs, and click Next. The Protocol and Ports window is displayed.
8.- From the Protocol type list box, select TCP and click Next.
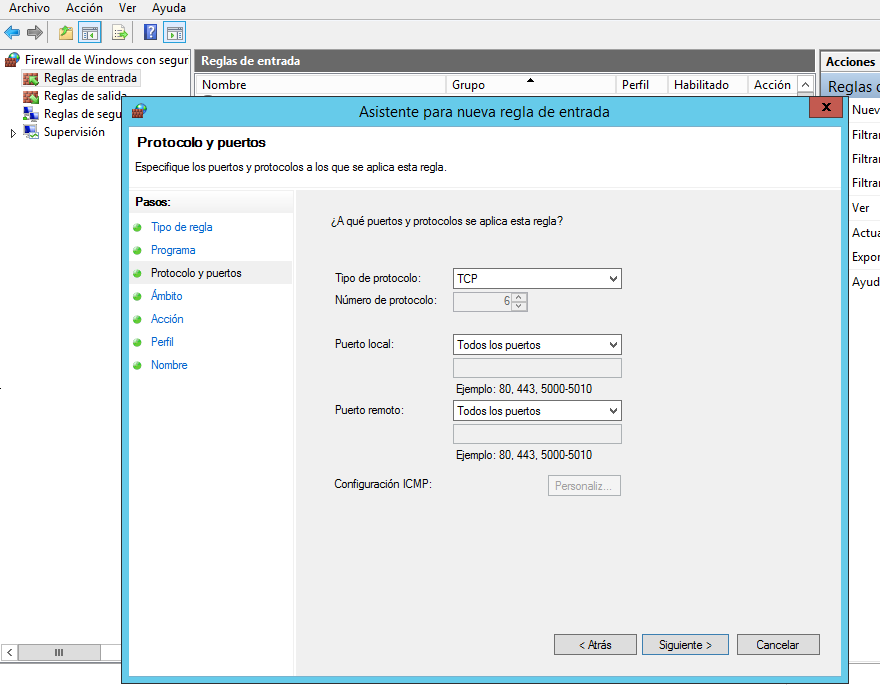
9.- Under Which remote IP addresses does this rule apply to field, select the radio button These IP addresses.
10.- Click Add.
11.- In the IP address or subnet text box, type the IP address of NMIS server.
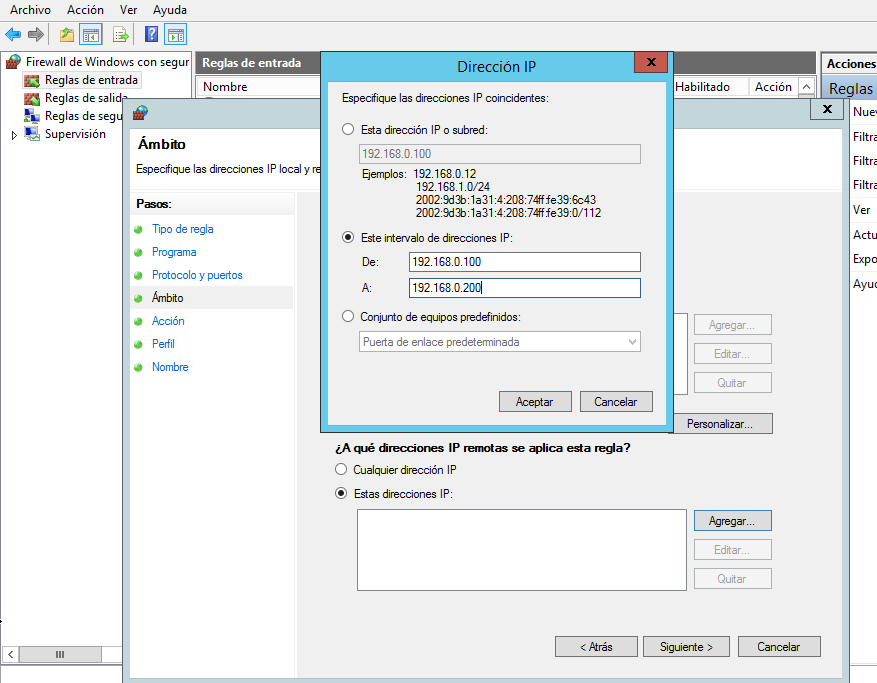
12.- Click OK.
13.- Click Next.
14.- Select Allow the connection, and click Next.
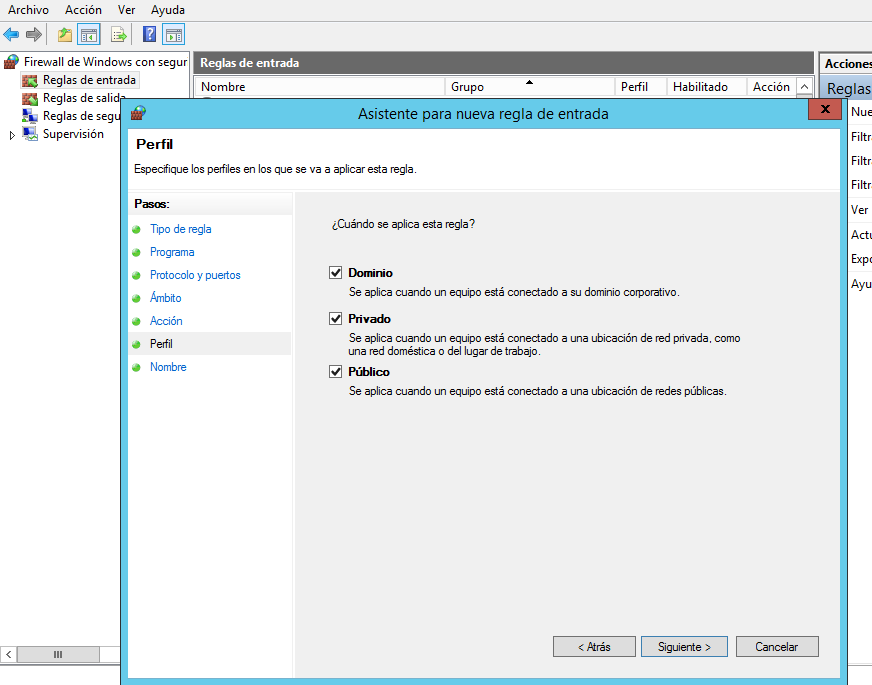
15.- Select one or more network profiles to which the rule applies and click Next.
16.- Type a name and description for the firewall rule.
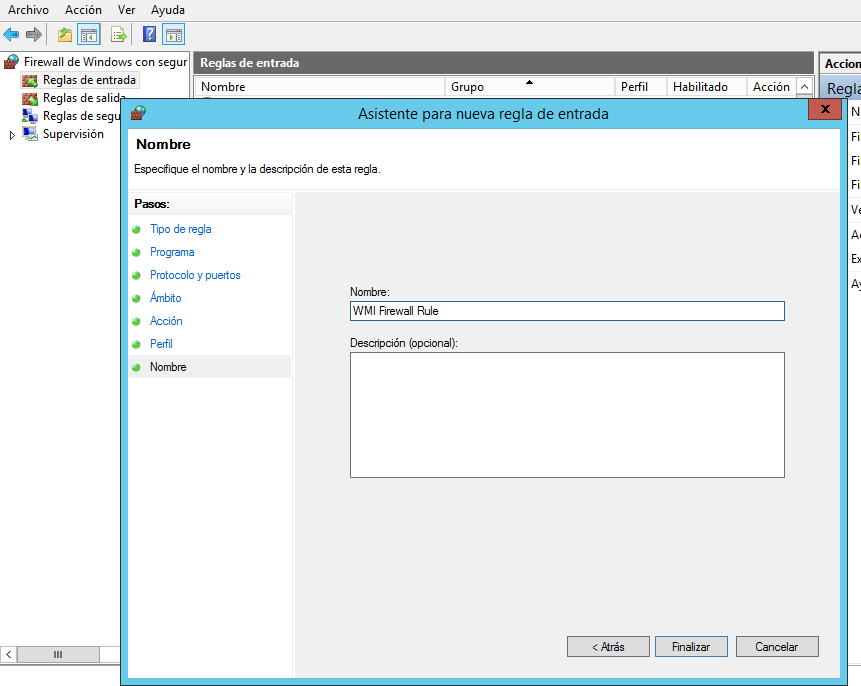
17.- Click Finish. You can now exit the Windows Firewall with Advanced Security panel.
Step 7. Configuring WMI user access for Windows Server.
The user or group you configured for DCOM access must also have Windows Management Instrumentation (WMI) permission.
1.- Open the Run menu, press the Windows logo key + R.
2.- Type the following: wmimgmt.msc
3.- Click OK.

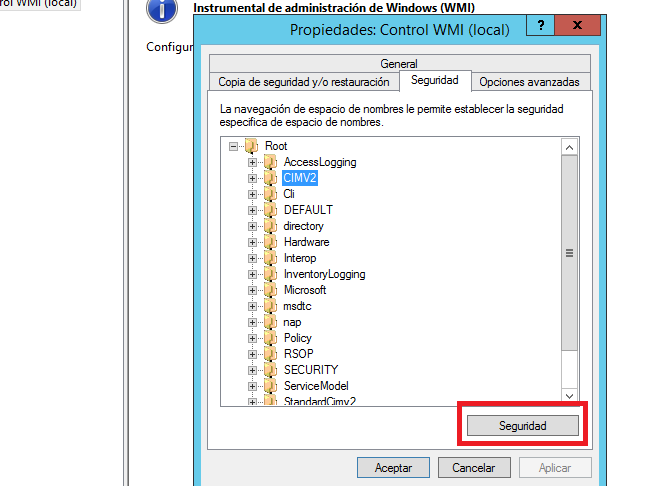
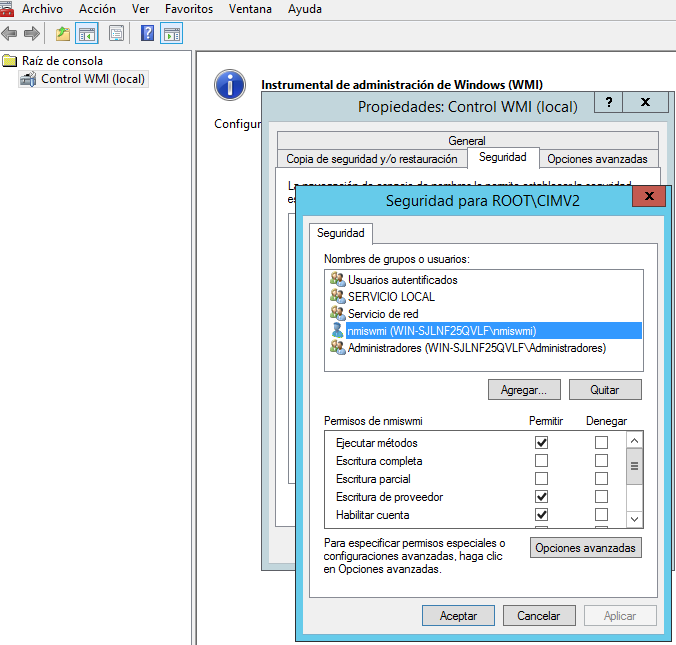
4.- Right-click on WMI Control (Local), select Properties. The WMI Control (Local) Properties window is displayed.

5.- Click the Security tab. The Namespace navigation is displayed.
6.- From the Namespace menu tree, expand Root, click CIMV2.

7.- Click the Security button the menu tree. The Security for ROOT\CIMV2 window is displayed.
8.- Select the user or group requiring WMI access.
Note: If the user or group requiring WMI access is not listed in the permissions list, you must add the user to the configuration.
9.- Select the check boxes to add the following permissions:
- Execute Methods - Select the Allow check box.
- Provider Write - Select the Allow check box.
- Enable Account - Select the Allow check box.
- Remote Enable - Select the Allow check box.
Note: If the user or group you are configuring is a system administrator, the allow permission check boxes might be selected as the permissions are inherited.
10.- Click OK.
11.- Close the WMIMGMT - WMI Control (Local) window.
Step 8. Configuring DCOM access for Windows Server.
1.- Open the Run menu, press the Windows logo key + R.
2.- Type the following command to open the registry editor: regedit
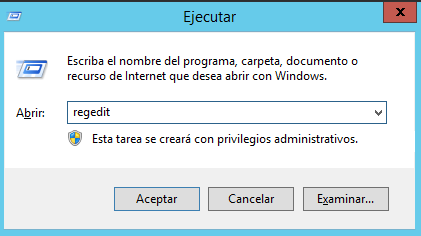
3.- Click OK.
Note: You must be a system administrator to edit registry settings.
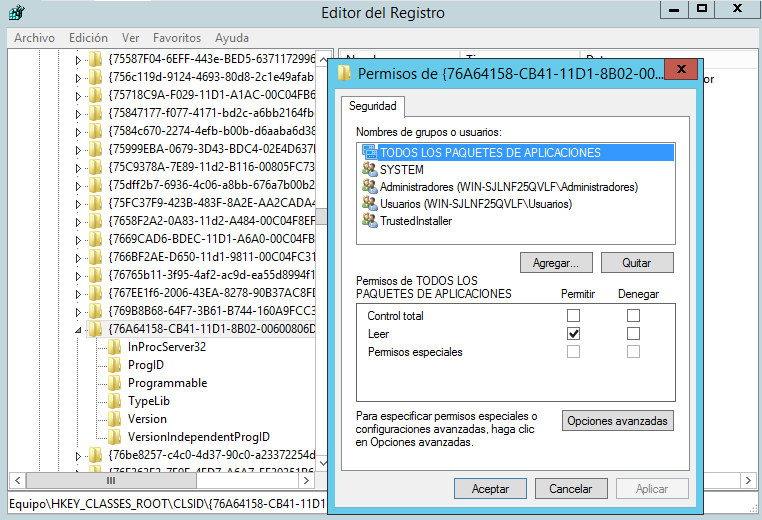
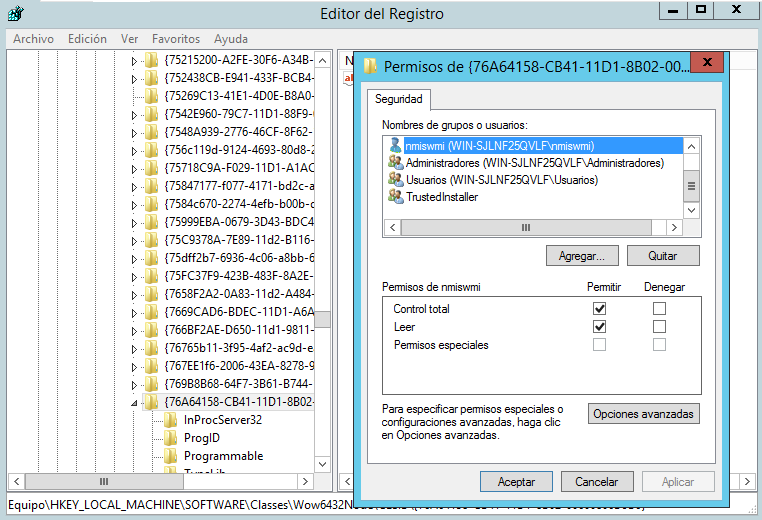
4.- Locate the following registry location: HKEY_CLASSES_ROOT\CLSID\{76A64158-CB41-11D1-8B02-00600806D9B6}
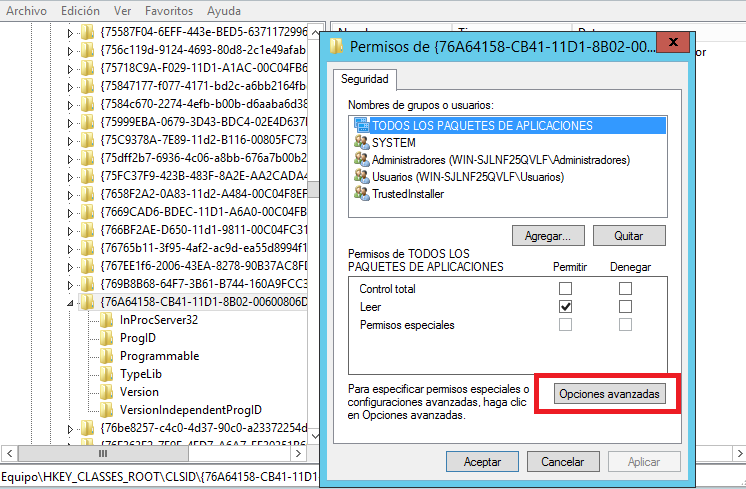
5.- Right-click the entry {76A64158-CB41-11D1-8B02-00600806D9B6}, then click Permissions.
6.- Click the Advanced button. The Advanced Security Settings are displayed.
7.- In the Owner field, click Change.
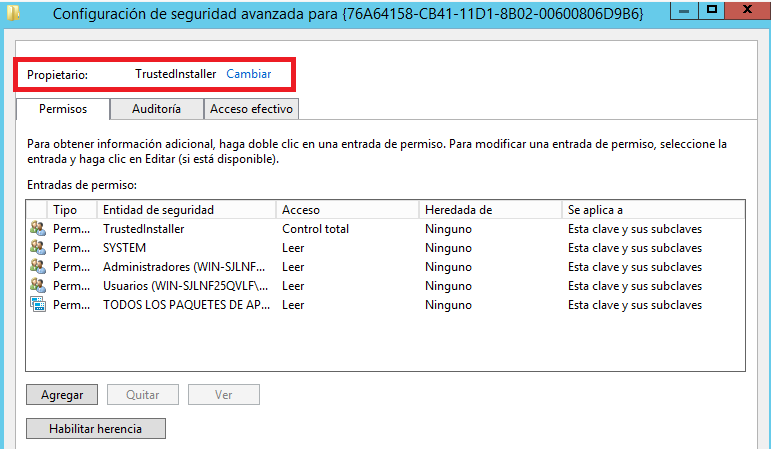
8.- In the Enter the object name field, set the owner as Administrators.

9.- Click OK.
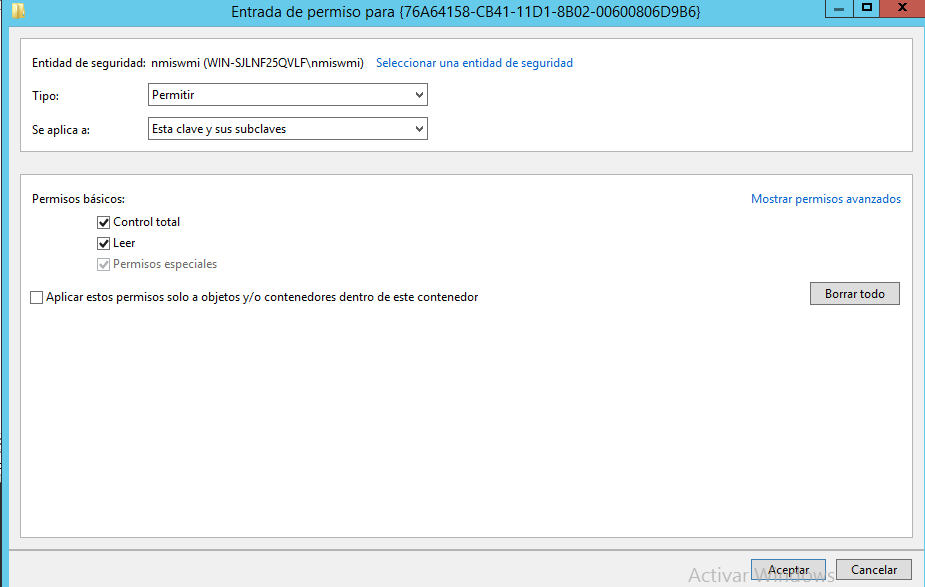
10.- In the Permissions entries field, select your user and click Edit.
11.- Configure the following parameters for your user:
In the Type field, select Allow.
In the Applies to field, select This key and subkeys.
In the Basic permissions field, select Full Control. By default, selecting Full Control adds Read as a permission type.
12.- Click OK to return to the Advanced Security Settings window.
13.- In the Owner field, click Change.
14.- In the Enter the object name field, set the owner as your nmiswmi user.
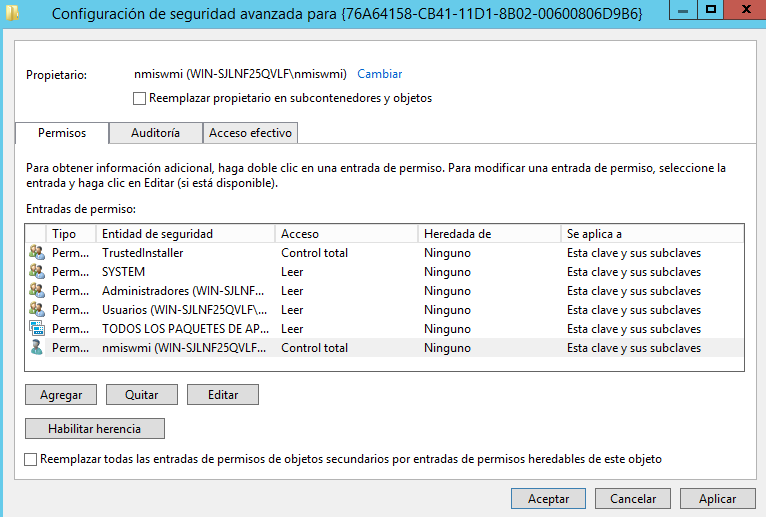
15.- Click OK until you return to the Registry Editor.
16.- Repeat this process for the following registry key: HKEY_LOCAL_MACHINE\SOFTWARE\Classes\Wow6432Node\CLSID\{76A64158-CB41-11D1-8B02-00600806D9B6}
17.- Close the Registry Editor.
Step 9. Testing the WMI connection from NMIS.
1.- Create a credential file like this:
# vi /tmp/credential.txt

username=nmiswmi		# Username configured on Windows Server in this case nmiswmi
password=Password2022		# password for nmiswmi user
domain=WIN-SJLNF25QVLF		# Domain Name
2.- Use this command to test WMI connection.
# /usr/local/nmis9/bin/wmic -A /tmp/credential2.txt //X.X.X.X "select Caption,Manufacturer,Model,Name from Win32_ComputerSystem"
Where: X.X.X.X is the IP Address of Windows Server
Command output:
# /usr/local/nmis9/bin/wmic -A /tmp/credential.txt //192.168.0.105 "select Caption,Manufacturer,Model,Name from Win32_ComputerSystem"
CLASS: Win32_ComputerSystem
Caption|Manufacturer|Model|Name
WIN-SJLNF25QVLF|VMware, Inc.|VMware Virtual Platform|WIN-SJLNF25QVLF