Introduction
The Integrations endpoint allows you to define an integration which you can then use to import and export Open-AudIT data to an external system. At present the single supported Integration type is "nmis".
Integrations are a Professional and Enterprise feature.
Integrations are being introduced in Open-AudIT 3.1.0 with a view to expand on the concept as further development is made.
Prerequisite
To run an Integration, you will need to download the oa-nmis-integration.exe (this is a Linux binary) and place it in /usr/local/omk/bin
The binary is available here - https://dl-openaudit.opmantek.com/oa-nmis-integration.exe
Please ensure it is executable by running the below.
chmod +x /usr/local/omk/bin/oa-nmis-integraion.exe
This file will be included in future releases of Open-AudIT for Linux.
How Does it Work?
You can define an integration and use it to export Open-AudIT devices to NMIS. By default only devices with their nmis_manage attribute set tyo 'y' will be exported. This is completely customisable.
For a more detailed view, see OpenAudIT-NMIS Integration.
Integrations can be scheduled like other tasks. First define your Integration, then create the task and select integration from the type dropdown.
Set Devices to be Managed
By default, only devices with their "nmis_manage" attribute set to y' will be exported to NMIS. You can use the Bulk Edit functionality within Open-AudIT to quickly set the "Manage in NMIS" attribute on only the devices you need. You can also set individual devices to be managed on the device details screen. Select the Opmantek Details menu item from the left side edit the "Manage in NMIS" field.
You can also set the other fields to be sent to NMIS as you desire, either individually or using Bulk Edit.
Check Device List
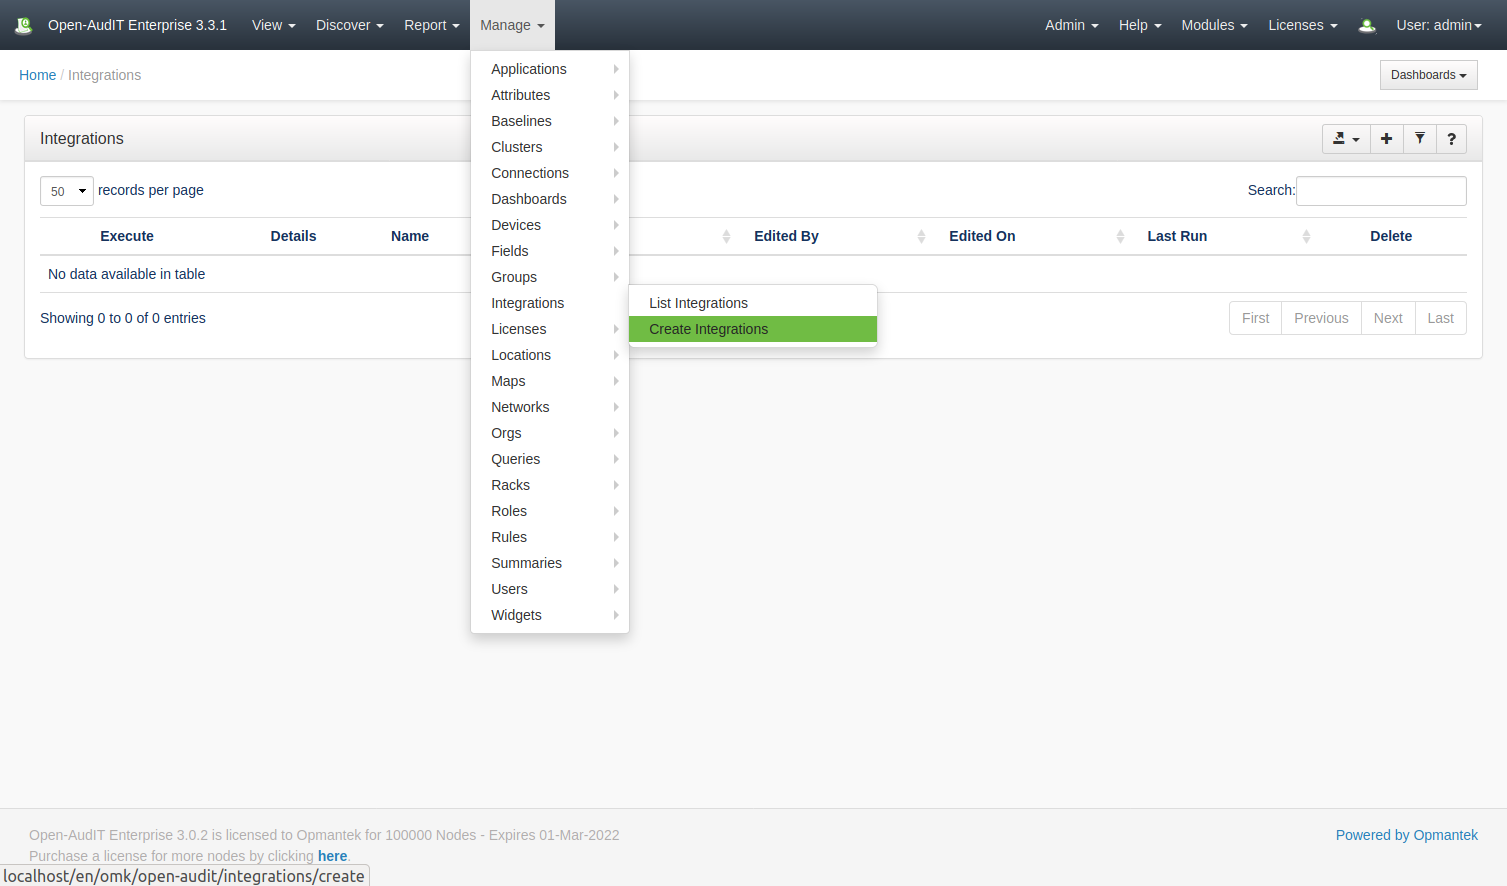
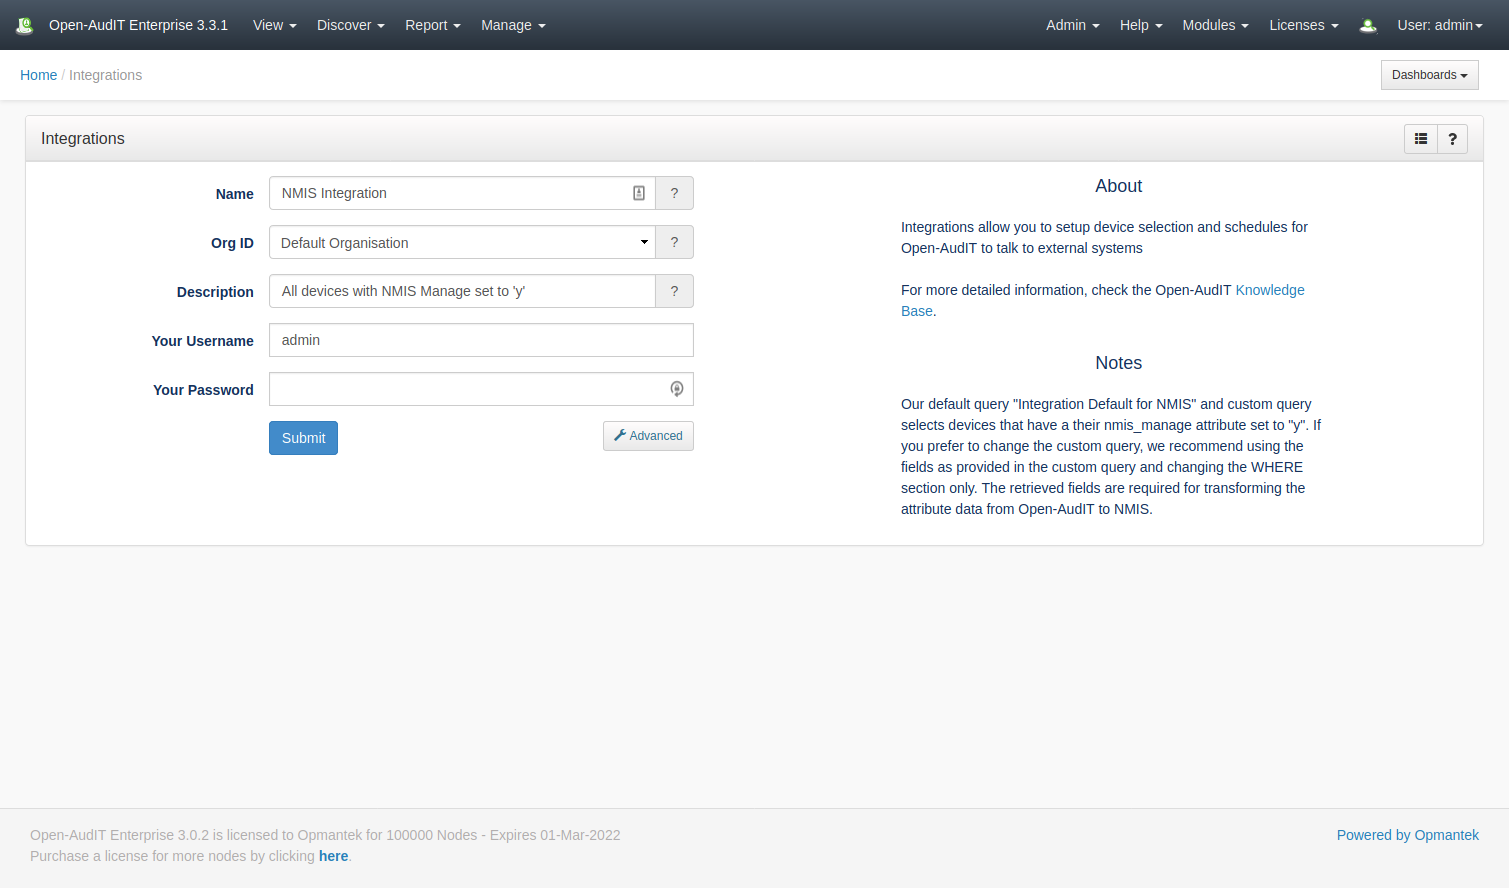
Once you have set the attribute on your selected devices, you can run the default integration query to ensure the resulting device list is as you expect. Go to menu → Report → Other → Integration Default for NMIS. An integration entry can be created using the web interface if the current user logged in has a role that contains the integrations::create permission. Go to menu: Manage -> Integrations -> Create Integrations. Provide a name for the Integration, select an Org and provide your credentials. By default all devices with their nmis_manage attribute will be selected for the Integration. If you would like another selection of devices, click the Advanced button and select a different query to be used to select your device list. You can create a custom query the same as you do any other regular queries, see Queries.Creating an Integration
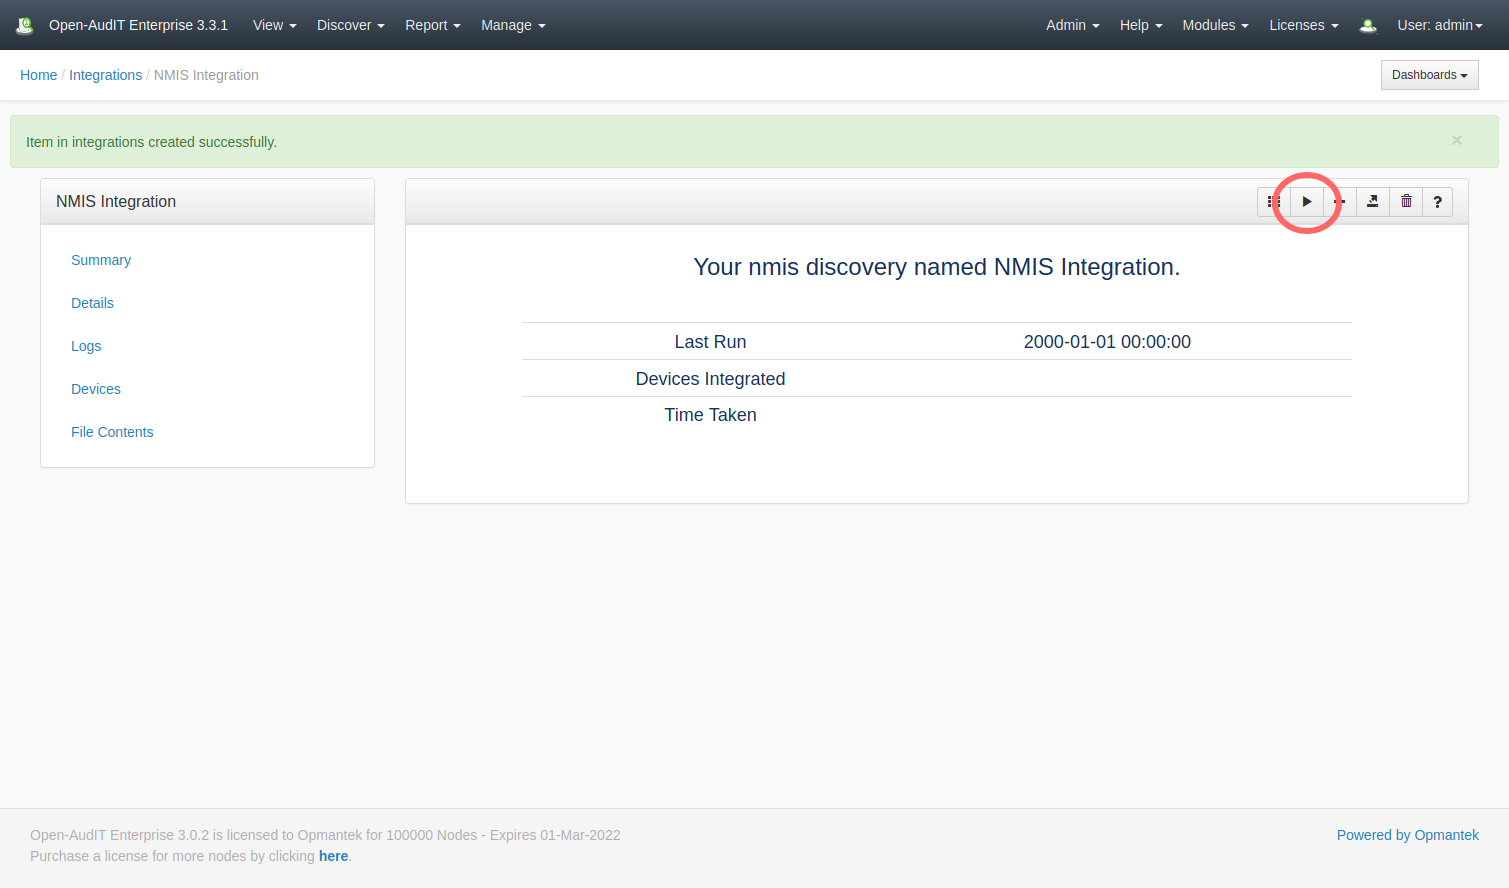
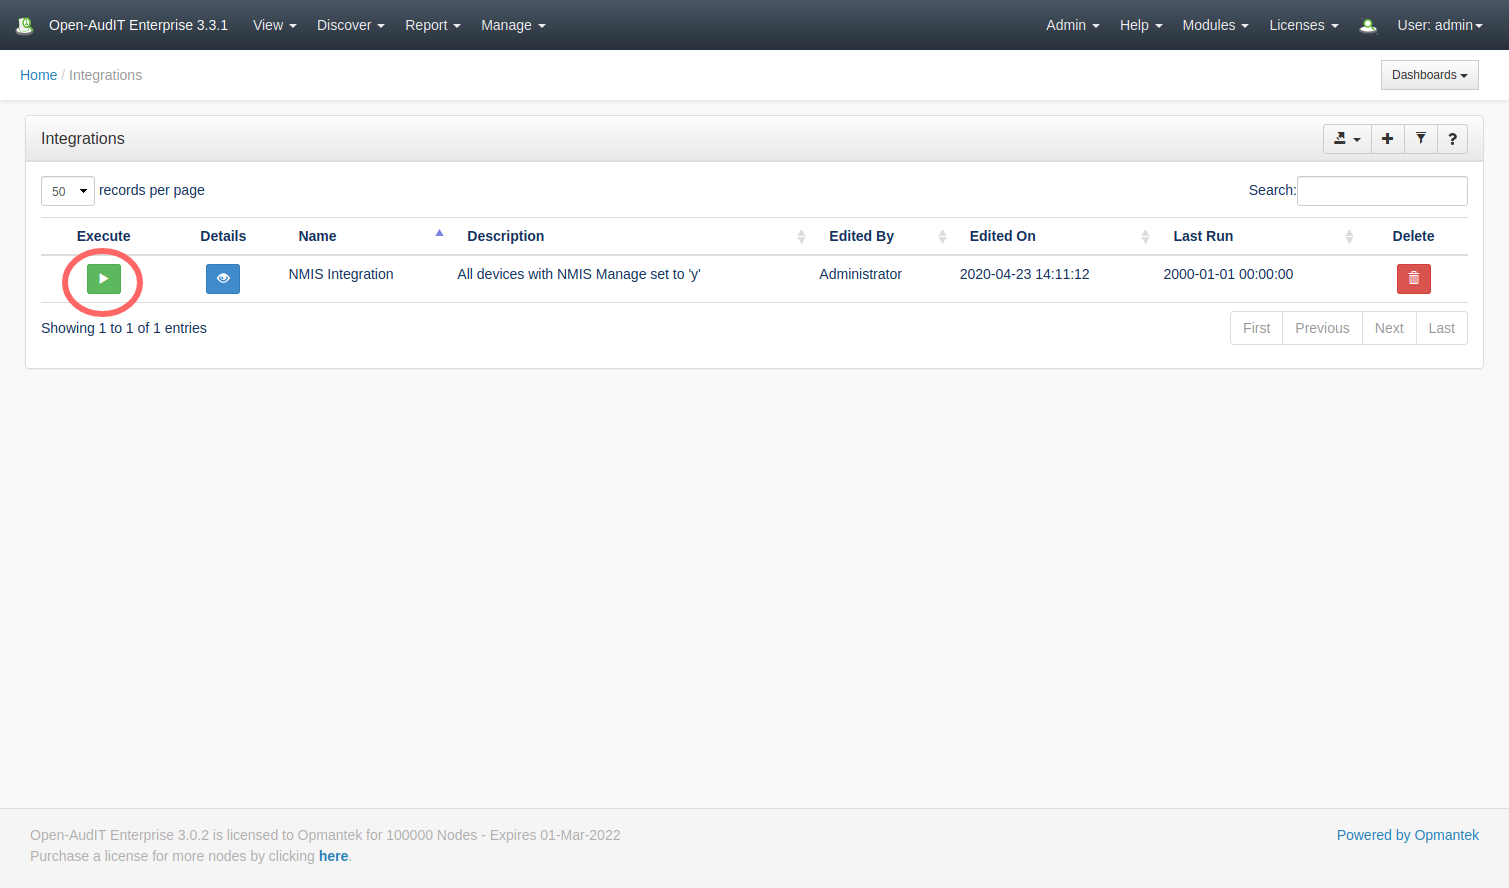
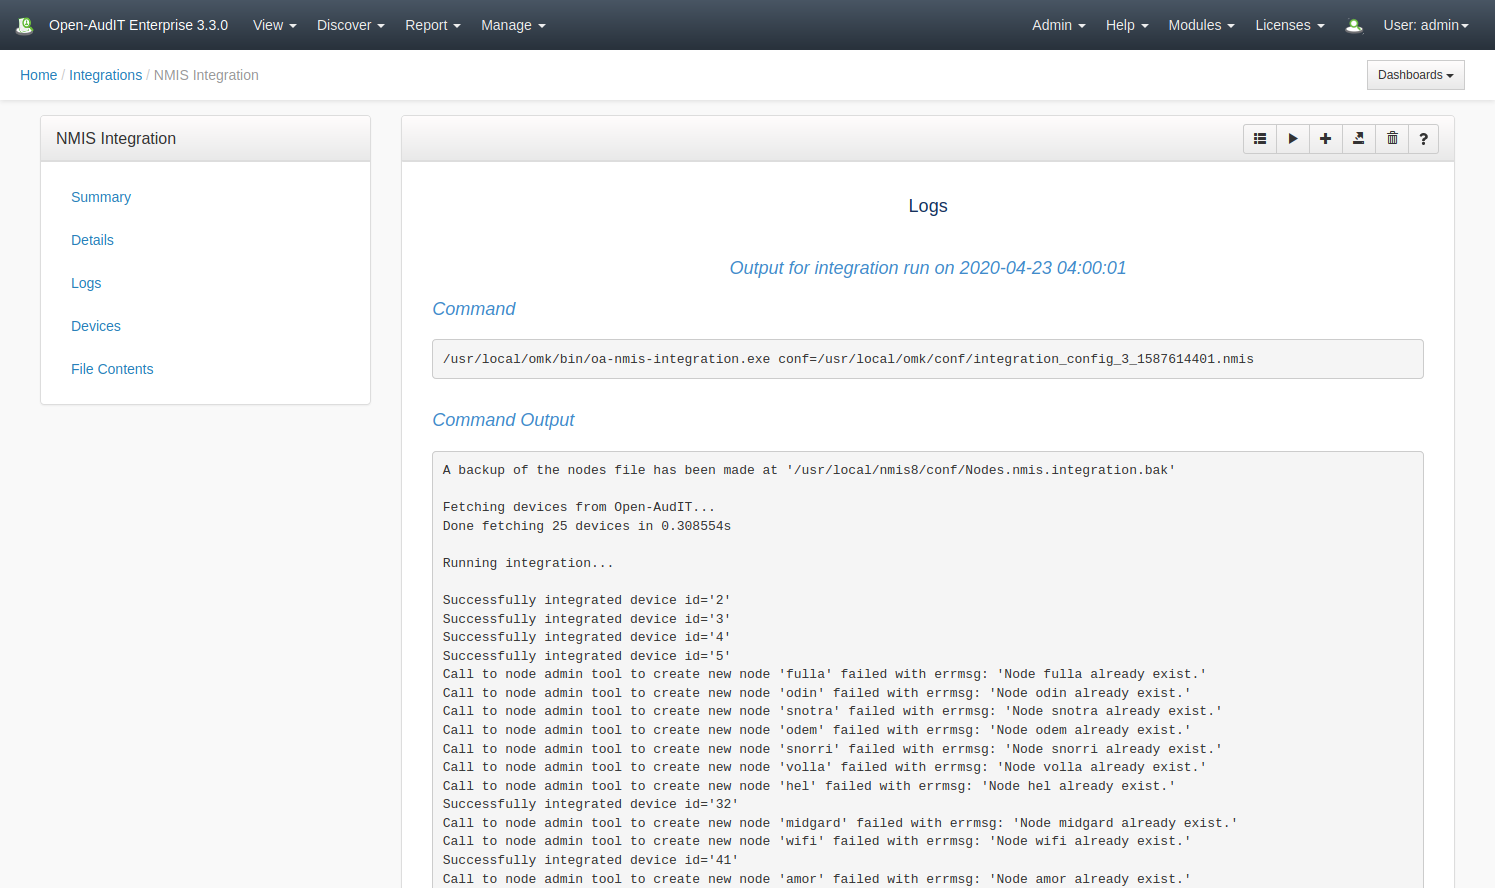
After creating the integration entry you should be on that integrations entry details page. In the panel header on the upper right of the page is a group of buttons. The button that looks like an old fashioned "play" icon (a triangle) will execute this integration. If you're on the Integrations list page, on the left side is a green triangle, the same icon as on the details page. Click that and the Integration will be executed. You should shortly see the logs from the executing integration (you may have to click your browsers 'refresh' button to see the updated logs). Your selected devices will be imported into NMIS, including their credentials. They will be assigned to the Open-AudIT group within NMIS. This is configurable on a per devices basis, see How to Bulk Edit device attributes for more information. You can also use Tasks to schedule an Integration to run whenever you need it to. Once the devices have been exported to NMIS, after NMIS has run a collect / poll cycle, the relevant data within NMIS should appear.Executing an Integration
View Integrations Details
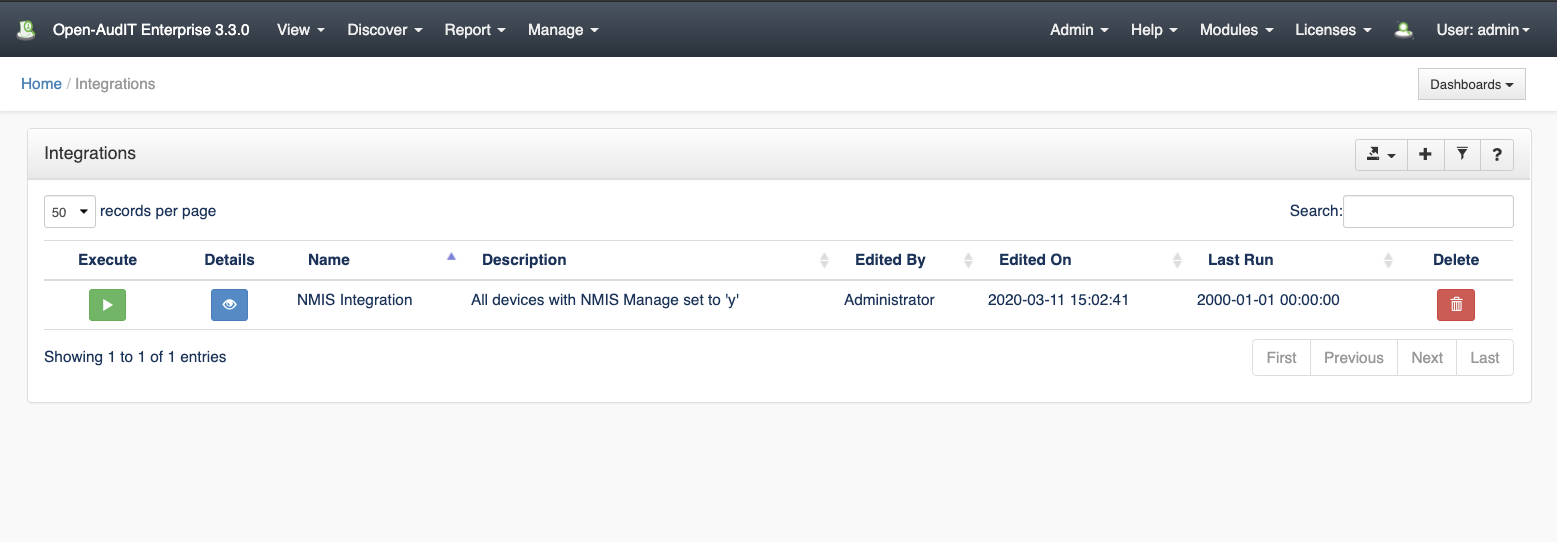
Go to menu: Manage-> Integrations -> List Integrations.
You will see a list of integrations. You can view an integration by clicking on the blue view icon. You can also edit or delete Integrations.
Database Schema
The database schema can be found in the application is the user has database::read permission by going to menu: Admin -> Database -> List Tables, then clicking on the details button for the table.
API / Web Access
You can access the collection using the normal Open-AudIT JSON based API. Just like any other collection. Please see The Open-AudIT API documentation for further details.